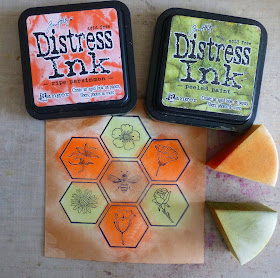
Today I have been playing with my
Hannah's Busy Bee stamp and stenil by Michael Strong.
You can find the stamp HERE.
I have a tutorial for you
how I made this card.
What do you need:
- stamp and stencil
- smooth paper (NL: stampingback papier)
-a few colors of distress ink and blending tool or sponges
- blach archival ink
- heat tool
- baby wipe and paper towel
- fantastix or cotton swab
- water
- (distress) markers
1. Start with using black archival ink and stamp
on paper ( I used 4,5"x 4,5" piece of paper)
2.Heat set the stampwith your heat tool.
3.Color the background with vintage photo.
4. Also color the part of the bee with vintage photo.
5. With the other colors of your choice the rest
of the stamp is colored.
6. Cover the paper with the honeycomb stencil
and take a baby wipe.
7. Use the baby wipe around the stamp to take away
the vintage photo ink.
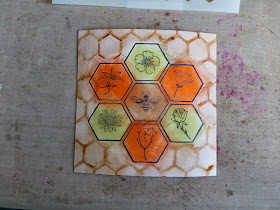
8. When you take away the stencil, the card
looks like this.
9. Now you need a little water and a fantastix (or cotton swab)
You dip the fantatix into water and put water drops on the flowers
and the wings and body of the bee.
10. When you dab with a paper towel on the
wet spot, you take away the ink and are left
with a white spot.
11. You can use distress markers for coloring.
12. I left the flowers white (exc two hearts are colored orange),
colored the stems green and colored the bee's body with yellow.
13. As an extra I added a little glitter glue on the
wings of the bee.
And here is the finished card:
Thanks for looking!
Have a creative day!


That is pretty cool Hetty, I'm loving the baby wipe thing. Those hexagons are awesome.
ReplyDeleteHetty, this is awesome! I love it! What is stamping back paper? Is it glossy? I'll have to do this! TFS!
ReplyDelete