Sunday, December 2, 2012

TH December tag 1

There are two tags on Tim Holtz's Blog
this month and today I made a combination
of the two with Michael Strong stamps.
 
I used:
the elephant,
the frame
the alphabeth
and the large and small flower die.
 
I tried to keep as close to Tim's techniques as possible.
 
I used the tissue paper glued to cardstock
and cut out the flower shapes.
With distress inks I colored the flowers.
For the tag I used the frame stamp on the
background and the elephant is stamped on
white paper and colored with watercolor crayons.
 
The letters are stamped on the same paper as  used for
 the card and embossed with gold embossing powder.
Here you see a close up of the finished flower.
Below you find the complete finished tag/card.


Have a creative day!


Saturday, December 1, 2012

Elephant for Christmas


How about an elephant card for Christmas?
I came up with this card:
Father and son elephant getting their Christmas tree
was my idea for this card.
The tree and the elephants are rubber stamps by
Michael Strong.
You can find his collection here:

In the background I  used a piece of scrap paper
from my 6x6 Christmas paper pad

 This is the inside of the card.
On a piece of the left over scrap paper
"Happy Holidays"is stamped from the
Michael Strong "Words&Phrases" set.
The Christmas tree is stamped with
peeled paint distress ink and this is also rubbed
around the border of the paper.
Here a close up of the elephants (if you click on the photo
you get an even larger version). You can see the big elephant is
embossed in gold and silver embossing powder.

The tree is embossed in white an green paper and when 
 cut it out I added the stem of the tree and colored it brown
with a pencel. Then taped it to the elephant on the back
and wrapped some scrapfloss around it, so it looks like
he really carries it.

The photo corners where embossed with a folder
in the cuttlebug.
Have a creative day!


Thursday, November 29, 2012

Christmas Card inspiration


Today I have been making Christmas cards.
I was totally inspired after I had seen
yesterday with his Christmas cards.
It gave me an instan idea on how to use my new TH stamps,
paper and all those ribbons I have lying around.
 
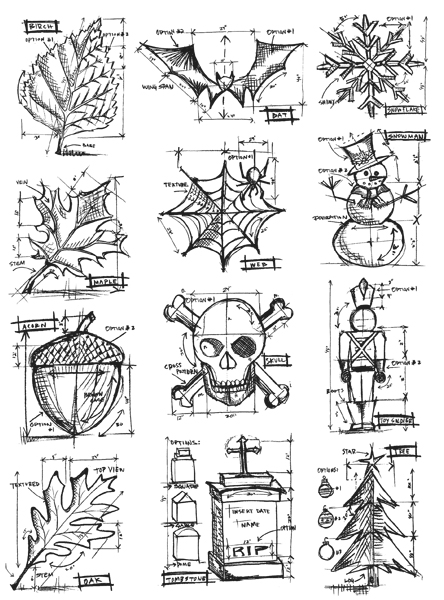
Last weekend I got these stamps:
Already I had the Chritmas paper:
Tim Holtz Idea-ology Seasonal Paper Stash
and with some basic card paper this is what
I came up with:
 
 
I cut the Christmas paper to fit as a panel on the
front of the card, fastned a ribbon with a tiny staple.


The image on the card is stamped with versamark and
embossed with black embossing powder.
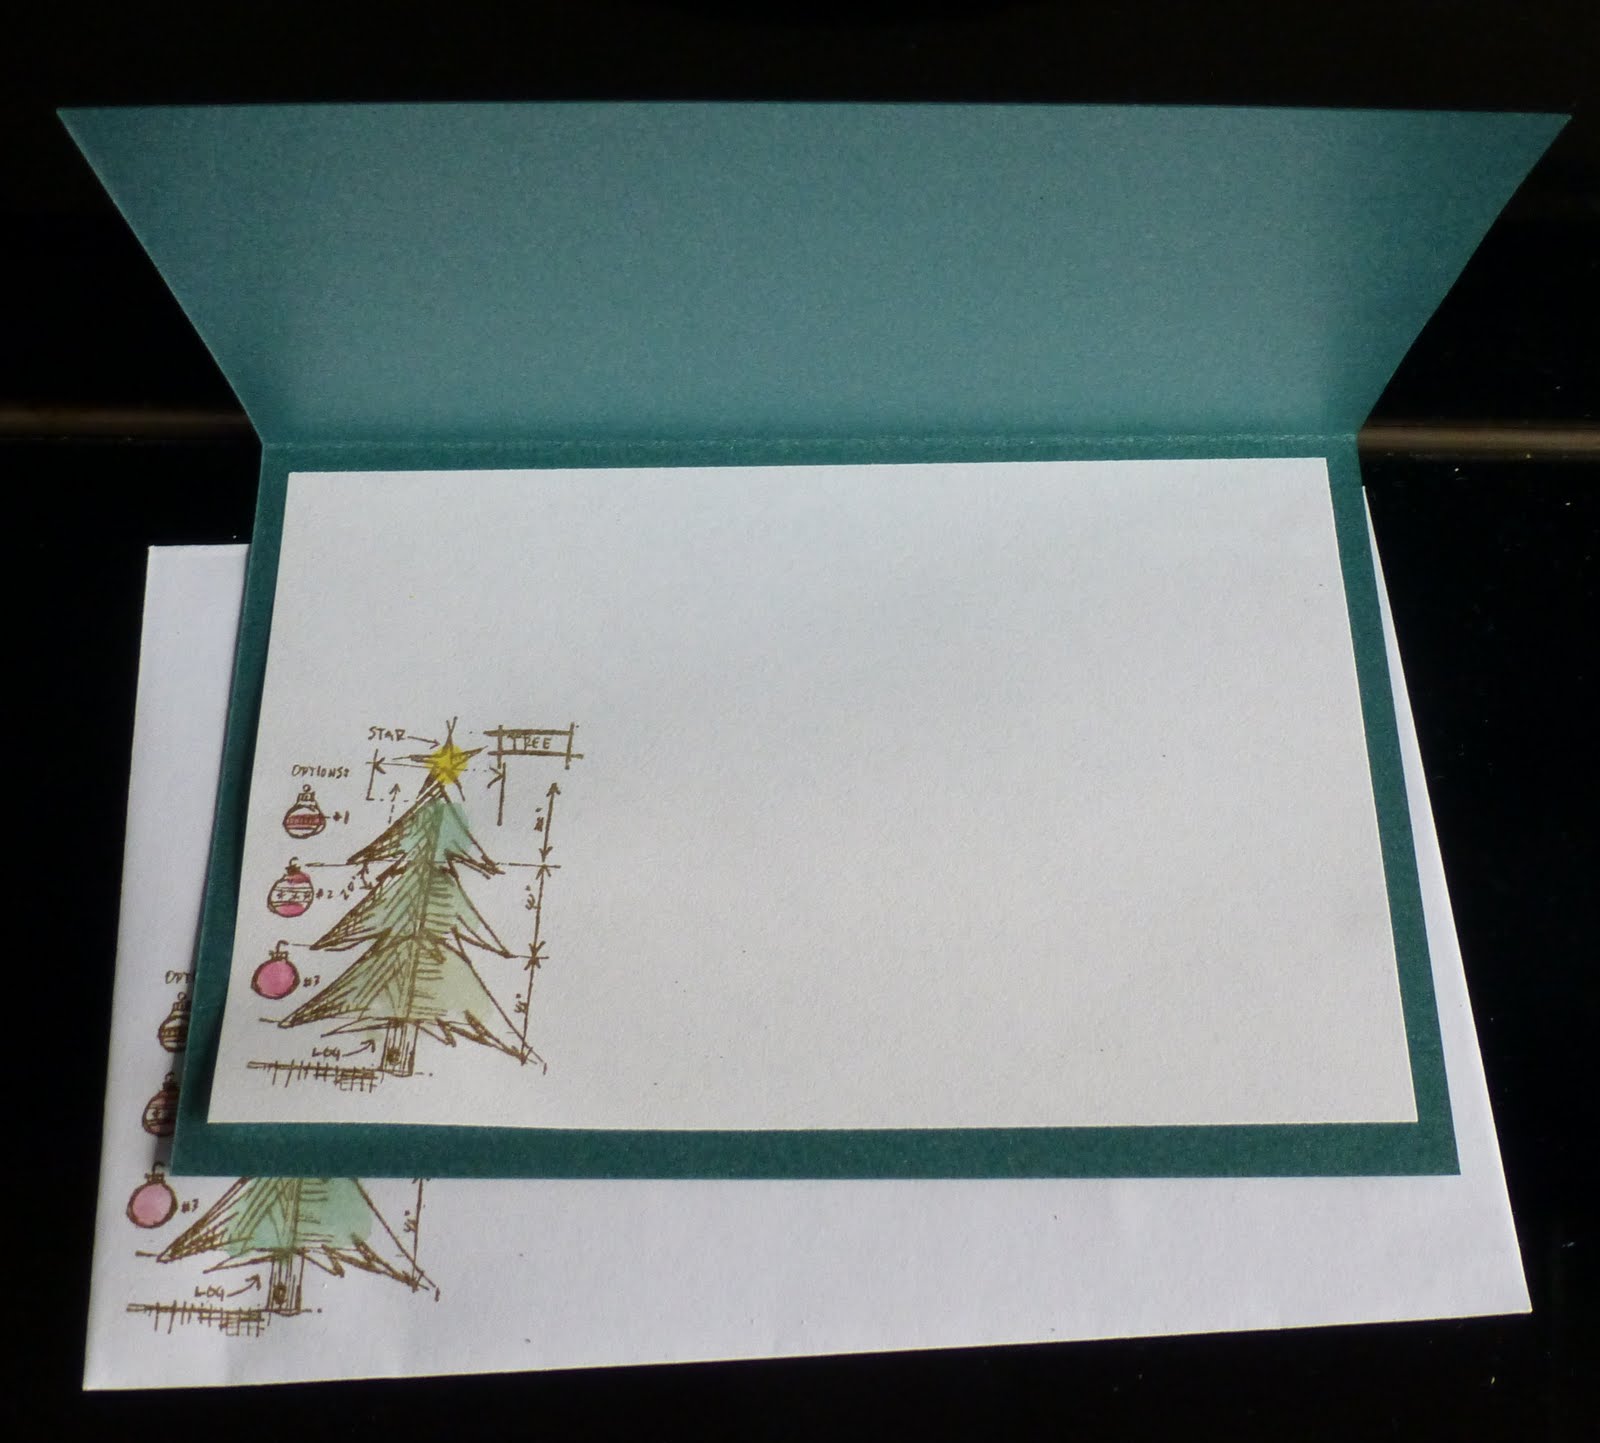
On the inside and on the envelop I stamped
the image with black ink.
All images are colored with watercolor crayons.


On each card you find a little gemstone as
an extra accent.
 
 
Only the snowflake is embossed in white
 and stamped with blue ink to make it more fitting.
 
Hope you like my version of Tim's cards.
 
Have a creative day!


Tuesday, November 27, 2012

TH November tag


Here is my November tag for the 12 tags of 2012
challenge from Tim Holtzs's Blog.
If you go over there you can see all
about the techniques and how
to do them.
I just bought all the new colors of distress
stains and I just had to use them on this tag.
In the Netherland we do not celebrate Thanksgiving
so  I made my tag into a birthday tag using the buterfly stamp
and some of the word stamps.

For the tag I did all the techniques that
are shown on Tim's blog, just used
different colors, stamps and
dies.

In the border I stamped birthday wish
and gave it a little white accent
to stand out.
 
For the flowers at the bottom of the tag I used
Tim's tatterd florals by Sizzix
and some kraft core paper from these small packages.

Thanks for looking and
have a creative day!


Sunday, November 25, 2012

Pimp your (free) calendar

Every year I receive these free
calendars from our garage and they
are wonderful to decorate to your
own liking.
(if you don't get them, you can also
buy them rather cheap in the bookstore)
 
The calendar part usually is pnly fastened
to the back with 2 stapels. So after opening
these, you can take this part of and
put away until the end.
(Just don't forget to keep the holes!)
The back of the calendar is now ready for decorating.
You can paint it, decorate it with one
piece of (scrap)paper or like I did with a
few pieces of decorated paper.
When i had them all gluied to the cardboard
I used a little gesso over the top, to soften the color
and to make it easier to stamp on.
Around the border I added some vintage distress ink.
 
For the top of the calendar I used the Stampin'Up!
pendant punch, an oval punch
and Michael Strong's oval Numbers
and Cloisonné Cranes
and a word stamp.
You can see I embossed all the stamps on different papers
and cut or punched them out before arranging
it on the back pannel.
I went on by stamping a little
on the background using some Tim holtz stamps
and a circle stencil to give it an overal look
like it was one piece of paper.
On the bottom iI added a strip of one of the
long tim holtz die cuts.
 
Then I stamped Michael Strong's new little elephant stamps
a few times on dark grey paper to have them on the bottom
underneath the calendar. I also stamped one large elephant
to be the head of the heard.
 
I did not like to have just something on the top and bottom, so
leaves were stamped, embossed and cut out to go
along the calendar.
After aranging everything like I wanted it,
I glued everything to the cardboard
and it was time to add the calendar again.
Open the stapels real straight and
have them go through the holed front to back.
Close the staples on the back with plyers or screwdriver.
Now your calendar is finished and just have to
wait a month to hang it and start using it.
 
A close up to the bottom with the elephants.
A close up to the leaves and the flowers I  added.
 
Hope i have giving you some inspiration.
Have fun playing!
 
 
Have a creative day!


Thursday, November 22, 2012

Thanksgiving 2012


Just couldn't resist making another
keep calm poster on:


I wanted to be thankful for all my scrap and stamp friends,
who just come back to take a look at my blog.

Thank you for following me!

This card is made with  the frame and the circle
stamp by Michael Strong. I am so thankful he is my friend
and I can use his beautiful stamps and share my cards
with you all.
The frame stamp is embossed in copper.
The circle is embossed in orange and I used an
oval punch to punch out 3 ovals to make the
pumpkin. On top I used half the flowe from
the middle pannel of the frame and the green
is punched out of a border punch.
I hope you and your families have a wonderful
and joyful Thanksgiving.