Saturday, June 15, 2013

Tim Holtz June tag: Father's Day

This month is a wonderful technique
tutorial with the 12 tags challenge on
and so much more information on
working with the distress markers.

I am not much of a coloring person,
but working like this on the aquarel
paper with these markers is the kind I like.
Love the look and feel.
Here is my tag.
It is for Father's Day
and as my DH has a mustache
I love these new stamps.

I used Time Travelers
and mini blueprint 4 stamps
for this tag.
The sentiment is by CTMH.
I also used the pointed finger
mini shaper and stamped on it.
I cut a little of the pointed finger
to fit the stamp.

I love the background and was sorry to see it
covered so much in the end.
Made sure you see some of the mustache
background.

The time piece is covered with glossy accent
and to the sentiment I added a brad.

Now wrapping the present and adding the tag!
Thanks again Tim for your inspiration.

Father's Day Mustache Printable
Have a creative day!


Saturday Sketch: TSSC 267

With Father's Day around the corner
I made my sketch card
for this occasion.

The sketch is from the Technostamper's Blog.
Paper is from Club Scrap
and stamps from
Michael Strong (alphabet stamps)
and Tim Holtz (Time Travelers)
Spelbinder oval die
and Tim Holtz movers & shapers
(Pointed Finger)
Viva decor dark brow pearl pen

The letters are embossed with
oriental express embossing powder
and the dots are done with a dark
brown pearl pen.

You see those dots alo on the background
of the card in the right hand top corner.

Here a close up of the letters.
They are punched out with a
3/4" x 1 1/2" oval hand punch
from EK Succes.

Have a creative day!


Tuesday, June 11, 2013

Sneak Peek Club Scrap Blog Hop


The June kit by Club Scrap is called "Hopes"
and of course we will have a 
Blog Hop for you
 sharing all the beautiful artwork that
you can make with this kit.

This is my sneak peek  and I hope you will stop
by on June 26 to see what I have in store for you.


Hopes Bloghop Badge photo HopesBlogHop_Badge_2_zpsebe1df8f.jpg
Have a creative day!
Image by FlamingText.com

Sunday, June 9, 2013

Sunday Scrap page: more stars

Here is my page for today.
The theme at Club Scrap Weekly Chronicles
is "Hopes". I had a hard time to come
up with something to scrap.
So this is my story:

When I was a teacher
and we talked about what the children
wanted to be when they grow up, 
they always asked me,
what I wanted to be when I grow up
 and my answer was always:
I HOPE to be a grandma one day.

And last year my hope became reality
when Owen was born.

To scrap this page I used 
Club Scrap Cape Cod papers

with a digital sentiment by
and the mini cloisonné stars by

The stars are embossed in red white and blue embossing
powder and on each star there is a little sticky
gemstone in one of the three colors.

Yes my little grandson is my star!
The red and white ribbon came with the
Club Scrap kit.

Usa Stars And Stripes Ribbon stampette avatar image
Have a creative day!


Saturday, June 8, 2013

Saturday Sketch OWH 164

164\\

This is one of the sketches from
This is an organization, that provides
cards for the US soldiers overseas that you make. 
You find all info here:
I choose this sketch for the June sketch
I hope that some of you will send your cards to
the OWH organisation.

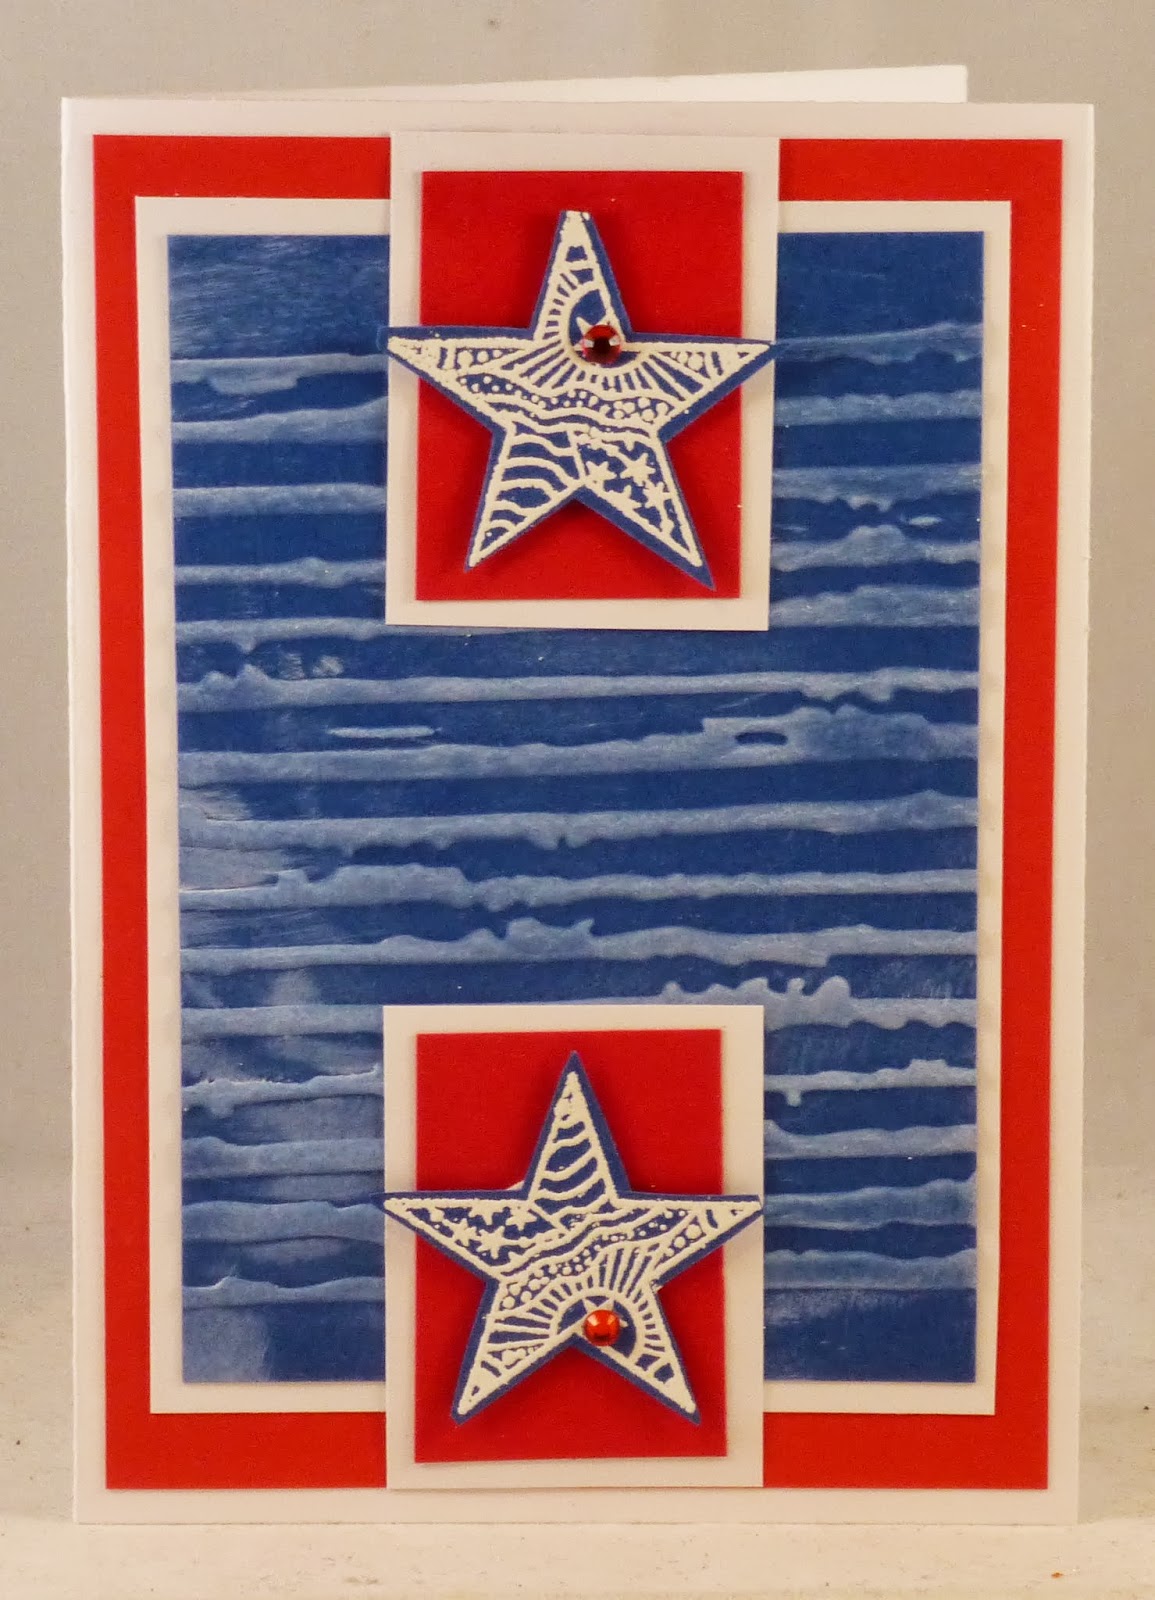
Here is my card:
I used the cloisonné star stamp
You find it here:
It is a set of two, a large and
a small one. I used the smaller one.
It is embossed with white embossing powder
and a little red gemstone.

The background of the card is
done with a stripped embossing folder
and some white ink after the embossing.

Operation Write Home - Federal Way, WA
Have a creative day!


Thursday, June 6, 2013

Michael Strong Technique Thursday: Metal


When I shared this card with you on the
a lot of people wanted to know how
to work the metal, so here is a tutorial.

Here is a close up of the cat
(click on it an you see an even larger version).
The cat is the closionné cat by
Michael Strong.
The sentiment is a digital image by
Create with TLC and you can find it here:

For the tutorial I  used the
whimsical owl stamp by Michael Strong.
The metal I used is from

What else do you need:
stazon black ink
rubber mat (or mouse mat)
tools for working on the metal
(this can be  pergamano tools and
blending stump)

1. Start with stamping your image on metal.
You can choose if you want to
stamp on the brown side
or on the silver side.
(I choose for the silver side,
because it is easier to see on the photo).

2. With working on metal, you work
on two sides. First you start with marking the lines.

3. Start with the outside lines first.
Choose which inside lines you want to do.
You don't need to do them all.

4. On the backside you use the blending stump
to fill the parts that need to be out on the front.
It takes some time to work front and back
until you are satisfied.

5. When all is done you cut out
the image you have worked on.

6. This is the finished owl.

And here is the owl on a card.
Stick the metal with a piece of double dided foam tape to the card.
Hopefully this gives you a good idea on
how to work with stamps on metal.

 smart owl
Have a creative day!


Sunday, June 2, 2013

Sunday Scrap page: Destination

Hello,
I hope you enjoy your Sunday.
Here is my weekly page for you.
The theme was "DESTINATION".

At first I had no idea, but then the subject presented
itself! Here is my DD and her son showing of
 the new bicycle with the baby seat
and with some quick photo's I had an idea for my page.

With Club Scrap's Spring Chorus papers
I layered out a page using the ALSB pages
of this kit.and it all fitted perfectly. This makes
scrapbooking so much easier!

The flowers are by Michael Strong and embossed in colors
matching the papers. Then they are cut out with the matching dies.
Some of you have trouble using these dies, but i do have 
made a tutorial about this, so please take a look
 HERE on how to use them.


Cycling smileys
Have a creative day!

Friday, May 31, 2013

Tim Holtz May tag: smile

On the last day of May
I present you my tag.
Sorry Tim,
but this time the tag did not inspire me :-((
 
Just could not get the
technique to work for me,
so this is the
unfortunate result.
I will keep on trying!

 
For all instructions
visit Tim's blog here:
Looking forward to see what you have for us in June.
 
Have a creative day!


Thursday, May 30, 2013

Michael Strong Technique Thursday

When I was shoping I found
this cute hanger for the home
(Dutch ladies: it is available in Action
and only € 0,99).
 
When i saw this, I knew I had to alter it
with my Michael Strong stamps.
 
This is what you need:
1 house stamp
1 heart stamp
Viva Decor inka gold colors
spray bottle with water
versamark
black/ white embossing powder
paper
heat tool
 
I prepared the paper with Viva Decor inka cold colors.
There are two ways of doing this.
For the first way you take some colors of inka gold
out of the pot and onto your craft sheet.

Spray with water amd mix a little with a brush.

Take your paper direct on the craft sheet
and pick up the paint until you have covered your paper.

This is tghe finished paper.
Leave it to dry.

The other way is the dry way.
Take two pots on color that you want to use.

You can use your finger or a sponge
to color the paer with. Start with the
lightest color.

And then ad the next color.

Cover your complete oiece of paper.

With the dry way you can stamp and
emboss right away on the paper.

For the wet way you have to either dry the paper
with your heat tool or just wait until it is dry.

Here is the finished project.

You see I embossed the house in black
and the heart in white.
 
In the heart of the flowers I glued little gemstones.
There are also red gemstones on the heart.
 
Thanks for looking!
 
Boomhut emoticon
Have a creative day!