

Welcome to a new week of craft fun.
This week it is all about stencils.
I have so many and love using them.

This week I want to share some of the things
you can do with stancils.
Let's start with some basics.
Here you see the cards I made and one by one I will
share with you how I made these backgrounds.

All papers,stamps and stencil
are by Club Scrap.
I have used papers from various kits,but the stamps
and stencil are from a kit called Big Deal.

Card #1
Let's start with the easiest way of using a stencil.
Put a piece of cardstock on your table.
On top you add the stencil.
The stencilis from the Club Scrap Big Deal kit.
Fasten the stencil with washi tape to your table so it does not
move while your work.
Take a blending tool and in and color the paper.

Because of the card theme of this stencil
I choose to use 2 colorsof ink - ruby and ash -
and added themrandomly to the card paper.

When the stencil is off,this is the result.

And here is the finished card.
If you click on the photo, you see a larger version.
Card #2
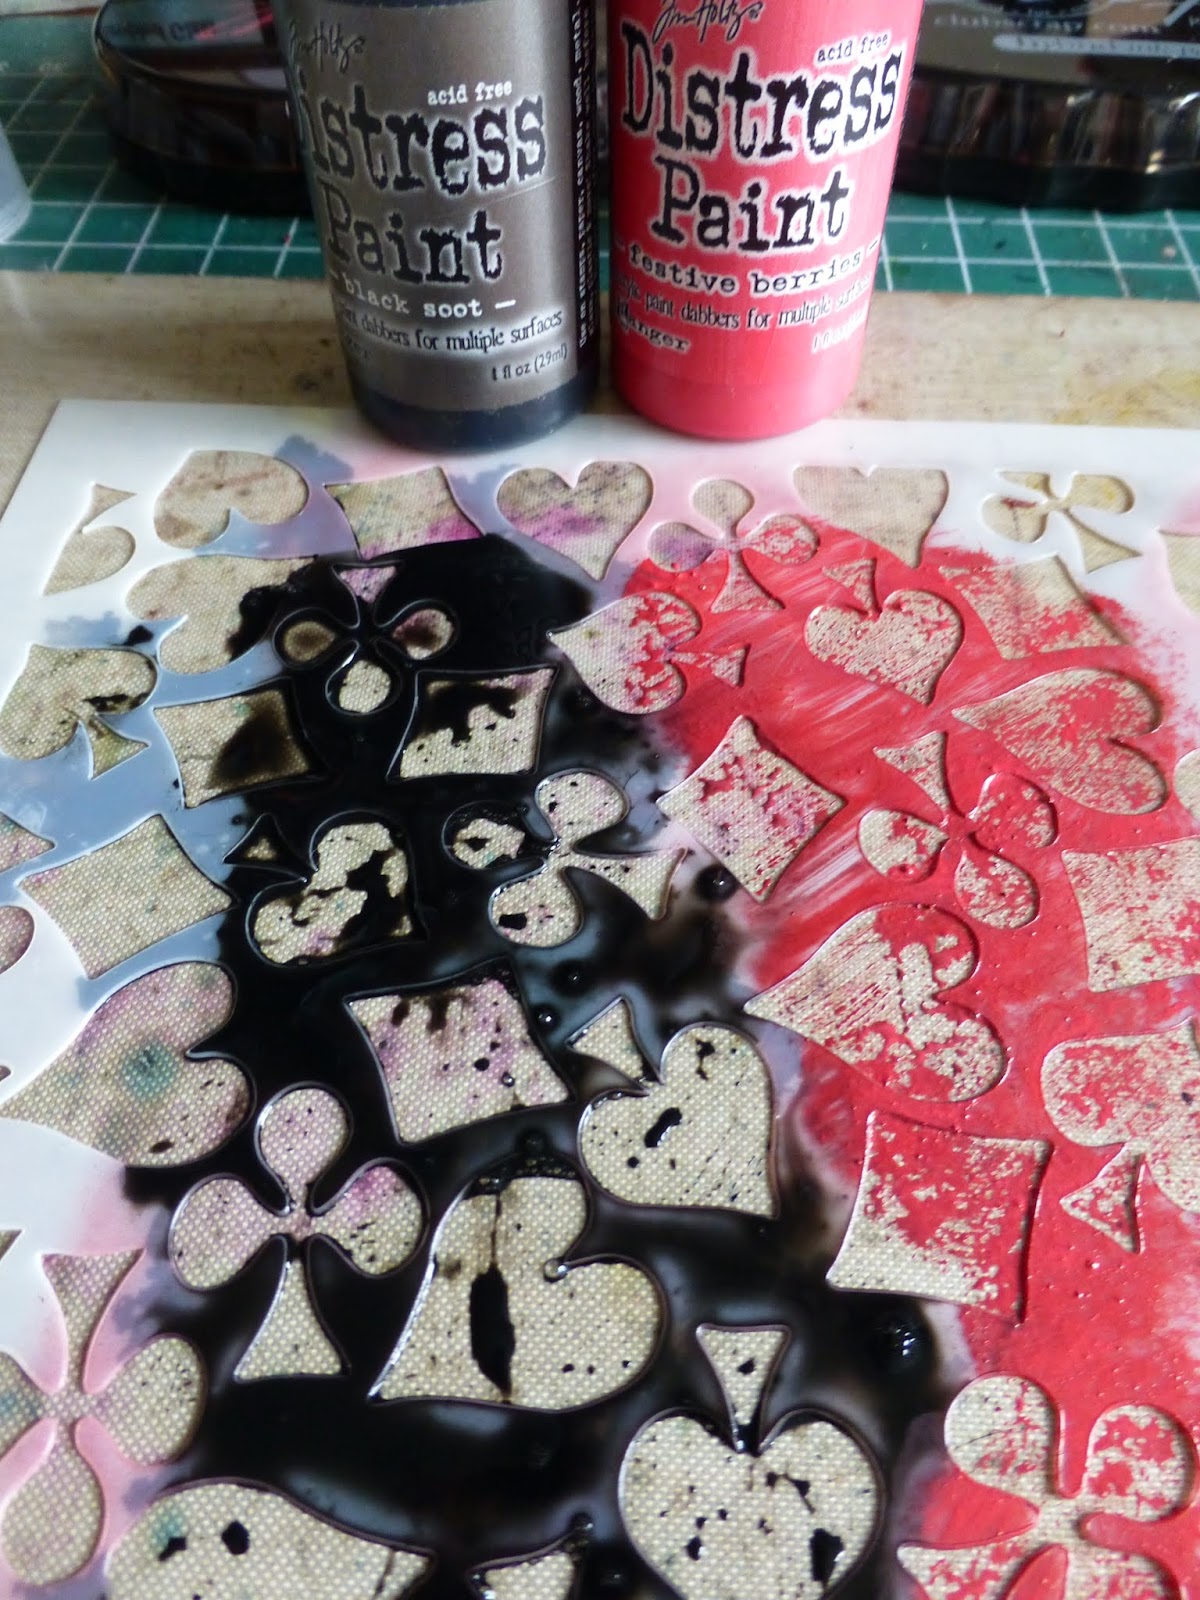
For the 2nd technique you need acrylic paint.
These dabbers are very handy with the stencils.
Again I used two colors and added them directly to
the stencil.(btw underneath the stencil I have
my craft sheet)

Take a piece of cardstock and add this direct to the
stencil. Use your hand to put some pressure all over the card.

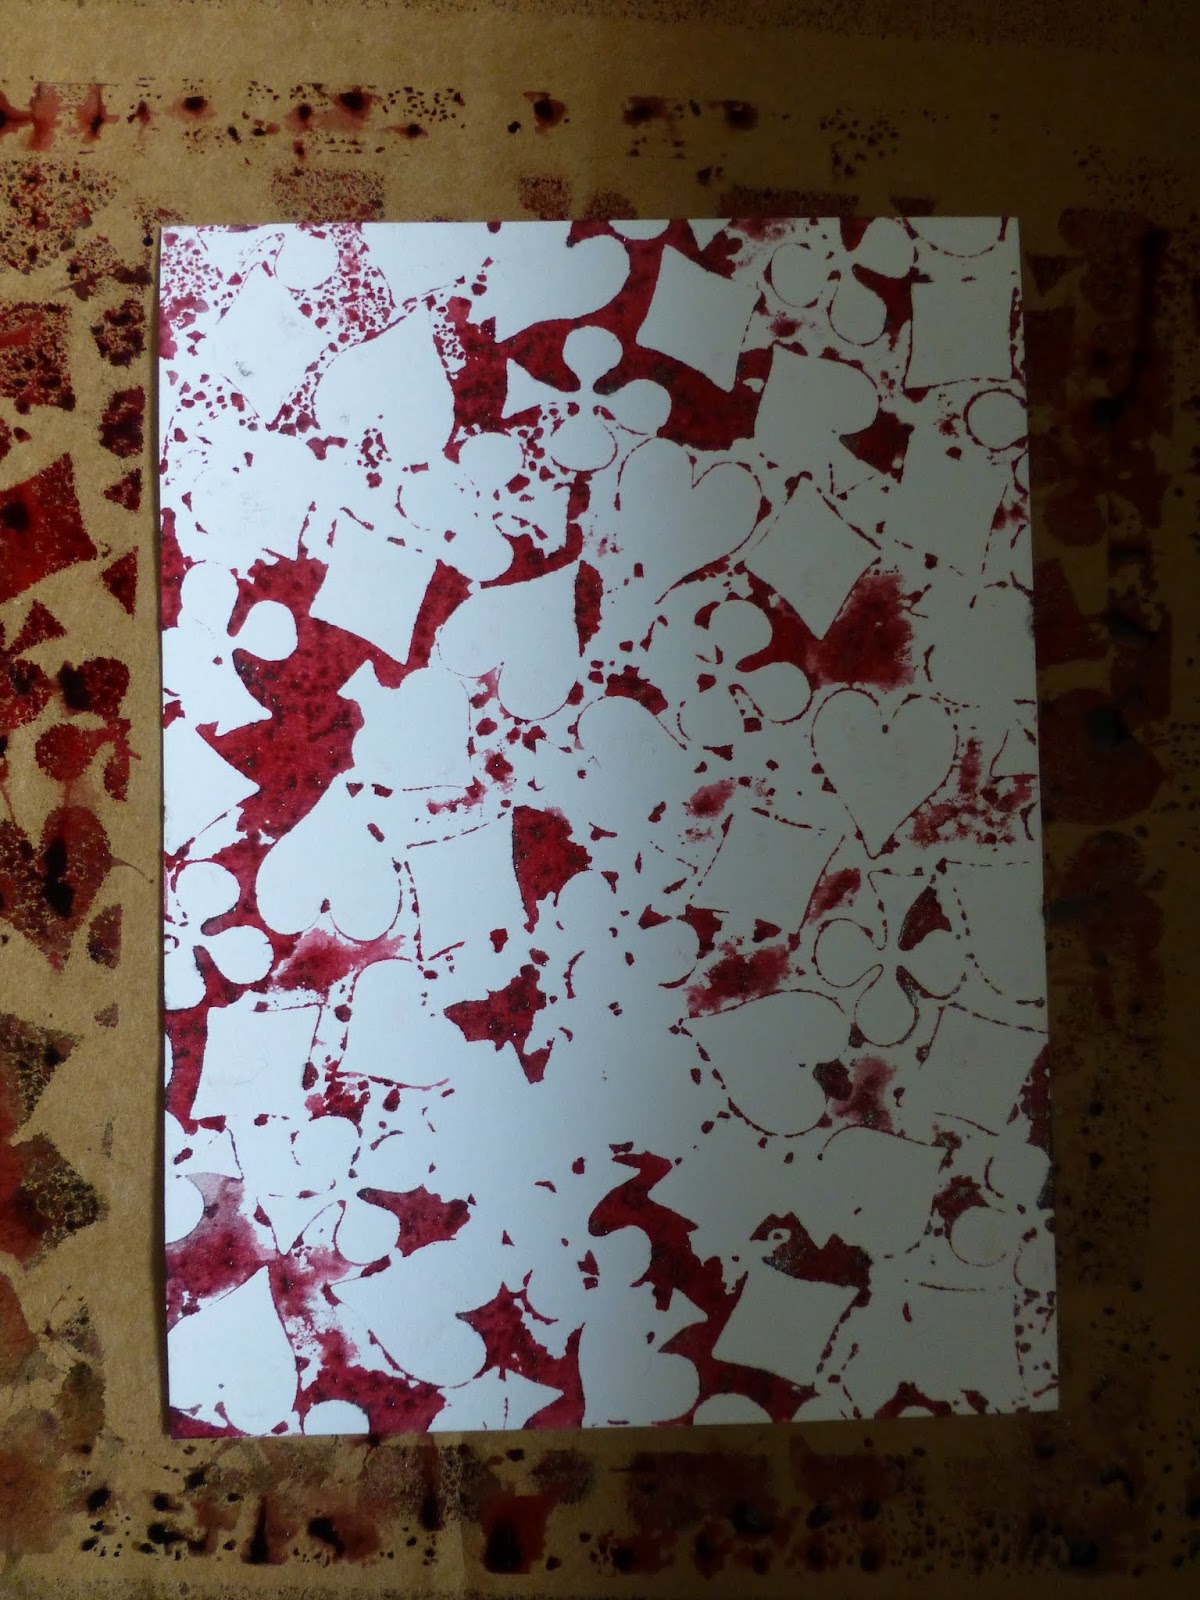
This is the result.

Now the stencil still has quite an amount of paint on
it and I just added some water, took another piece
of paper and pressed it to the stencil and see the result.
I did not use any of these panels today, but if you
come back tomorrow, you will see what I made with these.

card #2
And for the last technique today we take
two bottles of glimmer mist and a card board
box. Put the cardstock in the box and
lay the stencil on top.

After spraying the colors, this is
what is the result.

This is the card i made with the sparayed panel.

For card #3 I turned the spayed stencil
to a new piece of cardstock and pressed it
with my hands to get the color on the card.
When the stencilis removed, you see this as a result.
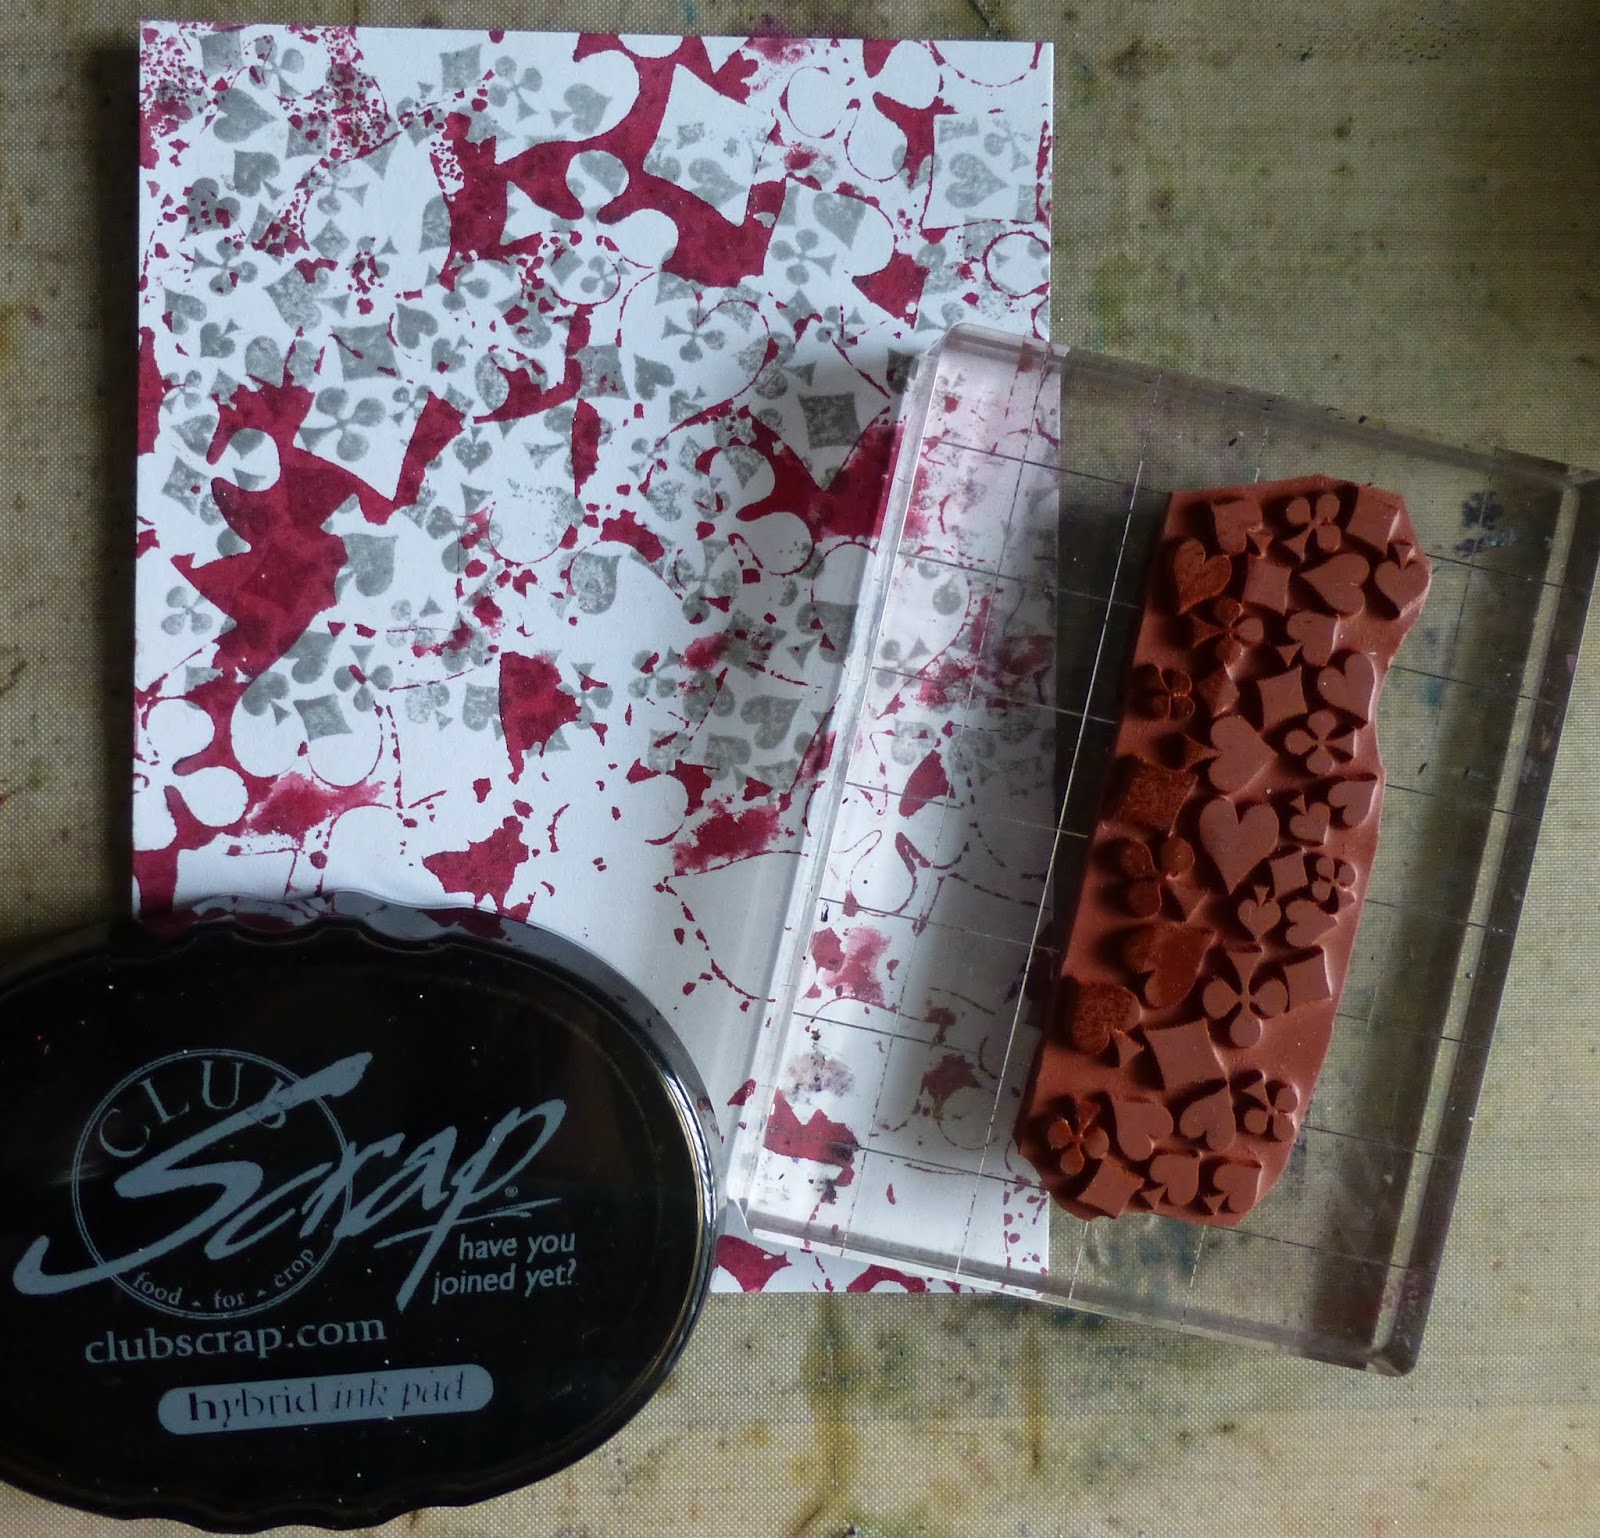
I found it a little too white and to make it more interesting
I also stamped on it with ash,before using this as
a background to my card.

For this card I cut the panels in strips
of 1,5" and matted it on the black paper.
Finishing the ard with a sentiment stamped on top.

These are all the backgrounds made today,
but not all used. Please come back tomorrow for
more stencil fun.
If you like these stencils I use, you might
wnat to take a look at the Club Scrap site
and see all the STENCILS they have.
Thank you for looking.

Have a creative day!


2 comments:
Hetty it seemed as if you had great fun playing with the different techniques. You really created some great results. And the stencils you used look fabulous. Thank you for sharing your lovely work. Hugs to you my friend... Monica
Fun, fun fun - super looking cards Hetty!
Post a Comment