Sunday, November 29, 2020

Funky Christmas Cards


 Hello Crafty Friends,

I am still reorganizing my craft roo and trying to let some things go,
because my new craft room is a little smaller.
But in between I also made some cards with my 
Funky Fossil Design stamps and stencils.

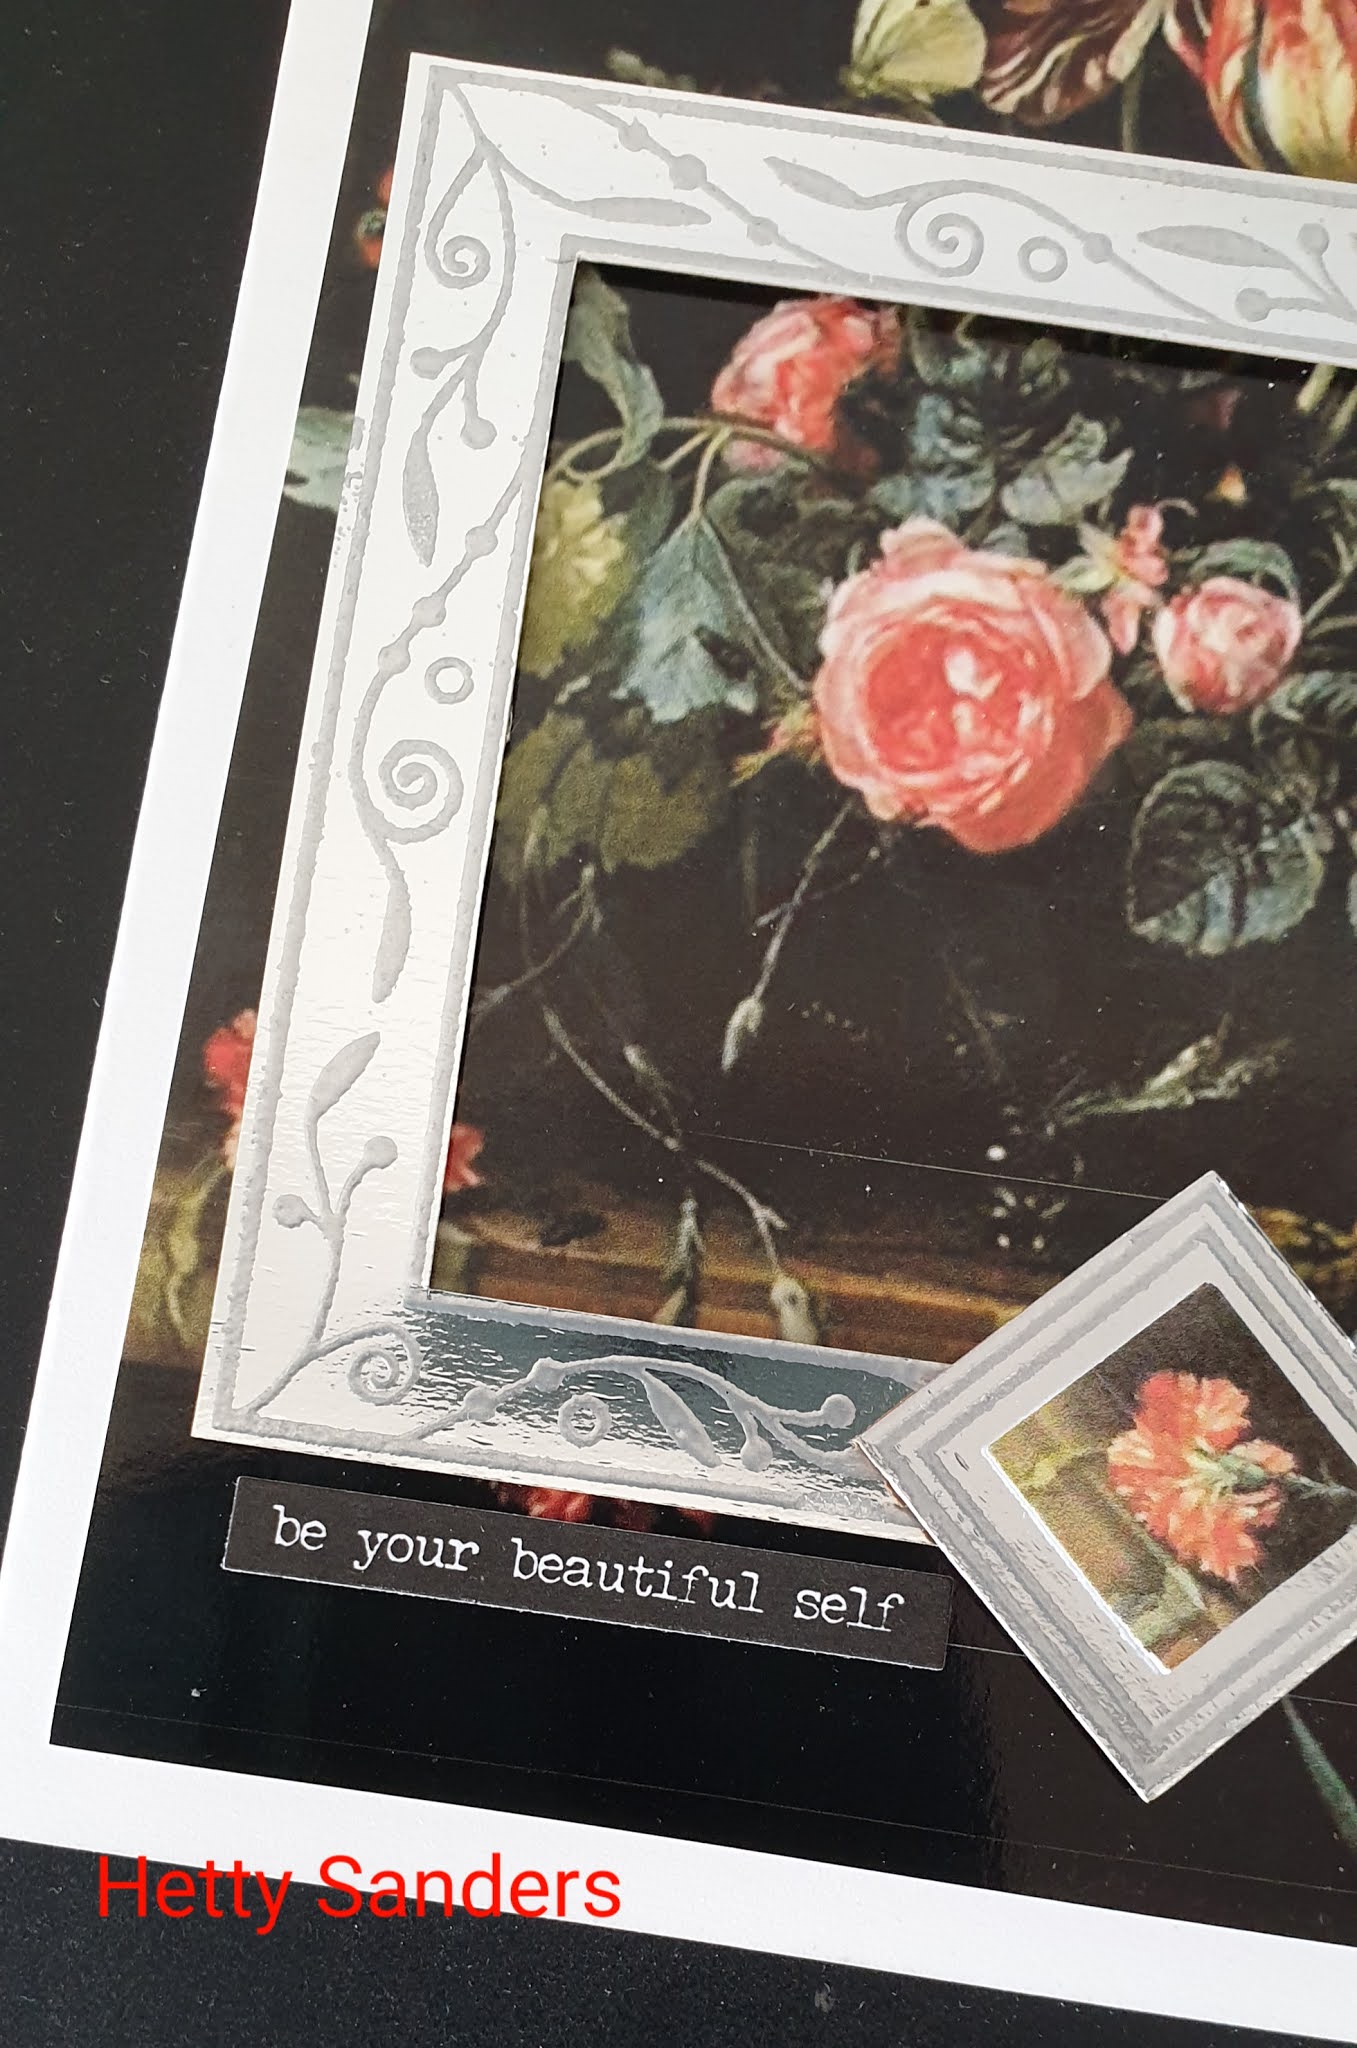
I started this card by stamping the sentiment on the card panel.
You find the sentument on the Festive Phrases set.
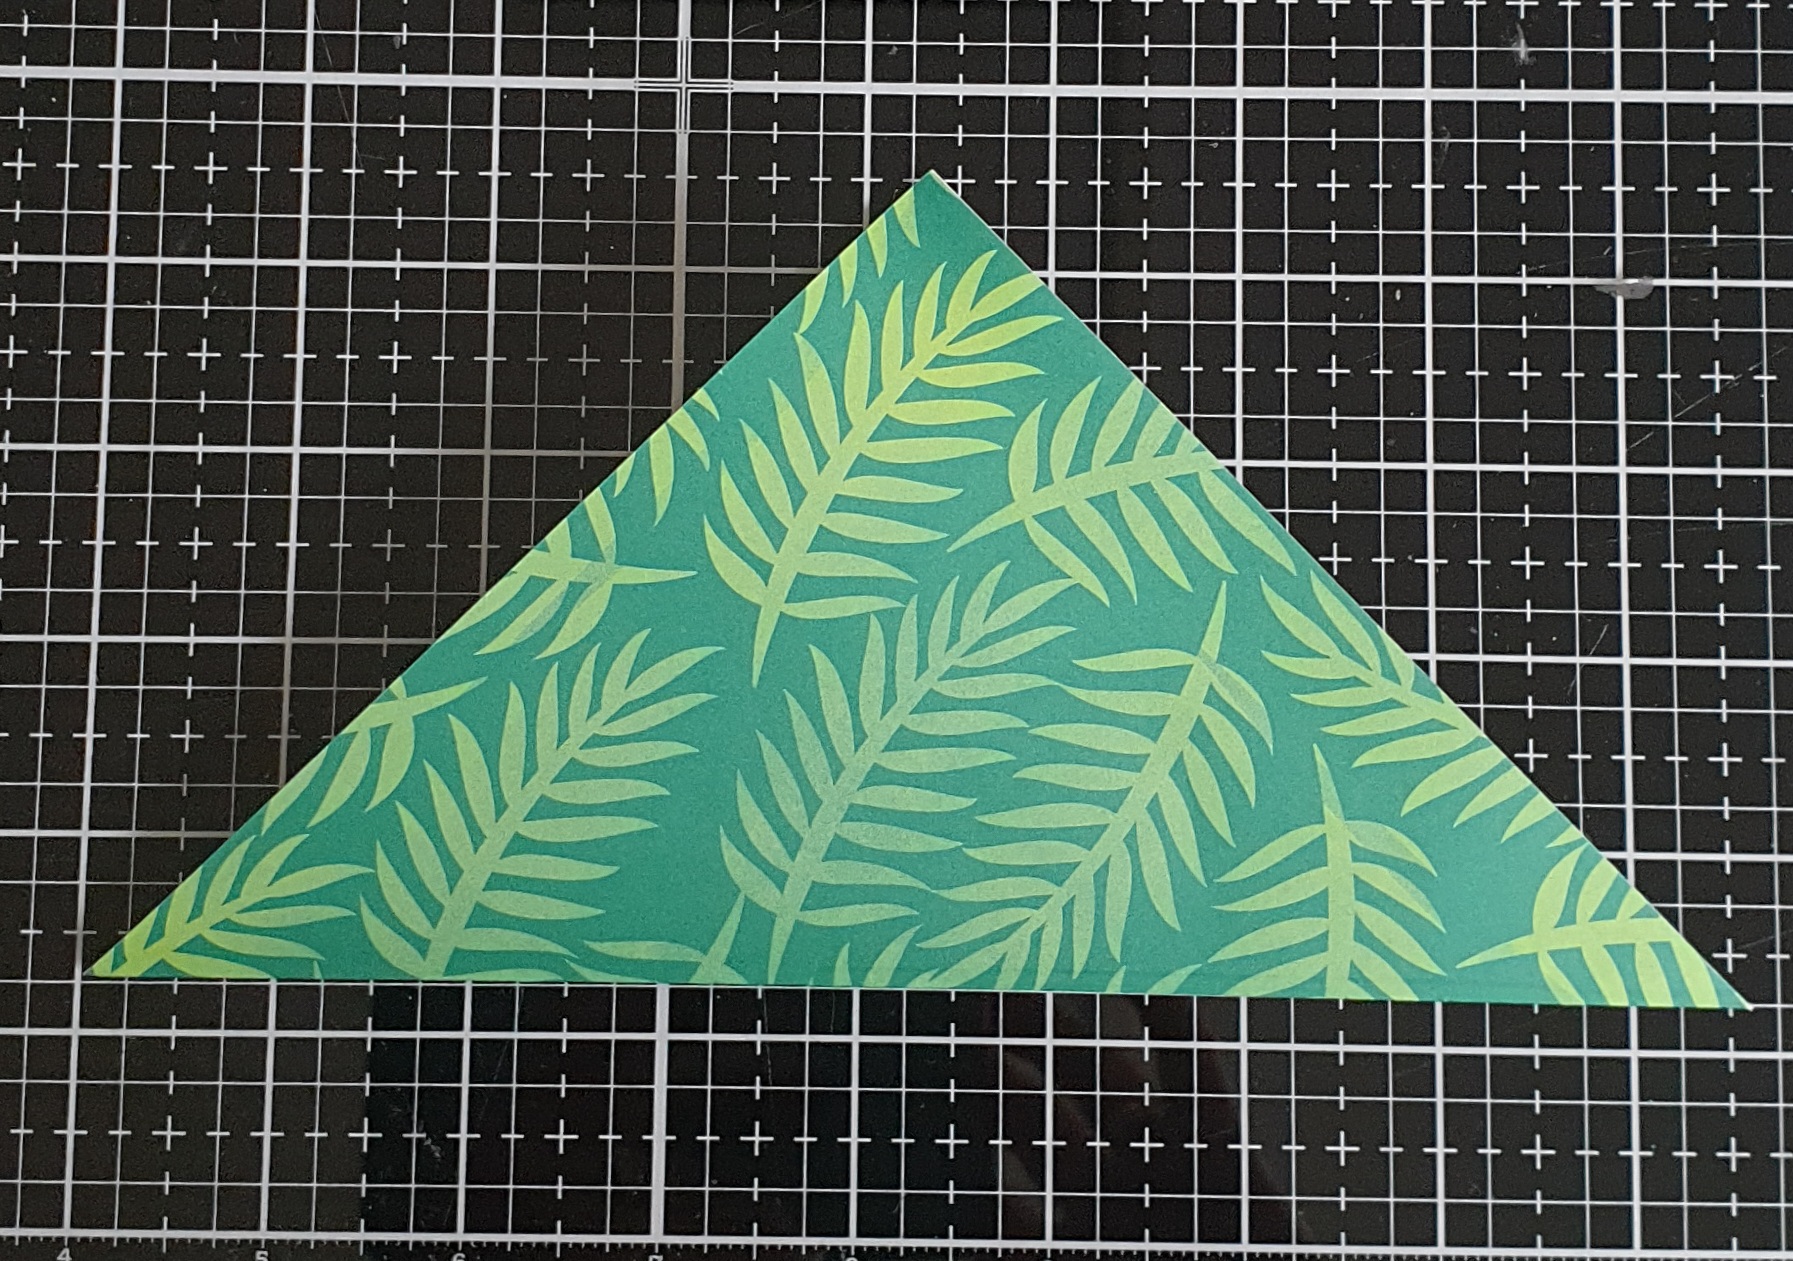
Next I took green and blue oxide distress ink to make
the background in the direct to paper technique
(add ink to your craft sheet, spray some drops of water
and lift some ink with you paper from the craft sheet).
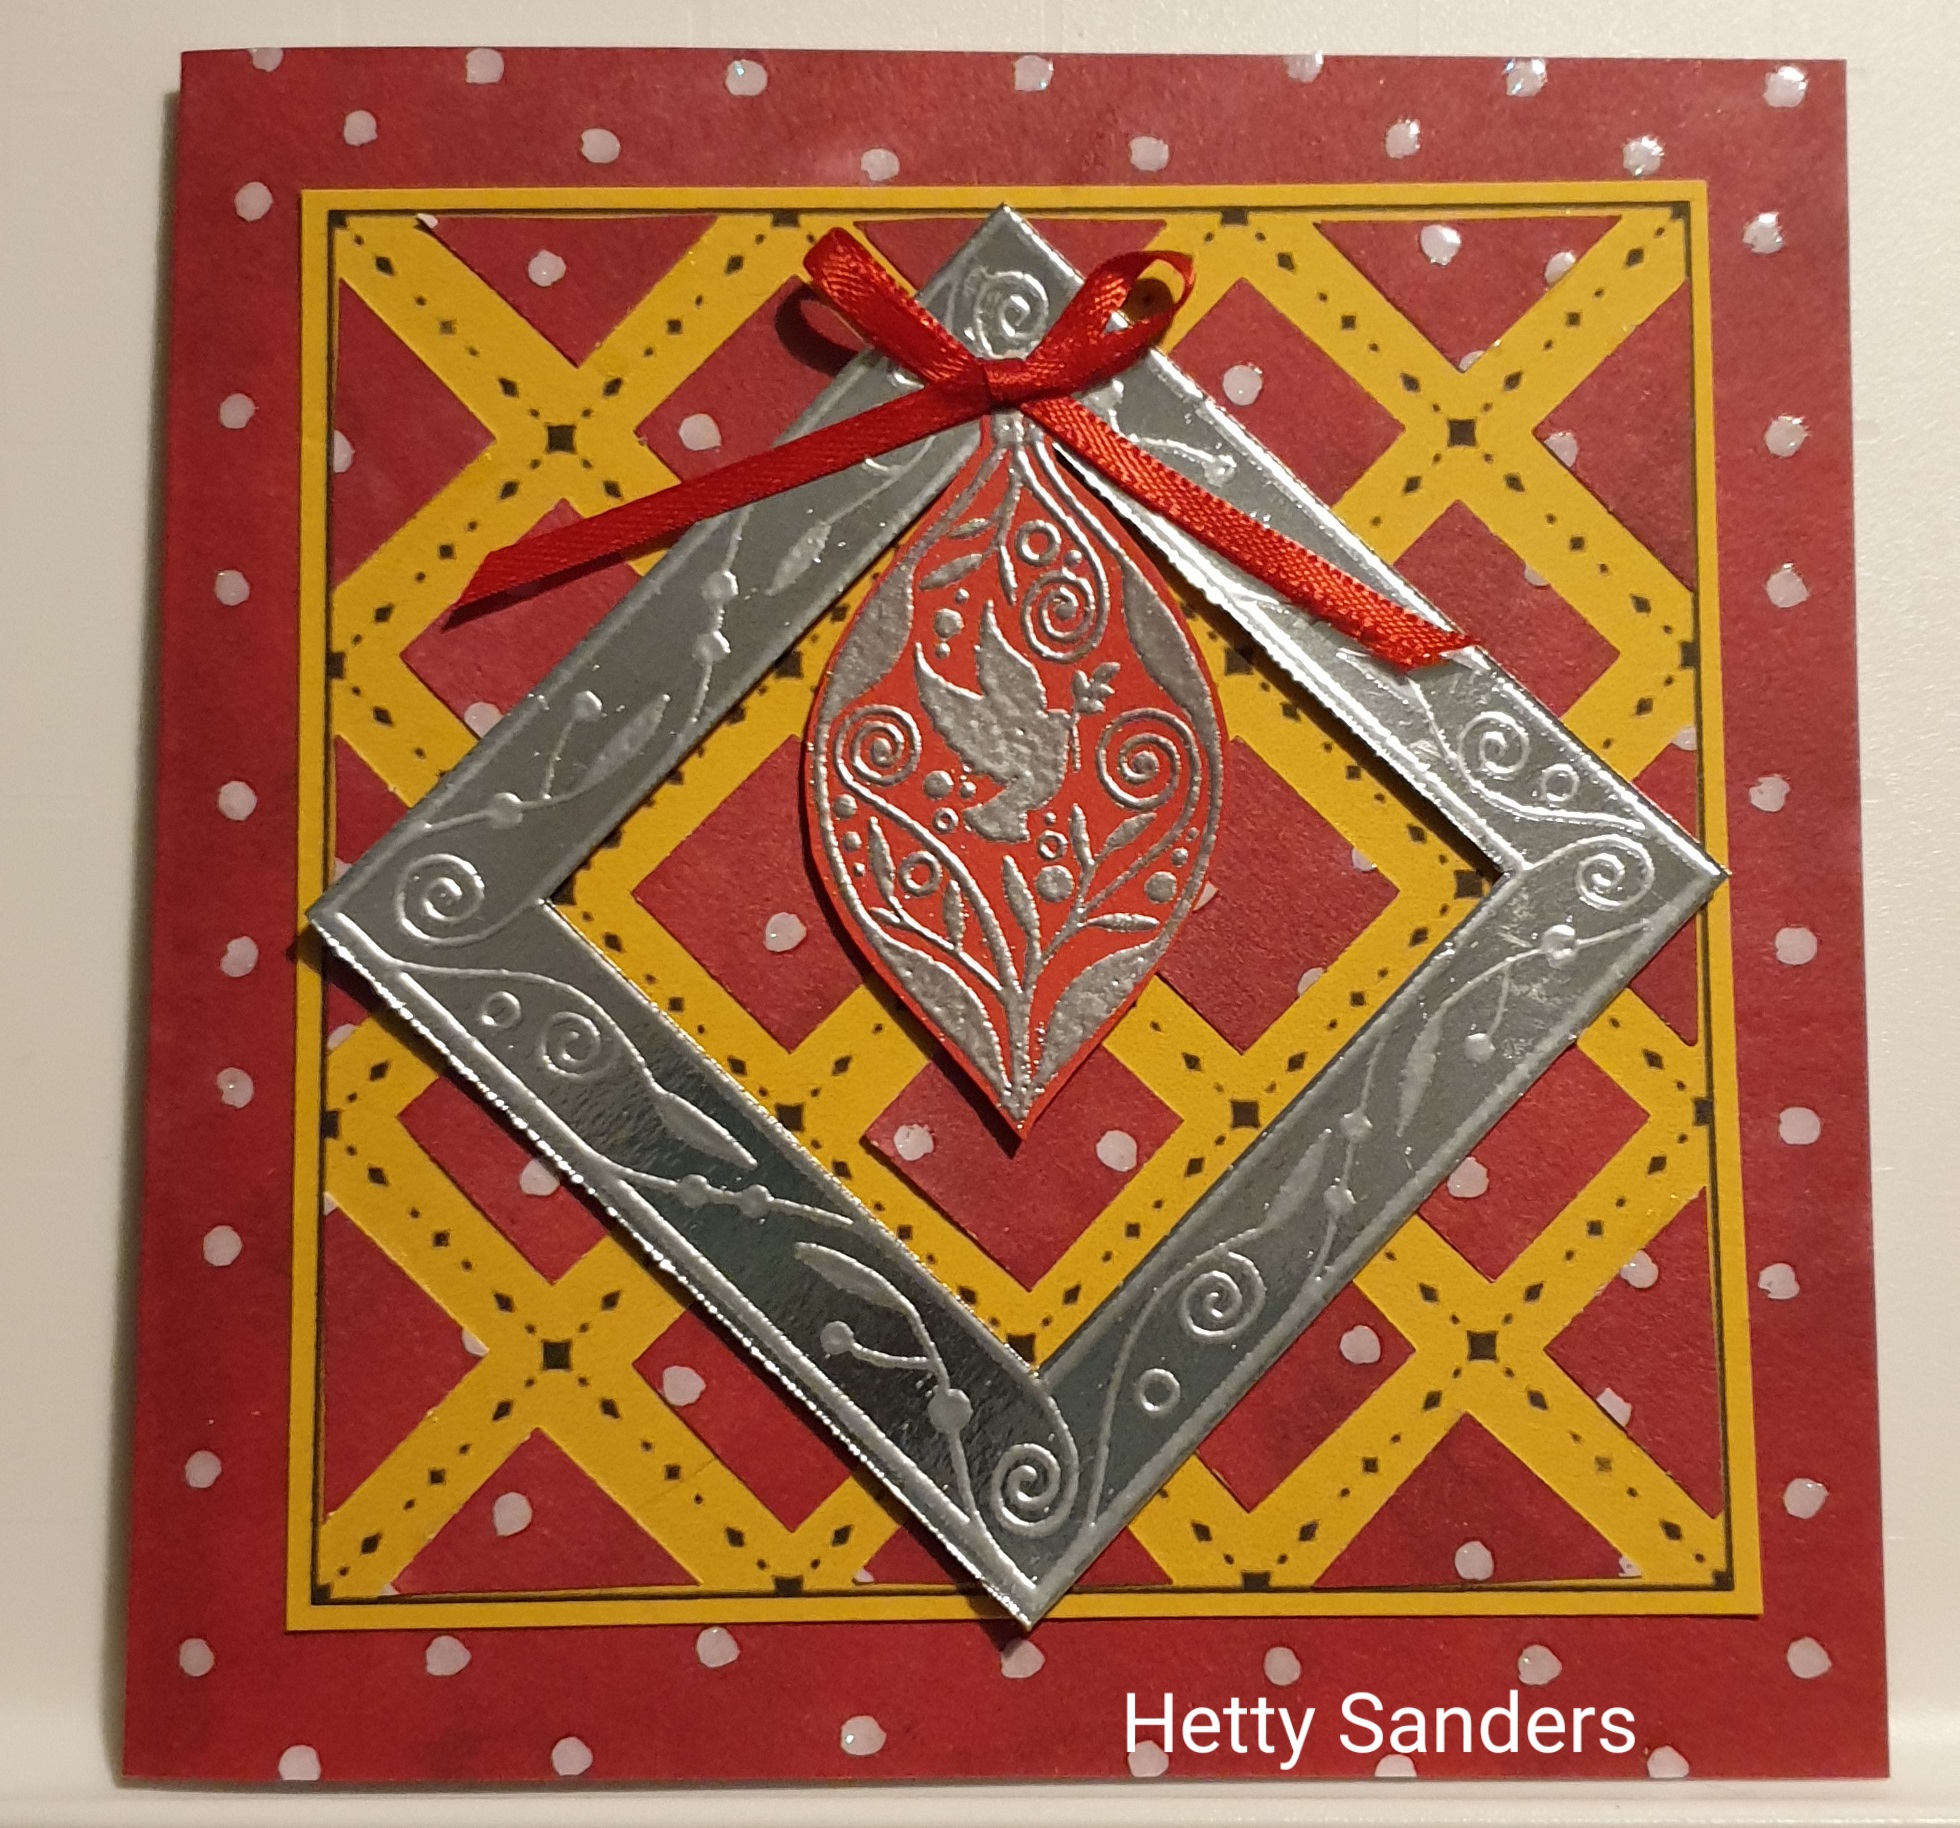
Next I stamped the flying pig from the Hogs and Kisses set.
He is colored with pink and brown zig markers. Then I added
distress embossing ink and wow silver holographic sparkle
embossing powder on the wing.


On the pig I added glossy accent all over and after letting
it dry, the pig shines!
After adding the pig to the card, I doodled the border with
a micron pen.

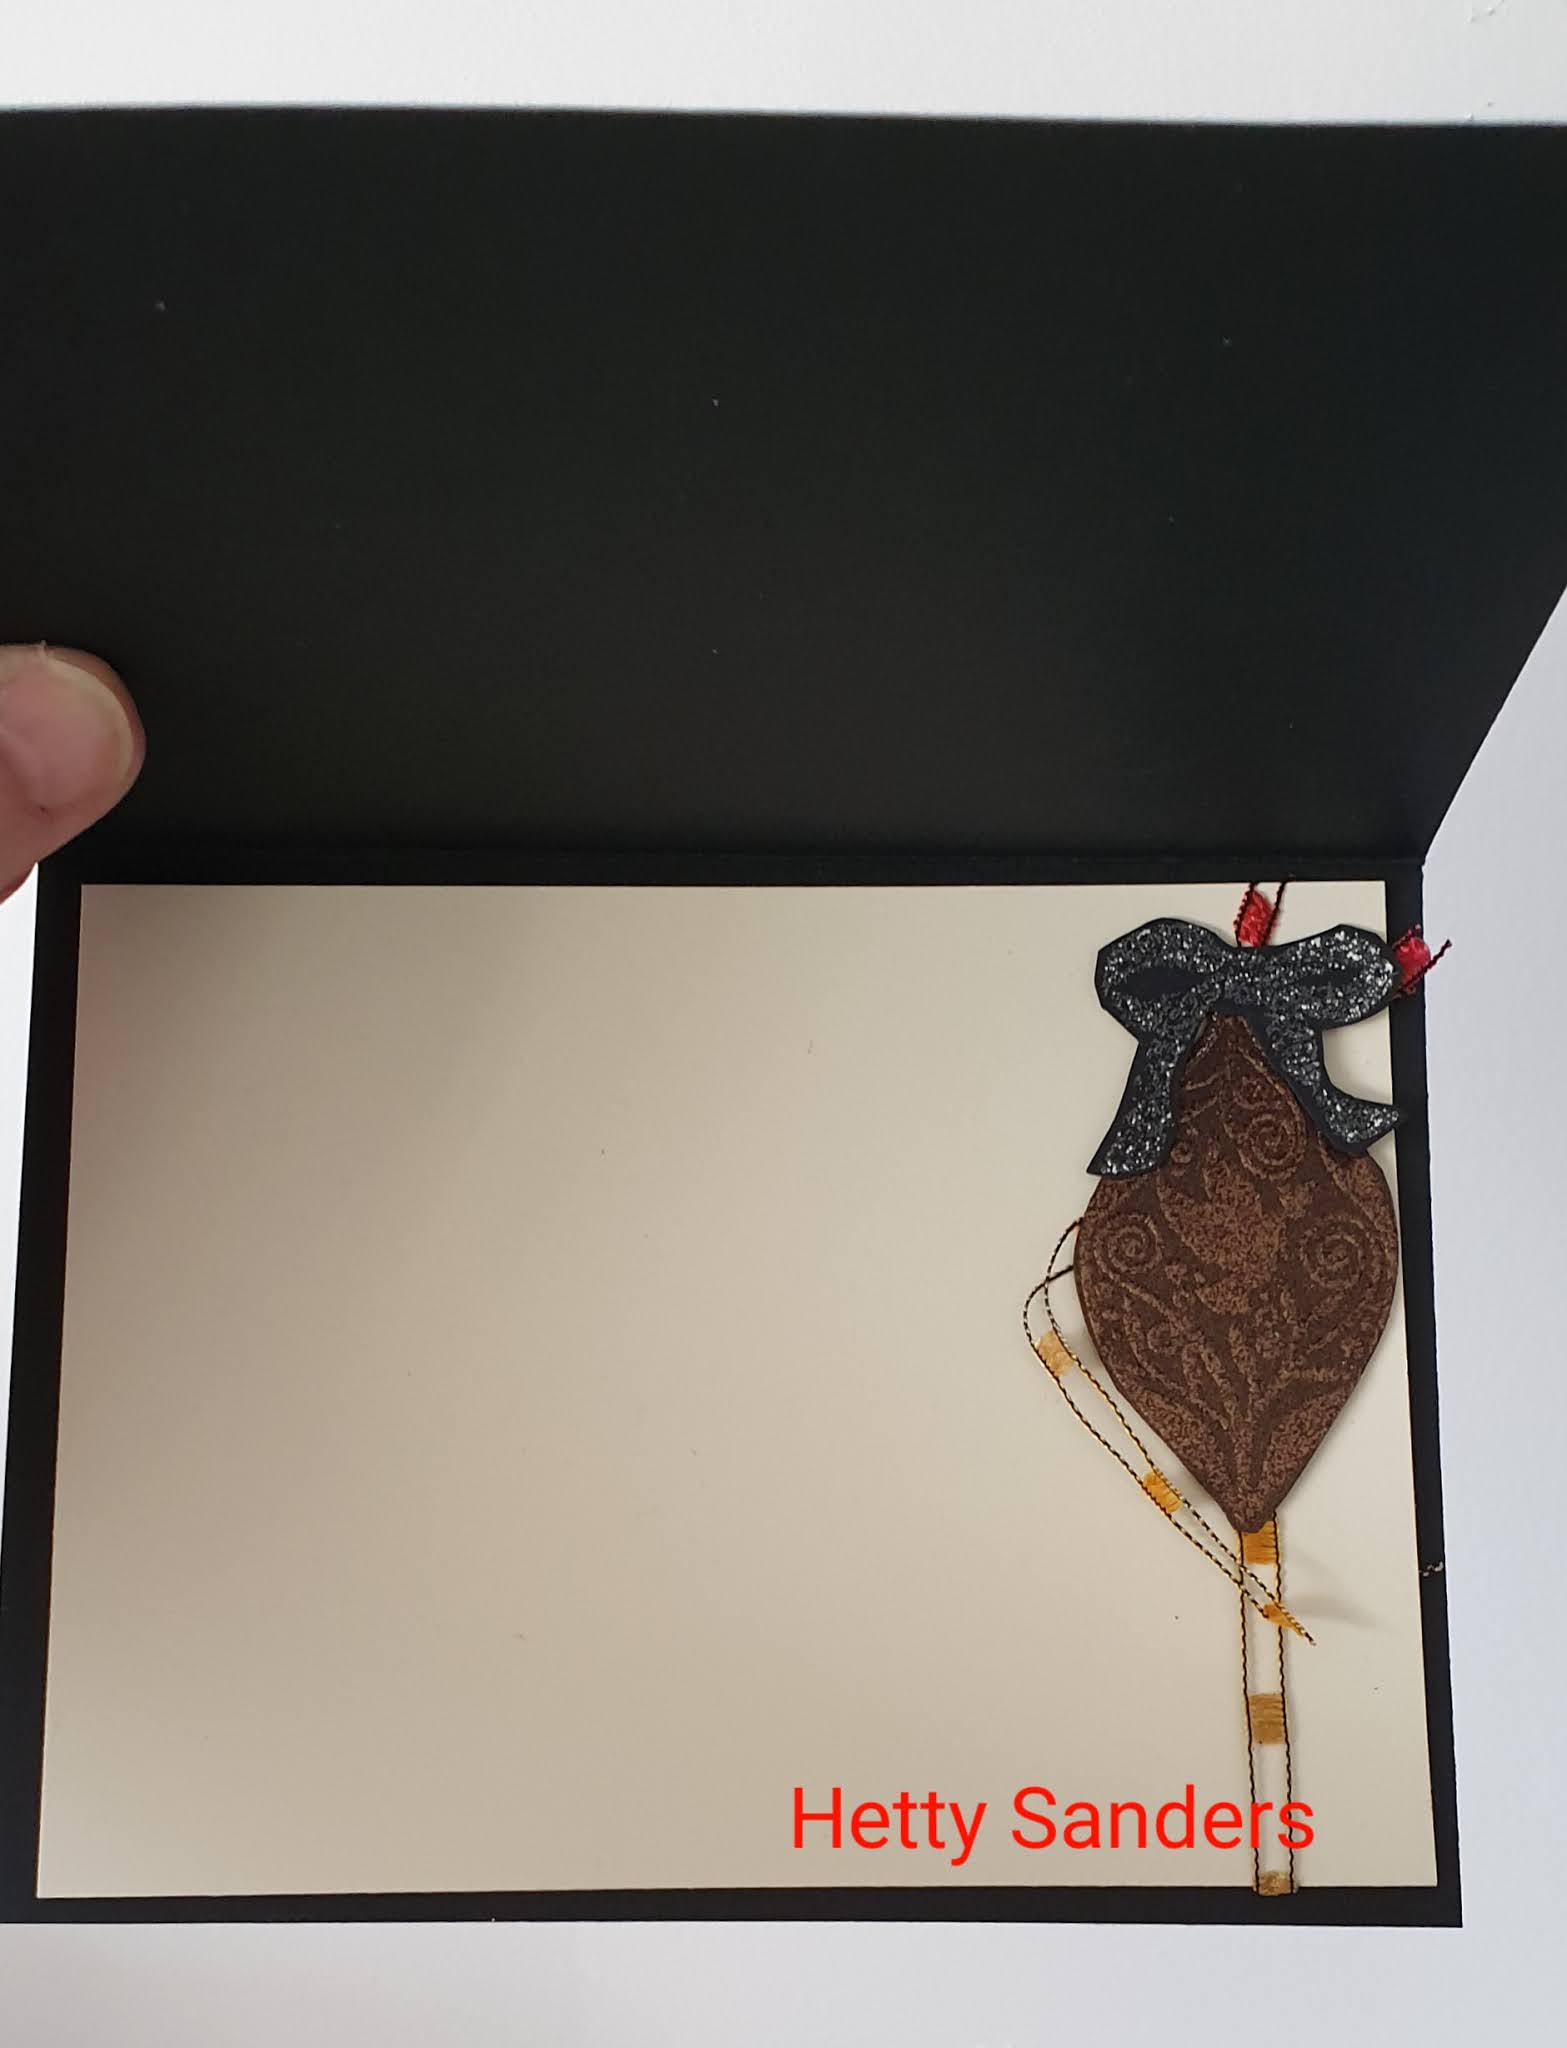
Then looked for some design paper and added all to a green card.
A strip left over from the design paper and another piggy
is the decoration for the inside of the card.

Thank you for looking,
stay safe and
keep crafting!


Friday, November 27, 2020

Bugaboo digital stamps: Friday Freebie


Good morning crafty friends!

Today there is a freebie on the 
It is this cutie and she is adorable for all occasions 
(see the main blog), but I dressed her up for Christmas!

For this card I used all kinds of papers I had lying around.
I found these cute buttons while rearranging my craft room
and there was also this "merry" die cut.
A quick and fun card.

Thank you for looking.
stay safe and
keep crafting!


Thursday, November 26, 2020

Bugaboo digital stamps: Oldie but Goodie


Hello Craftie Friends!

Today I am back with an older stamp by Bugaboo Stamps.
This is Christmas Teddy Cocoa and the sentiment is
from another stamp set Gingerbread Wishes.

After printing the image, I colored  it with Stampin'Blends
and cut it out. Found some fun Christmas paper that matched
the bear and the sentiment. A simple ribbon and that finishes
this card.

As today is also Thanksgiving, I found this old card in
my files, using AKV Turkey Pumpkin.

I hope all of you have a wonderful Thanksgiving, even
if it is a zoom family gathering. Be happy  and stay safe.

Thanks for looking,
enjoy your day
and keep crafting!


Sunday, November 22, 2020

Michael Strong November zoom class


We had another great zoom class with 
We have this every month and I am so happy 
to see a lot of my online friends and craft together.
We all are send a package with 5 cards including
all the elements you need to make the card.
So last night (for me, but early morning in
San Diego) I made these cards:


The first card we made, was this grid card.
We did it before and I love doing it.
Mike has the grid for you on his blog.

As we did not get enough little squares, 
we made a different card than originally planned.
As i went ahead making this one, I made my own variation
with some extra colors from my own stash and added
 a stamped sentiment.

 Card number 2 is this beautiful peacock card with
some amazing peacock ribbon and matching sequinces.

Card number 3 is ready for Christmas.
We were given these embossed background strips
and the dove baubles (stamp by Michael Strong here).

I added the bows on top. That is a stamp from the 
set Jars of Love by Stampin'Up!
The sentiment is from the words stampset by Mike himself
(only not available anymore).

This is the inside of the card, where I used the
4th bauble for decoration. The ribbon is a piece from 
one of the other cards.

For card number 4 we used a photo of a 
picture by Rachel Ruysch, a Dutch painter..
We received stamped squares, silver embossed on 
silver paper. This stamp is called 
Cloisoné Nesting Squares.
The sentiment I added is from a sticker booklet
with sentiments by Tim Holtz.
And the final card is an Autumn card. 
The leaves come from the stampset with the pumpkin:
the Pumpkin Harvest set.
Lovely ribbon and a little coloring.


Extra card from the leftover nesting squares.
I used the grid printed on yellow paper and the red
dotted design paper. Stamped the smaller dove bauble
and embossed it with silver embossing powder.
Everything goes perfect together.

One little square was left and I used it for the inside
With a stamped sentiment and a strip of the same
paper as used for the front.

Maybe I see you in the December class?
It is on December 12. Info on Mike's facebook.

Thank you for looking,
stay safe and
keep crafting!


Friday, November 13, 2020

Coffee Lovers Blog Hop: Last Day


Good Morning Coffee Lovers!

Have you had your morning coffee and
are you looking around the internet?
Hope you arrived here from the 
Because by commenting to all the blogs
of the Super Sponsors, you can win fantastic prizes.

Today I  share a card I made with my new 
and the set Time for Tea.

This is my card! Totally cute.
I even displayed it in my new craft room.

I made it easy on myself. I stamped the pigs on pink paper
and colored the wings, ears and snout with a white gelpen
and a white pencil before cutting out the image.

The background is made with these two Funky Fossil

The cup and the pot are colored with zig markers.
The coffee or tea (it can be either) are drawn by hand.

A look on the bakground and the sentiment.
For the background I used Bundled Sage and S
peckled Egg distress oxide ink.

Thank you so much for all the wonderfu;
comments and compliments this week.

Thank you for looking,
stay safe, enjoy your coffee
and keep crafting!


Thursday, November 12, 2020

Coffee Lovers Blog Hop: Day 7


Good Morning Coffee Lovers,

Have you been visiting the 
and noticed all the wonderful sponsors we have?

Today I share some of the stamps I have

I made this cute little wallhanger with my Club Scrap 
stamps and papers.
The following sets were used:
Mocha Java 2002
Brewed Awakenings 2012
Coffeehouse 2019
Yes, I am a long-standing member and the fill my
coffee hobbit to the brim.

As you know, I just moved house, and still rearranging
my now smaller craft room and when you do this, you
find things you kept for future use. So this little wooden
box came out off a pile. It is only 1/4 inch deep and
I suddenly had an idea. The box is covered with old paper
distress paint and left overnight to dry.

Here you see how it looks when finished.
I measured the boxes, cut the papers
and stamped the images.
The spoons where stamped with versamark
and embossed with silver embossing powder.
In the backgrounds I stamped a few coffee rings
with gathered twigs distress ink.

On the backside another cup with my signature.

Thank you for looking,
stay safe, enjoy your coffee
and keep crafting!


Wednesday, November 11, 2020

Coffee Lovers Blog Hop: Day 6


Hello Coffee Lovers.

Amother delicious day on the 
Today I serve you some tea.

As you know there are many Sponsors to the 
coffee hop and by commenting you can win prizes. 
One of the sponsors is Janesdoodles and I am using her
but I noticed there is also a digital set.


I made these cute gift bags and I show you how to make them.
You need a 6 x 6 inch piece of design paper and best isone
that is decorated on both sides as you can see.
1. You start by folding the 6 x 6 inch of design paper in
half, triangle way. Paper is by Stampin´Up!.

2. Fold onlu the front paper towards the fold line
with tip of the paper.

3. Lift that just folded piece up again and take the right dide
of the triangle and fold it towards the  horizontal folded line
 in the middle of the triangle.

4. Do the same with the left side of the triangle.
Fold it towards the horizontal line.

5. Fold the top flap back down over the other
folded flaps. This keeps the pocket in place and
you do not need any adhesive.

It really started with this gift pouch. It is made with decoration
I liked so much, and wanted to use in some project.
So I cut out all the decoration of the box for my
gift pouch. The sentiment is a stamp from the Janedoodles 
stamp set.

Here you see more of the stamps as decoration of the 
gift puch. The images are colored with zig markers.

Decorations here are made with a few punches I have for
leaves and flowers. The heart of the flower is a sticky pearl.

Stacking 2 cups for  there are two tea bags inside each pouch.

Thank you for looking,
stay safe, enjoy your coffee
and keep crafting!