Showing posts with label spellbinder. Show all posts

Sunday, November 26, 2017

Pinspiration: Christmas

Today I share a card with you that is inspired by a card
I saw on Pinterest.  And I love  the endresult, for I am
sure I am going to make a few more of these. I am a fan
of  kraft look.

For the background I stamped the semtiment with
vintage distress ink . Then I stamped the sentiment 
on a seperate piece of kraft paper  in black.

Next  a piece of musical paper (SU!) is cut of 2,5"x 5,5"
and glued to the background.
On a piece of white paper Michael Strongs middle size
Christmas Tree is stamped with peeled paint distress
ink and cut out with an oval die.

Then I cut a piece of vellum with a slightly larger
oval die and used a snow embossingfolder.
First i taped the christmas trees on the card
and next the piece of vellum on top.

The kast thing i added was the sentiment.
This sentiment is one of my favorites.
It is from an old SU! set called Sassy Salutations
(not available anymore :-( ).

Thank you for looking
and have a creative day!


Thursday, June 29, 2017

Day 7: Coffee Candle


Welcome to another coffee project on day 7 of the
So many sponsors, so many prizes to win, so don't forget 
to add your card and have a chance to win some goodies.

Here are some more decorated candles.
This time with totally different images.
These are from:
Inkadinkdo - coffee and friends (not available anymore)
Inky Antics - cafeine sentiment
JavaJoanne - Java Great Day

When i bought the candles, they came like this.
These are scented candles.

I colored the images with pencil
and cut them out with a shaped spellbinder die.
To have the second layer, I traced the die
with pencil on the gold paper and cut this out
by hand so i could layer it with the image.

Tiny prima flowers were added with tiny brads
and the ribbons are the beautiful hand dyed 
ribbons by Diana Larson.

So my grandson also plays along this time. 
He drew two cups of coffee: one for me and one for him.
I played with his drawing, using a stencil
some stamps and direct to paper ink
method to make it into this card.
The sentiment is by Tim Holtz.

Well, just one more day and the hop
is over. Hope you find some time to 
come back tomorrow.

Thanks for looking and
have a latte creative day!


Saturday, April 30, 2016

Mojo Monday 445: round version

Happy Saturday!
While I was making the square version of the
sketch, I already had an idea for the circle version!

You find all the details of this sketch challenge on

For my card I used:
circle and scalloped die by spellbinder
sizzix coffee bean embossing folder
coffee ring scrap paper by Moxxie
coffee cup rubber stamp by Michael Strong
and sentiment by Create with TLC

On the sentiment I added a tiny silver spoon with glossy accent.
It was a little carm,but i cut off the ring on top.

Thank you for looking.
Have a creative day!


Saturday, April 23, 2016

Happy Passover


Today is the first day of Passover.
A Jewish holiday always starts the night before.
Today it is also Shabbat, so two celebrations in one.

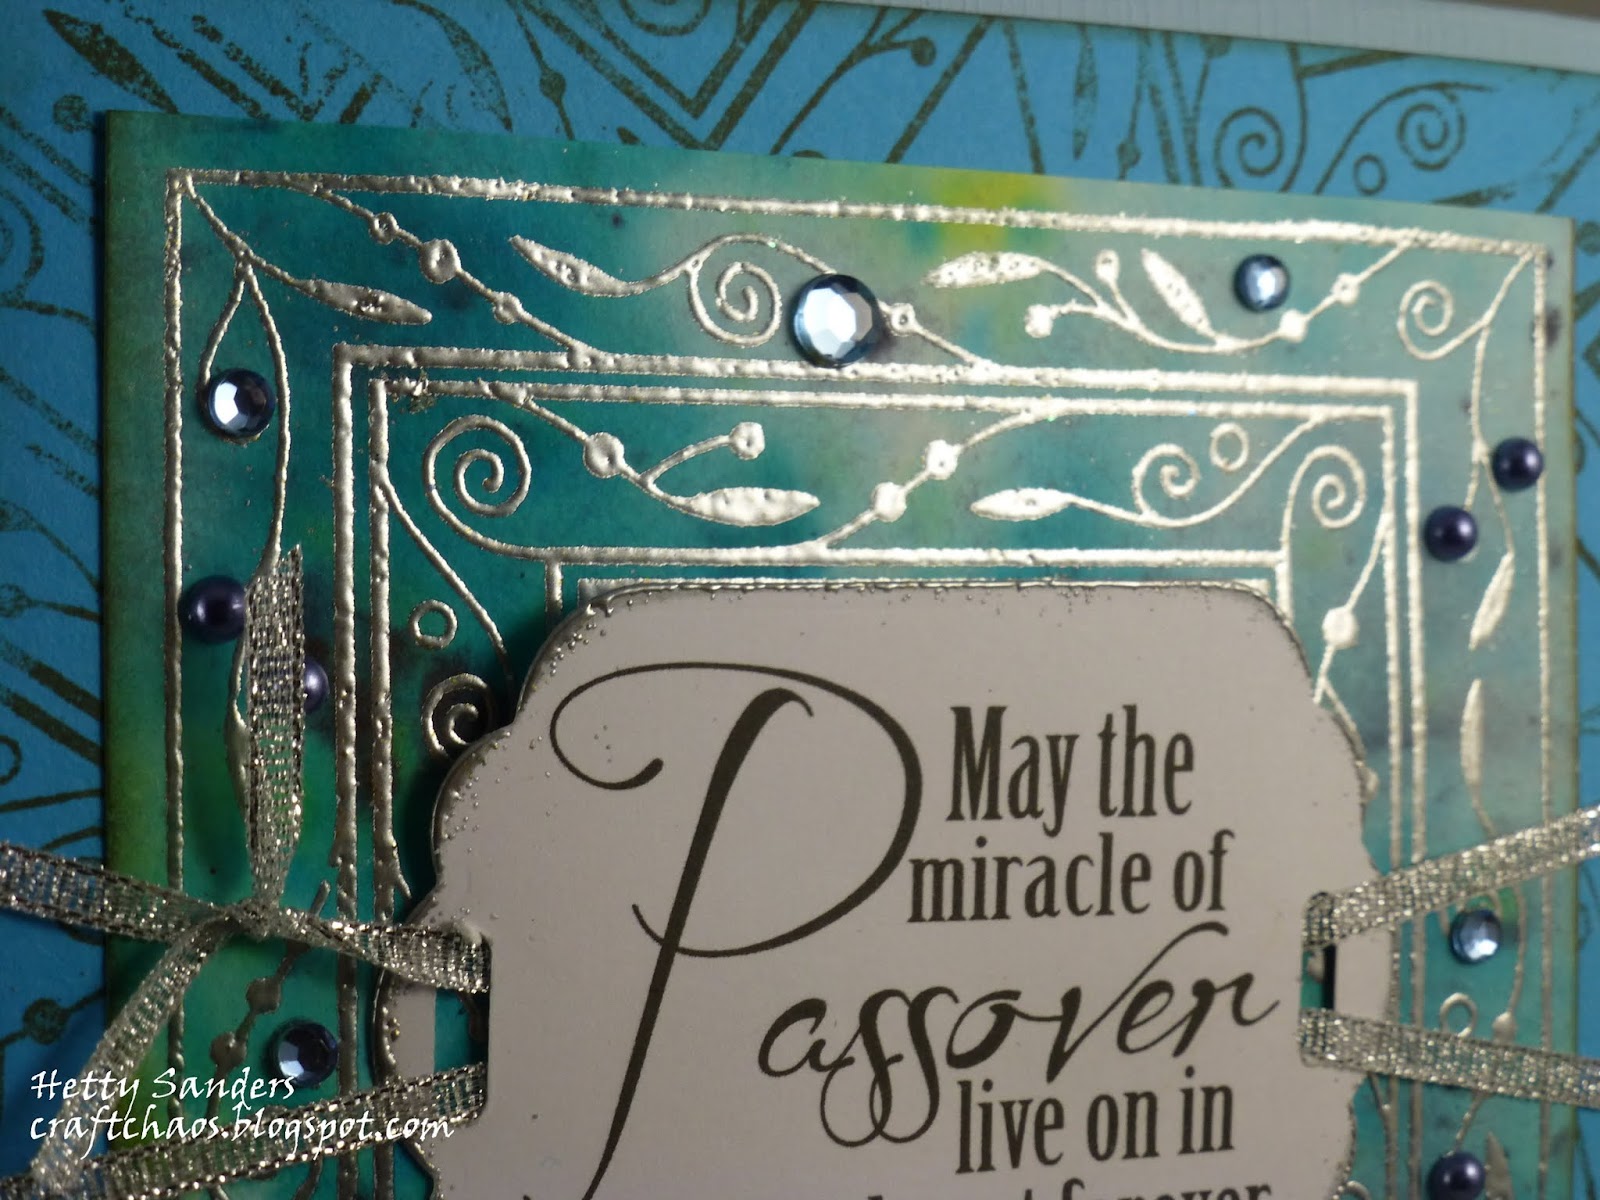
So here yet another Passover card with a 
sentiment by Create with TLC
and the cloisonné nesting square stamp 

For the background I started with making
a color burst background. With turquoise and 
chartreuse  spritzt on the background and sprayed
with water you get this wonderful colored background.

While the other piece is drying,I took a piece
of turquoise paper and stamped with the square 
stamprandom around the border with ground expresso 
distress ink.

Now the color burst background is dry,I stamped 
the square stamp on it and embossed it with silver
embossing powder.

Here a close up.

The sentiment is cut with a spellbinder die
and around the sides dipped in versamark and also
embossed with silver embossing powder.
The sentiment is fastened to the background with a silver ribbon
and the border has a little more bling with  a few
gemstones and pearls for decoration.

Thanks for looking.
Happy Passover and Shabbat Shalom.


Sunday, February 7, 2016

A sketch and Valentine inspiration

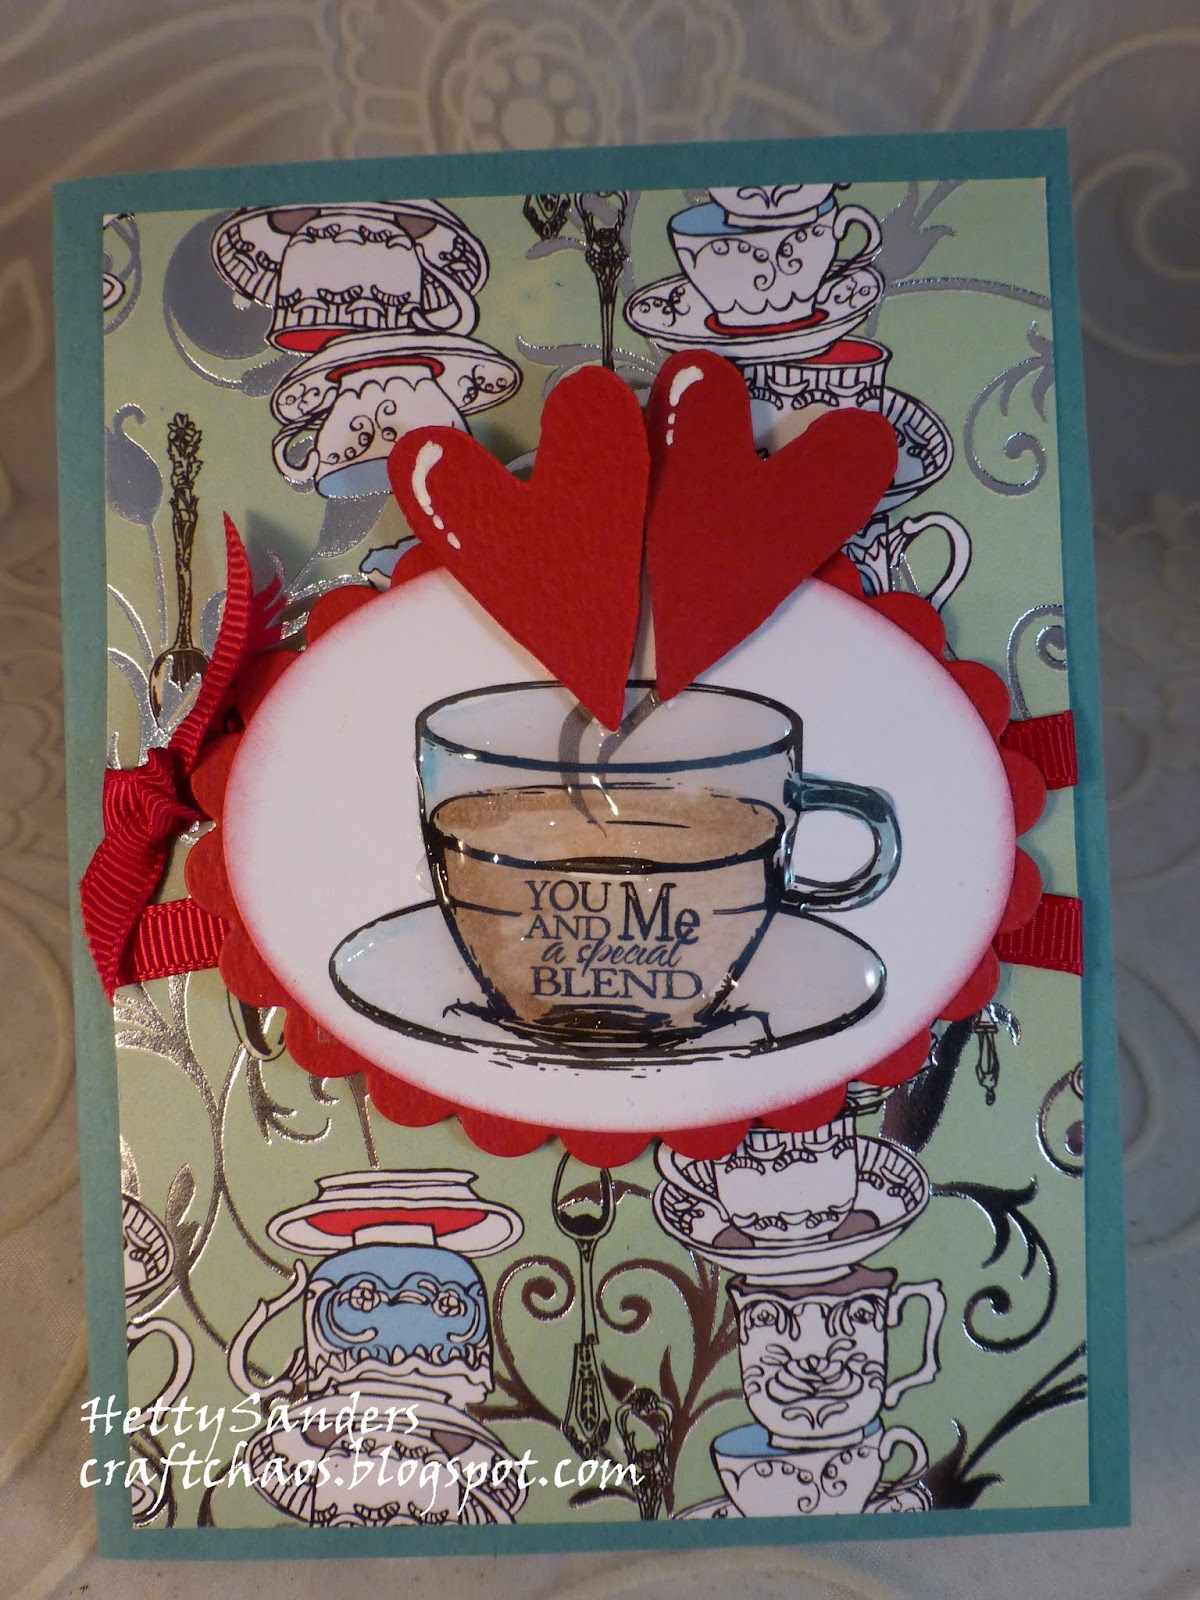
Oh yes,here I am with another set of coffee/tea cards.
I found this wonderful sketch at the
that was perfect to make some easy cards.

I wanted to use these lovely and fun images
for a few non traditional Valentine cards.

This set of images is called Celebrate Coffee!
and is by Paulette from Create with TLC.
You find the set in her shop here.
The whole set of images for only $3,25

I colored the image with watercolor crayons from SU!. Just use a 
brush and some whater for coloring.I love the soft way the
image is colored this way. Oval die and scallop matching die
are from Spellbinders. Background paper is from an SU!
design paper block.

This image is also colored with watercolor crayons.
Another fun background paper from another dsp block.
On top of the cup I added glossy accent to make
the cup look like real glass.

And here is the last card. Design paper in the
background  This time I just printed the image
and die cutted it. I just stamped the little
hearts and the coffee rings.

Hope you have some inspiration.
Check out my blog again for more tomorrow.
Have a creative day!


Wednesday, February 3, 2016

I {heart} sketch #137

Her is my sketch card for the
When you played along last month
you received this free digital stamp set
and if you play this month you get one free for next month.
You can purchase this set for $ 1,- HERE.

 Now this is the sketch:
I could have made the background with lots of layers of paper
(I have enough!!), but i decided to use a fun stamping technique
that makes it look like layers.

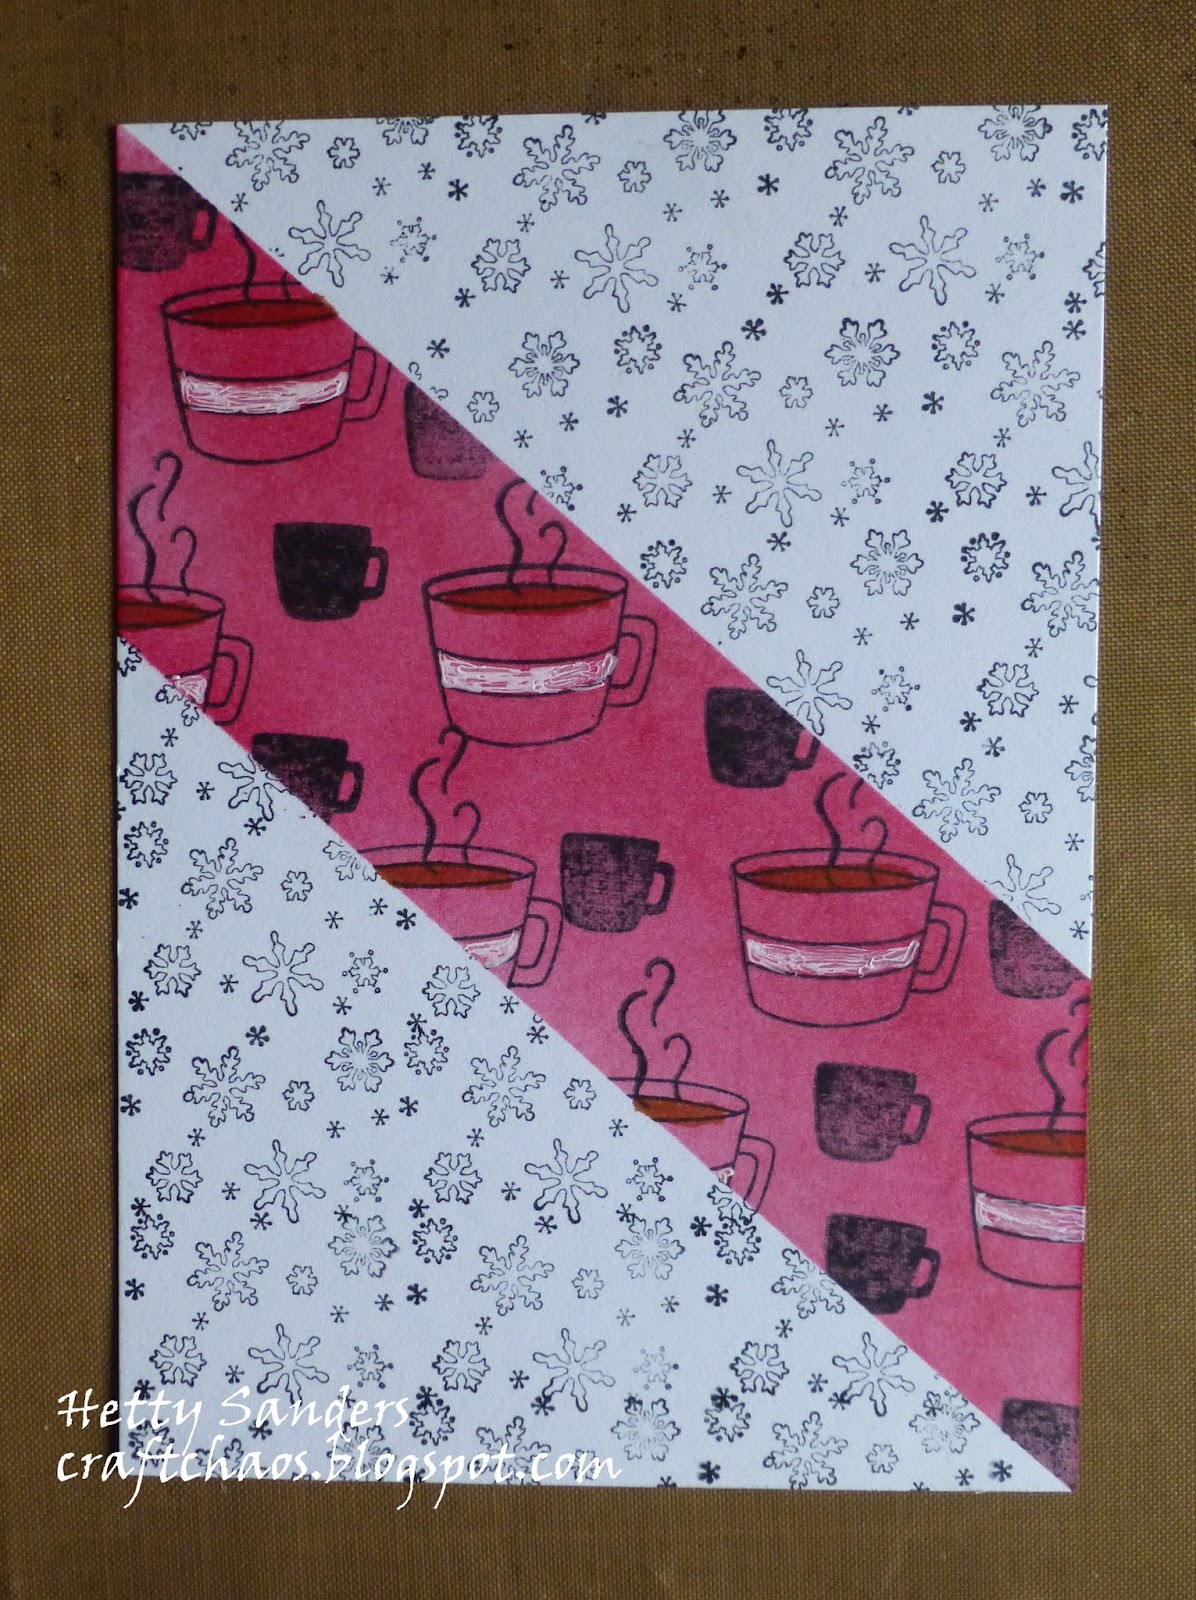
Get out your masking tape!

I taped down a piece of white cardstock and
left the space of the slanted line for the background.

With a blending tool and red ink
I colored the white space red.

On top of the red line i stamped these
cups with stamps from Newton's Nook Designs
called Newton loves coffee. I colored the line
with a white signo pen and the coffee with a tea dye 
distress marker.
When you take away the masking tape
it looks like this.

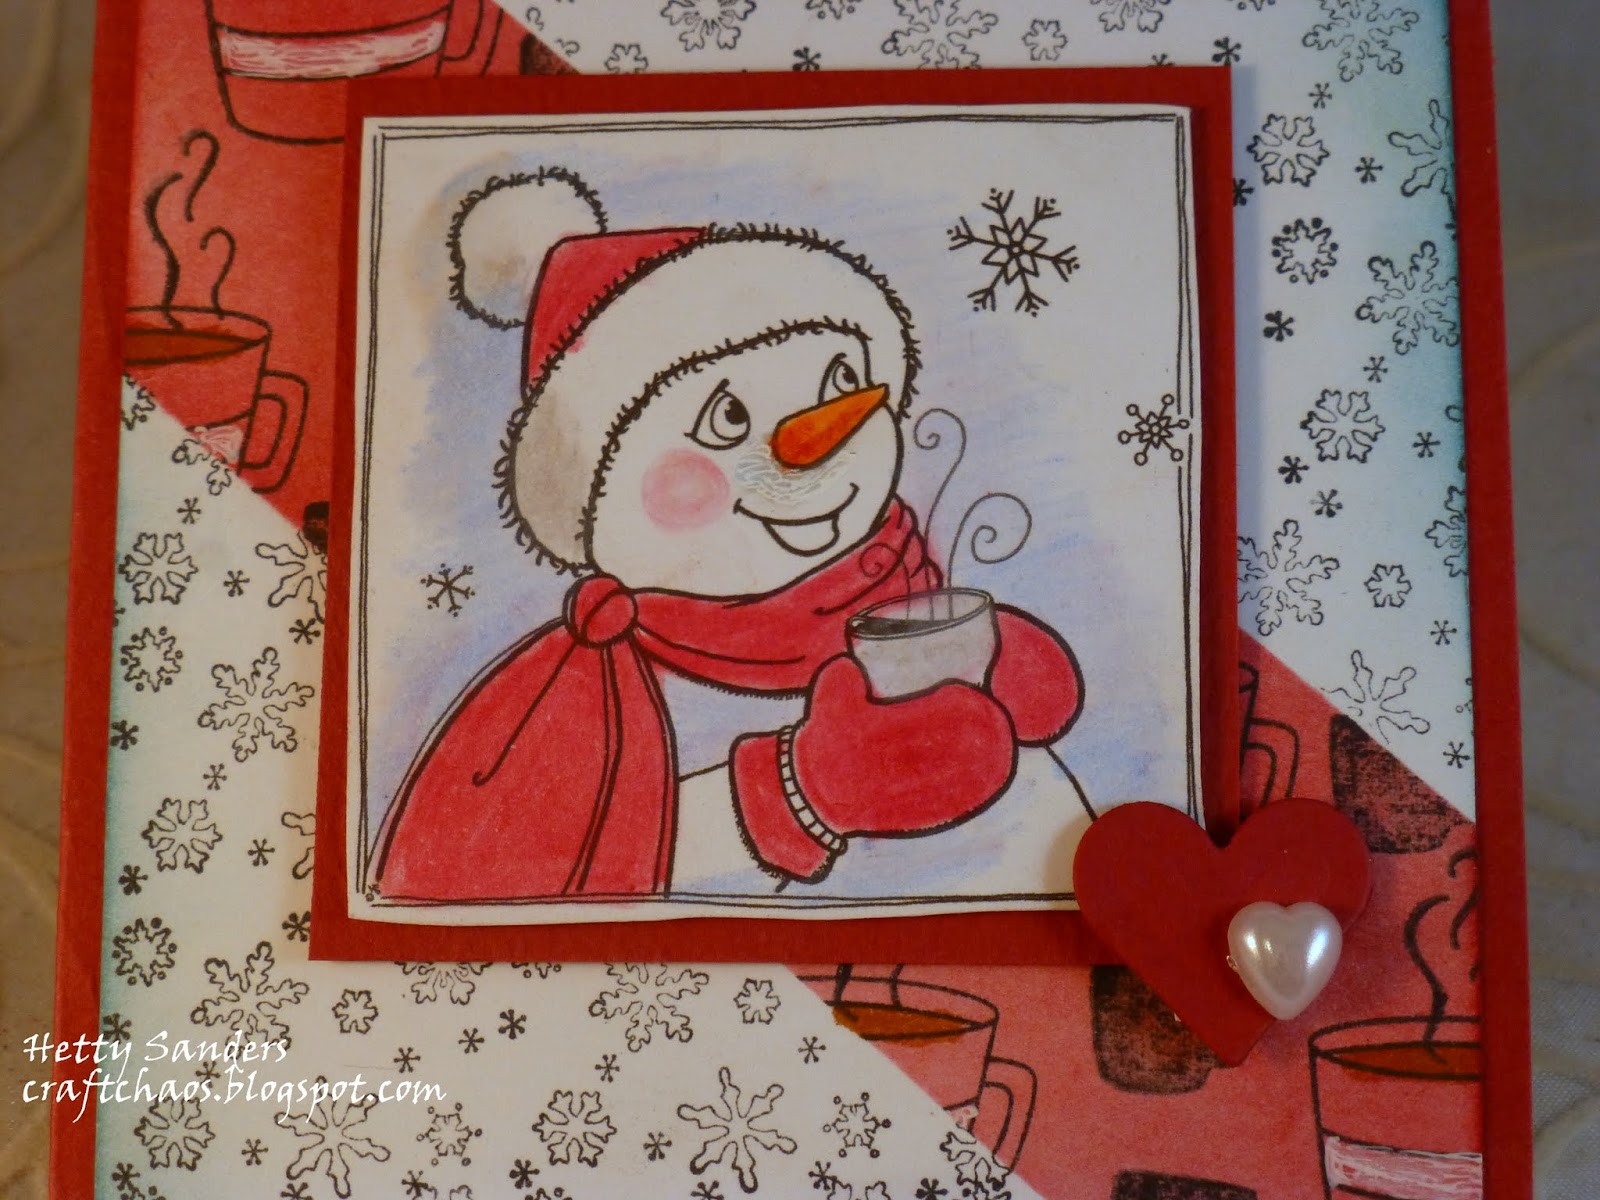
Now i put the masking tape on top of the red line
to stamp the snowflakes on the background.
This is an old stampfromStampin'Up!.

Here you see the finished background.

The snowman image is colored with pencil.
The heart is cut with a Spellbinders die and added a tiny 
white pearl heart on top.

The printed sentiment is cut out with a punch
and tiny sticky pearlslook like it is fastened
with brads.

Thank you for looking!
Have a creative day!