Showing posts with label alcohol ink. Show all posts

Sunday, April 16, 2017

Easter is here!


Happy Sunday!
Hope you all have a wonderful start of your day.
We have a special Sunday tradition at Passover:
Matzoh with scrambled egg! It was what my father
used to do, but now that he is not here anymore,
we keep on doing it.

 I guess you also have all kinds of egg breakfasts
as it is Easter too and want to wish you all
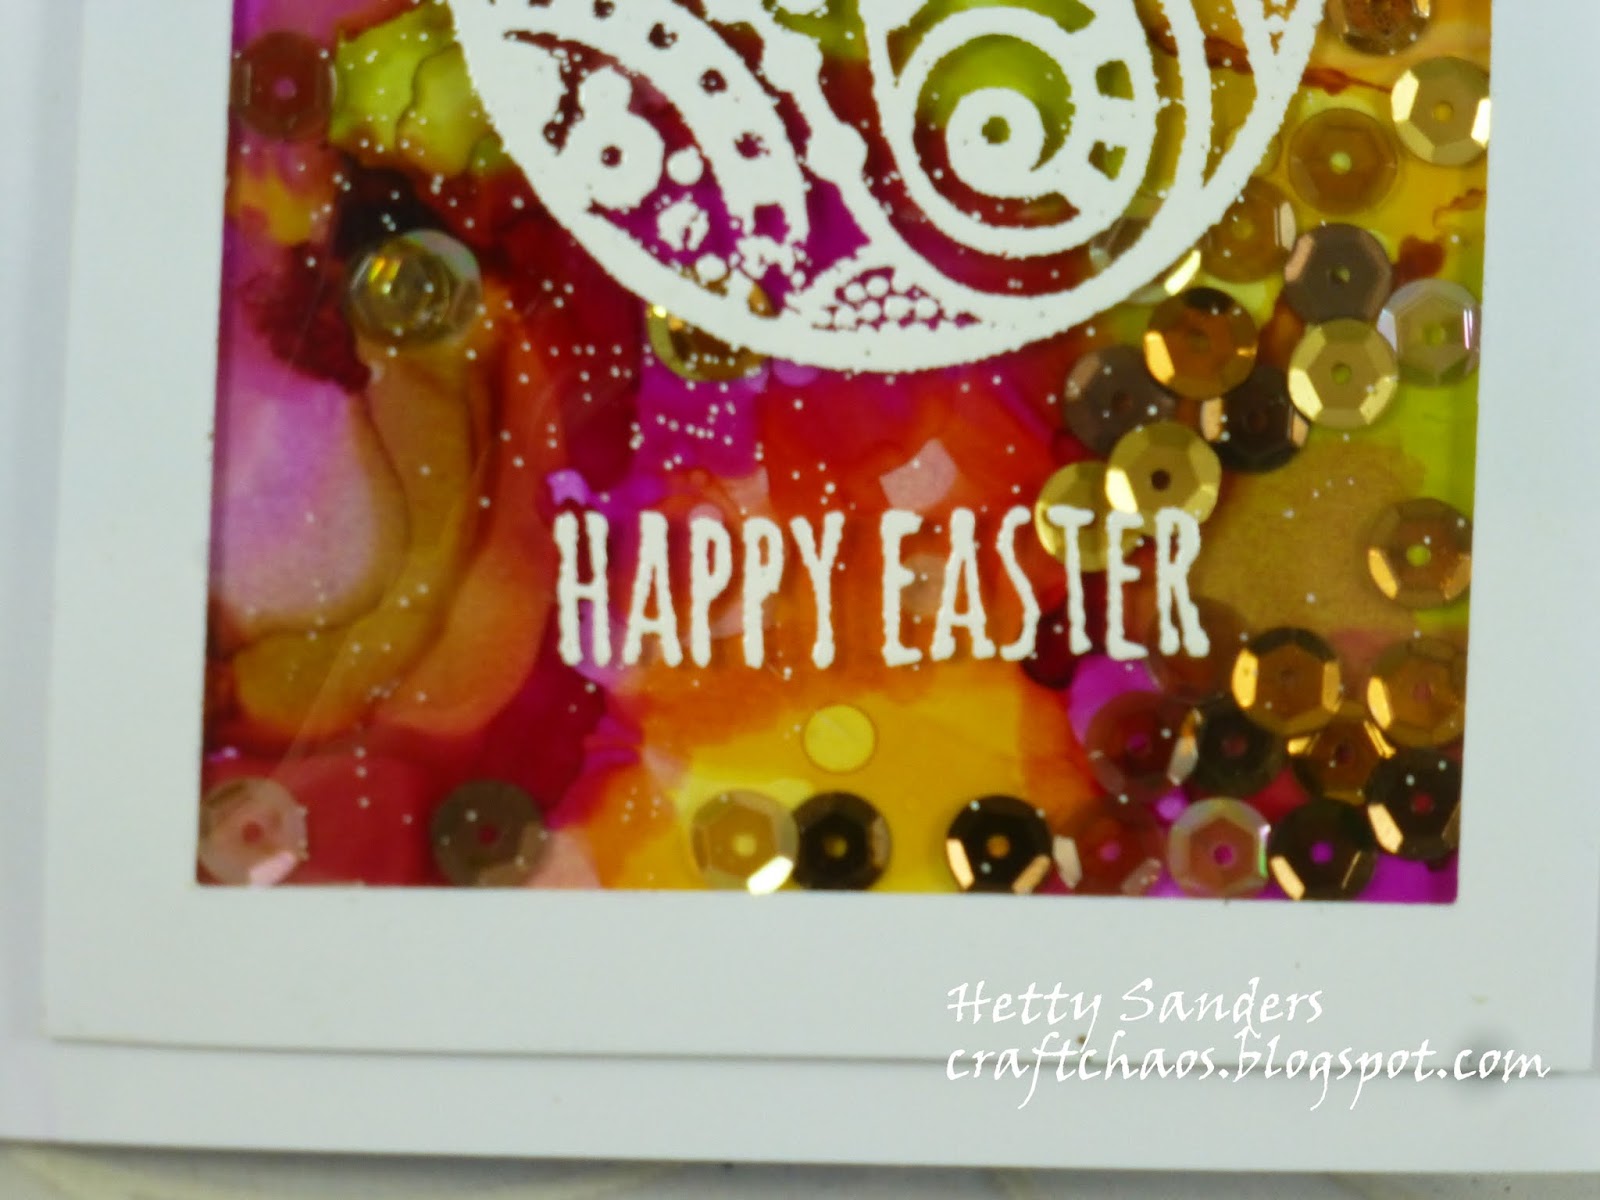
a very Blessed Easter with this shaker card.
For my card I used:
the Michael Strong large egg stamp
Tim Holtz sentiment
Yupo alcohol ink backgrounbd.

I stamped the egg on an acrylic background
and embossed it with white embossing powder.
I did try several pieces of acrylic material before I
found some that did not change when heating up.

This sentiment is from Tim Holtz from the set
Crazy Talk CMS236.

The background is made with yupo, alcohol
ink (yellow, green and hot pink) and alcohol drops.
HERE you see more about how to play with yupo
and the alcohol inks.

I made these layers into a shaker cards
with some light brown sequins.

Thank you for looking and
have a creative day!


Wednesday, January 25, 2017

Club Scrap Blog Hop: Color Me Happy


Welcome to the first monthly Club Scrap Blog Hop in 2017.
I hope you have arrived here via
and seen her wonderful projects.

I have focust this time on my new scrapbook for 2017
and made a front page and the first entry.
For making pages I absolutely love the ALSB -
assembly line scrapbooking - formula.
You find a great instruction video by Tricia here:


For my page I used page 5&6 from the instructions.
The first pages in my book are about ringing in
the New Year at my daughter's house with 
champagne and fireworks. The eldest grandson
came out of bed and enjoyed seeing the 
beautiful firework and going to bed late!

I always make the pages first as they are from the instructions.
Once I add my photo's I make some changes that fit my
personal need, like on the middle strip there was another
text. I typed mine on the computer and printed it
to fit on the strip after cutting it out.

Also the left image I changed. I turned it around and 
the white side was beter for the journaling I wanted to add.

For writing I used the free Beacon font that 
you can  download here.

On the other page I had to adapt the right colomn for
picture, for I had two larger ones. It still gives the same
 impression. I added some journaling on an extra piece 
of paper.

I love the font that comes with this kit.
This is printed and colored with some ink around the borders.

Here again the first page. I am sure you want to know
a little more about how I made this. It is made in a 
few layers.
The first layer is the background on 12x12 inch turquoise paper.
For this background I used the dragonfly stencil
that came with this kit. I used dark blue ink
that shades the stencil perfectly on the paper.

The 2nd layer is the yupo paper that is also in this kit.
With alcohol ink you make a wonderful colored paper. 
All about the technique you find here.

The 3rd layer is the cut out year (with number dies from
Stampin'Up!). I stamped the leaves on top of the 
turquoise paper in black and colored it with green
pencils. The white dots are made with Ranger
white distress spray.

The sentiment is one of the cut aparts that came with 
this kit and I am sure 2017 has lots of moment that
we will smile about!

For mor inspiration, I hope you hop over to
and see what she has come up with.

In case you lose your way, go to the main
and see all participants.

Thank you for looking
and have a creative day!


Tuesday, January 24, 2017

Mojo Monday #481

Today I share with you my card for  the
with stamps and papers from the  Club Scrap
January kit Color Me Happy.
You find this weeks sketch HERE.

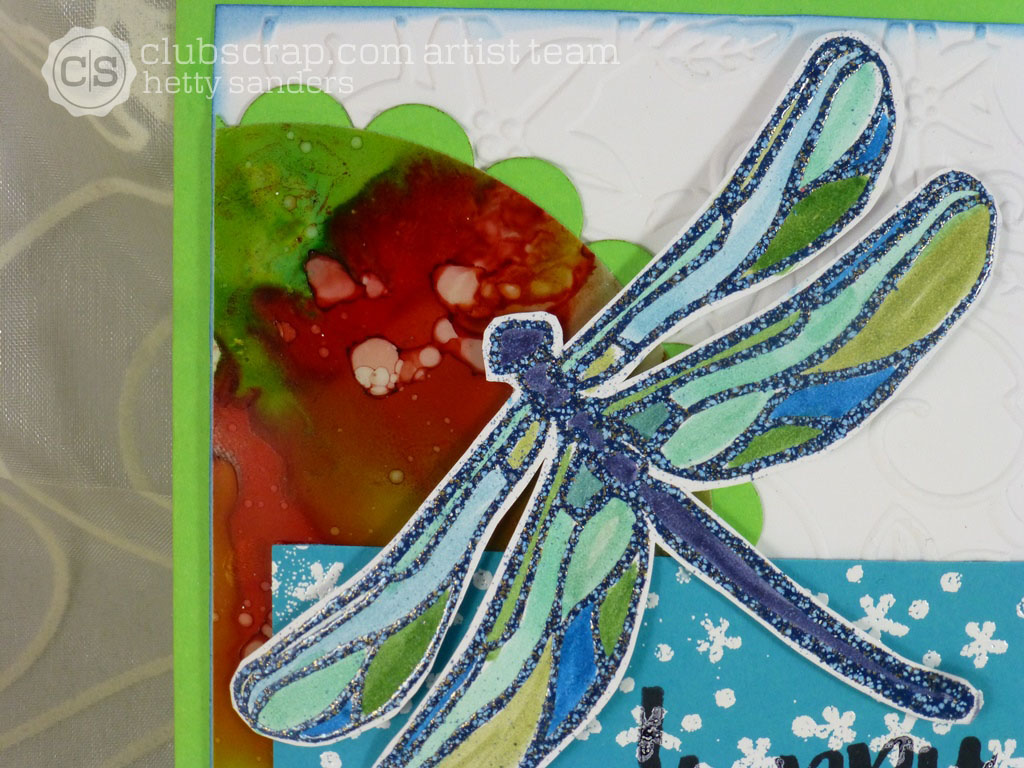
The background of this card is embossed with a flower
embossing folder. On the background circle there
you find a piece of yupo paper colored with alcohol ink.
The dragonfly is embossed with dark blue embossing
powder and colored with distress markers.

Hope to see you again tomorrow,
when we have our Club Scrap  monthly blog hop
and you can see what we do with a box of papers 
and rubber stamps.

Thanks for looking
and have a creative day!

Wednesday, August 10, 2016

Creative Chemistry Day 5: Alcohol Ink

Here my projects for day 5 of the Tim Holtz
online classes of Creative Chemistry 103.
All the techniques incorporate alchol ink and yupo paper.
So what to do when you have no yupo paper?
Well shop, you will say, but it would not be here in time,
so I just experimented a little.

I choose the resist technique.

I tryed on several papers if the technique as Tim shows it in his video
tutoral, but no paper i had worked. So with my card and tags
I cheated a little by finally using bleach to try and get the same effect.
Finally these were the best samples to use.

This green background is alcohol ink on ranger matte stamping paper.
I made an alcohol background and then i stamped the bottles
with bleach. Not the best result, but ok for the tag.
I finally stamped the bottles also in black on top of the background.
Also some die cut bottles from dample papers I used to
decorate the tag. The words creative chemistry are printed on
kraft paper with the computer. 103 is a die cut.

This tag is just bleach on dark brown paper. That seemed to 
work best, but no alcohol ink. I loved the background,
so I had to finish this and make it into a tag.

Here i used the alcohol ink on some funny shiny paper that was
lying in my stash. No not photo paper. After adding the alcohol ink
was added, I stamped the bottles with bleach. The lines did not stay
were straight, but gave a nice look, so I stamped the teacher on top
and gave him also some bottles make his potions. Is it Tim mixing
the creative chemistry? 

Anyway, not the real technique, but I had fun playing.

Thanks for looking.
Have a creative day.


Sunday, March 27, 2016

Happy Easter 2016

Wishing all my friends a very 
Happy and Blessed Easter!

My card today was inspired by the
Color Challenge on the
is perfect for Easter cards.

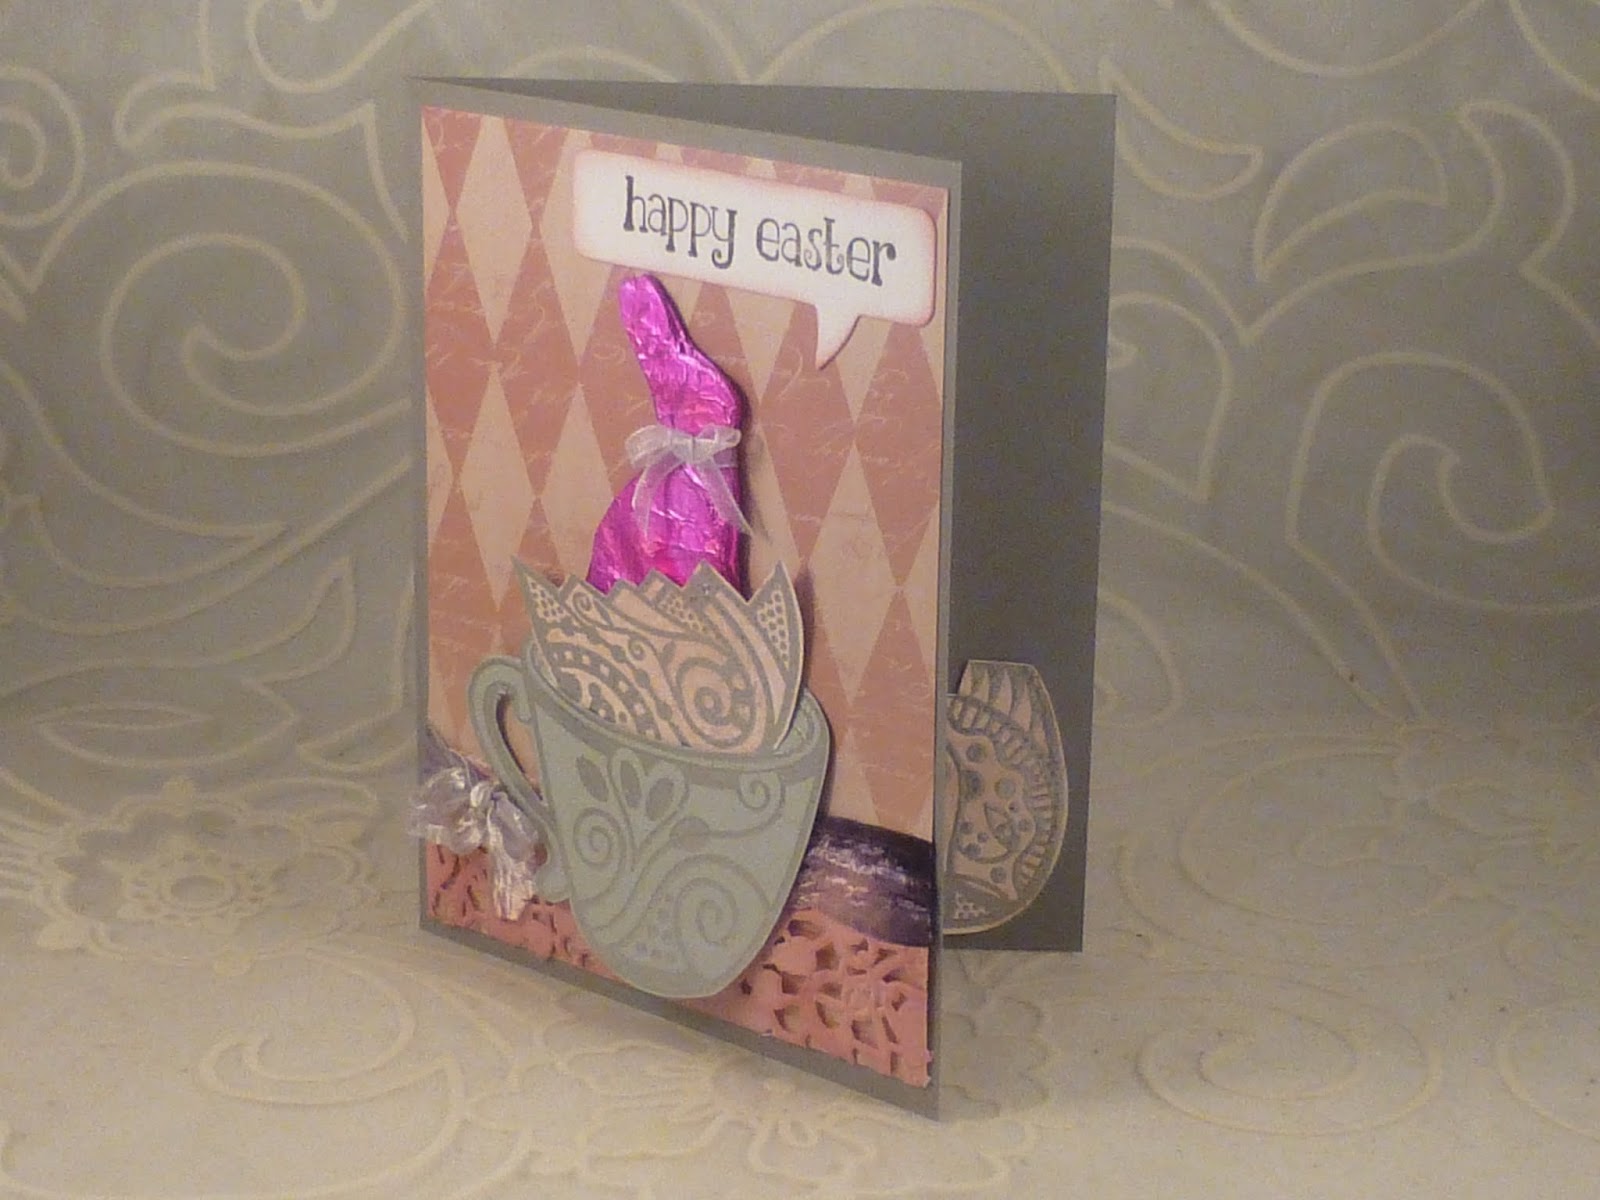
Want to know how I made this faux
chocolate bunny?

I think I seen this last year (or the year before on
the blog of Tim Holtz). Cut out a bunny with a
die from cardboard. Then take a piece of alu foil
and a bottle of raspberry alcohol ink. Use a blender tool to
add the ink to the foil.
Cut the foil with a seam around the bunny
ald fold it over.

And here you see part of the finished card.
All papers are Club Scrap Paris Fleamarket.
The sentiment is by Stampin Up!

The cup and the egg stamp are by 
Michael Strong,both embossed in silver.
The ribbon and the paper lace are also by Club Scrap. 
Nothing is thrown away,the other part of the 
egg decorates the inside of the card.

Thanks for looking.

Have a creative day!


Sunday, October 4, 2015

Sunday Scrap page: Pumpkin Latte

Sorry! one more coffee page!

It comes with a story:
A few years ago i was in the US around this time
and I tasted pumpkin latte for the first time in my life.
In the Netherlands we don't have this coffee flavour.
Can you believe it?
Well Halloween is not so big here either.
So I have been trying to find this coffee here. Now that we
also have the Starbucks coffee shop, I thought last year let's try,
but no they did not have it.
I was very disappointed and my good friend Laura send me some 
packages from the US, yum! I still have a few.

So last Monday, my husband came home and invited me to
have coffee at Schiphol Airport after dinner.
He had found out that this year they did have the pumpkin latte!
Thanks for the special treat, Raymond.
I love you!!
 

So I made this page with
  Club Scrap paper
Michael Strong pumpkin stamp
and Tim Holtz coffee cup die by sizzix
I stamped the pumpkin on a copper colored paper
and embossed it in gold. Adding some green gemstones
for decoration.

If you like the pumpkin and need it quick, you can also use
Mike's digital image. it is free and you find it here:

I cut the cup with the die and stamped with the pumpkin
stamp on the cup with orange ink for decoration.
The mustache is in honor of my husband.
The background is again done with alcohol ink,
a splatter embossing folder and Club Scrap coffee
ring stamp.

So,I think I am done now with the coffee cards and
projets for this week. Let's move on to some other celebrations.
See you soon!
Thanks for looking and leaving your comments.

Have a creative day!


Saturday, October 3, 2015

Owl be making cards!


Welcome to my blog on this special day
of card making.
Of course I had to have something here to share with you.
After a week of making coffee cards, I had to set my mind
to something else. I found a great challenge on the
There was this owl image as a FREEBIE.
You can grab it too, it is
Now there is a catch to it:
if you use it on a card and link it up to
the post on Create with TLC you rceive another
freebie in your email and..........
your card willalsobe entered in a drawing for
a $ 10,- certificae in the CTlc store!

For the background see below.
The image is coloredwit pencil and I used
the woodgrain stencil to make the background
to the image.

I made these backgrounds with alcohol ink.
You put a few drops of ink on your craft sheet
and add a few drops of alcohol blending solutions too.
Then with glossy paper you pickup these colors and 
have a beautiful coloredbackground.
The twopapers on the left i run through the big shot with
an embossing folder with a tree image.
For the right paper I took a stencil and added
some texture paste on top, let it air dry and
colored it with expresso ground distress ink.

So with the first image,my theme was set: owls!

this card is made with the owl stamp
by Michael Strong. The sentiment is from Club Scrap
It's a Hoot kit. The owl is stamped on some
paper I had lying around and embossed with silver. 
Little yellow gemstones for the eyes. The tree
branch is  a die by Tim Holtz.

And the last card, is my first Christmas card for this year.
I found this cute owl set on Create with TLC and just had to have it!
The image is colored with distress markers.

Happy Owlidays S2 Vintage image and Word Art Set
You find it HERE.


Have a creative day!