Showing posts with label sticky pearl. Show all posts

Wednesday, November 11, 2020

Coffee Lovers Blog Hop: Day 6


Hello Coffee Lovers.

Amother delicious day on the 
Today I serve you some tea.

As you know there are many Sponsors to the 
coffee hop and by commenting you can win prizes. 
One of the sponsors is Janesdoodles and I am using her
but I noticed there is also a digital set.


I made these cute gift bags and I show you how to make them.
You need a 6 x 6 inch piece of design paper and best isone
that is decorated on both sides as you can see.
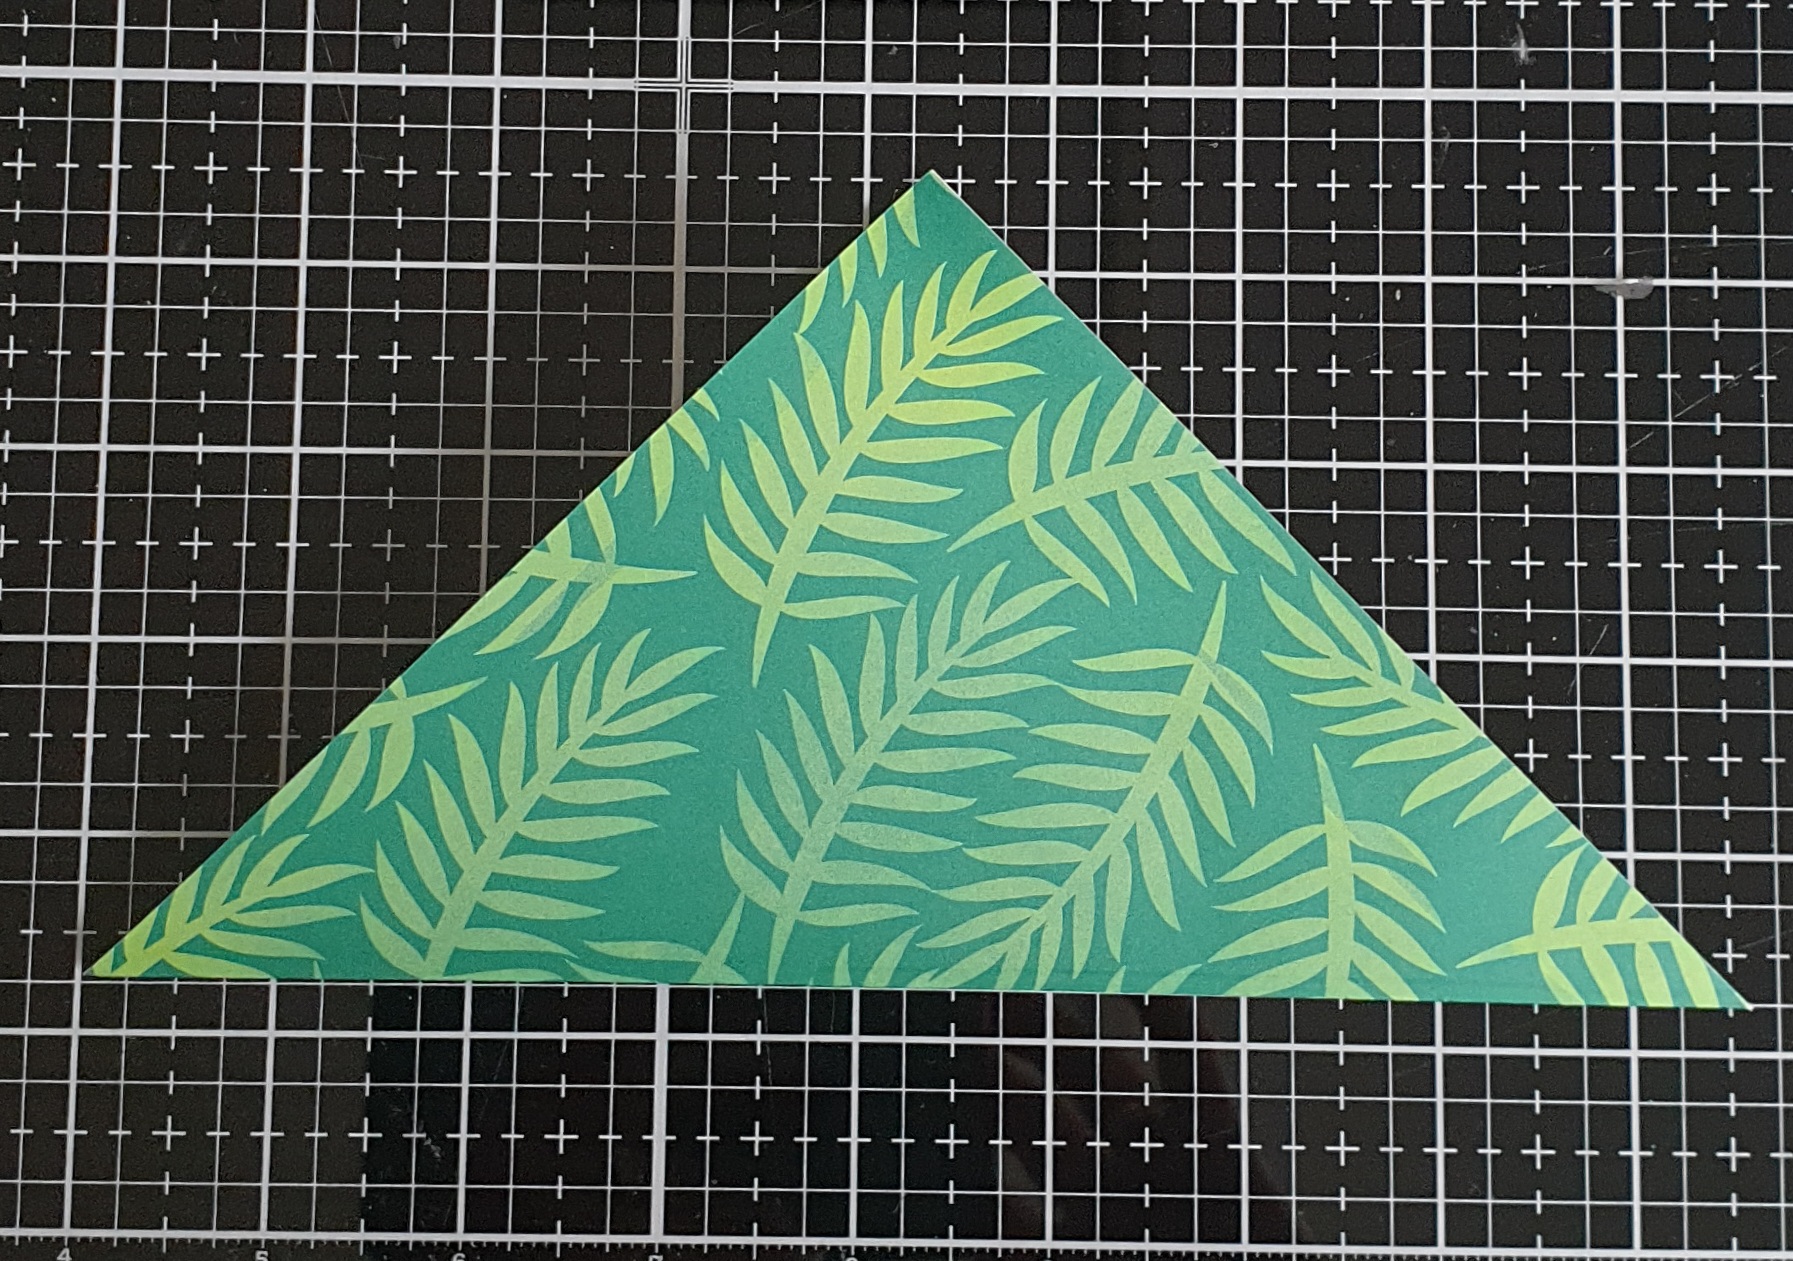
1. You start by folding the 6 x 6 inch of design paper in
half, triangle way. Paper is by Stampin´Up!.

2. Fold onlu the front paper towards the fold line
with tip of the paper.

3. Lift that just folded piece up again and take the right dide
of the triangle and fold it towards the  horizontal folded line
 in the middle of the triangle.

4. Do the same with the left side of the triangle.
Fold it towards the horizontal line.

5. Fold the top flap back down over the other
folded flaps. This keeps the pocket in place and
you do not need any adhesive.

It really started with this gift pouch. It is made with decoration
I liked so much, and wanted to use in some project.
So I cut out all the decoration of the box for my
gift pouch. The sentiment is a stamp from the Janedoodles 
stamp set.

Here you see more of the stamps as decoration of the 
gift puch. The images are colored with zig markers.

Decorations here are made with a few punches I have for
leaves and flowers. The heart of the flower is a sticky pearl.

Stacking 2 cups for  there are two tea bags inside each pouch.

Thank you for looking,
stay safe, enjoy your coffee
and keep crafting!


Monday, November 9, 2020

Coffee Lovers Blog Hop: Day 4

 OMG we are already half way in the
Don't forget to go over to the original blog
and see all the goodies you can win 
from all the Super Sponsors.

Today i use an image from our Super Sponsor
Every month we play in a progressive challenge and 
when you play, you get a new image for the next month.
This time we received the snowman. 
From one of the previous coffee hops is this coffee
cup with the matching sentiment and I used it here 
to make the card.

I started out by tearing the snow and adding this to 
the background. Next I colored the snowman
and cut him out.He is fasten to the background
with foam tape.
The final touches are the silver sticky pearls.

Thank you for looking,
stay safe, have a coffee
and keep crafting!


Friday, July 17, 2020

Bugaboo Friday Freebie


So after reading the above, you will notice
that the coming week it is very Christmassy on my blog.
To help you out to play, there is a FREEBIE for you on the

You find Deacon Elf here.

I must say I have to come in the mood for Christmas,
so my first card is super simple. Just coloring the image 
with Stampin´Blends and cutting it out to glue to the oval
bsckground. The desigan paper and the sentiment 
are by Stampin´Up! from a few years back. I never use up
my papers, so I am always glas to use them later on again.

A ribbon and a few sticky pearls finish of my first
Christmas card for this year. 

Hope to see you again tomorrow, when the
big Christmas event starts.

Thank you for looking,
stay safe and
keep crafting.


Tuesday, July 7, 2020

Bugaboo Digital Stamp Tueasday New Release

Good Morning Crafters!

Today you find this cutie as a new release
She is called:

This sign is perfect for all kind of messages
(see all the other cards by the design team).


Monday, March 30, 2020

Cupcake Inspiration Blog: Color Challenge


Here is my card for this weeks 
It is a color challenge: Pink, Yellow and Blue.
A lovely combination.


It has been some time I used Michael Strong's
hand stamp, but these days with a lot of washing
your hands I had to get that stamp out.

So I started with thre colors of oxide inkpad: fossilezed 
amber, tattered rose and broken china. 
Next I got the egg stamp out (also Michael Strong).
With walnut stain I stamped the eggs on the background
and on an extra piece of paper.
The extra eggs are embossed with clear embossing powder
and colored with fossilized amber and broken china ink.
The hand is embossed with pink embossing powder
and colored with tattered rose ink and then cut out.

The sentiment is made with the computer.
After everything is arranged on the card I added 
a few sticky pearls.


And here are my other hand cards:

This one I made for the Simon Says Stamp
Spring challenge on instagram.
Spring is tulips, but this Spring we are 
more busy wth washing our hads,
Do enjoy the flowers too!

This cards represents especially the washing of the
hands with all the blue ink in the background.

Stay Safe,
Stay Healthy
and wash your hands!

Thanks for looking
and have a creative day!


Tuesday, March 10, 2020

Bugaboo Stamps New Release

Here we go, with another new releaso

With St. Patrick Day around the corner, this totally
fun and lucky image of the St. Patrick Day Elephant
is just the perfect image and new releases
are always 50% off.

The background of the card is two layers. 
First the light green embossed dotted paper
and second the gold die cut panel.

The focal image is the elephant and it is
colored with stampin'blends.
Around the corners of the die cut I added 
some sticky pearls.

The clover is made out of hearts. These are rubber stamps
by Michael Strong. After embossing the hearts with gold
embossing powderI cut them out and taped them with foam
tape to the background and added a sticky pearl in the heart.

This is the inside of the card.
It is a subway sentiment by Create with TLC.

Thank you for looking
and have a creative day!


Wednesday, January 15, 2020

Bugaboo digital stamps - sketch

Here I am with another challenge on the

This time it is a sketch challenge
and this is my card:

For my card i used the image: Kitchen Chicken Soup.
I colored the image with stampin blends,
used a die to cut out the image and the strips
behind the image are embossed.
The sentiment is a rubber stamp from Tim Holtz.

Thank you for looking
and have a creative day!


Saturday, December 14, 2019

Brew-ti-ful Christmas


Today I made two Christmas cards with the Club Scrap
Coffeehouse kit. This first one is made with the 
Hybrid Coffeehouse kit (only $ 4,95) and photoshop.

Then i wanted to try if I could make the same kind
of card with real rubber stamps.
And here is the result. You find the Coffeehouse rubber stamps HERE.
I wanted to share with you how I made the coffee cup in
two colors, so the Christmas tree comes out (much easier in 
photoshop!).
For this i used my Tim Holtz Stamparatus.
I started by stamping the image on a piece of 
post-it.

Next I cut out the inside of the cup
and added the inside to the paper.

Then I stamped the cup and after the inside post-it note
was removed, this is what is left.

Now to add the outside of the cup over the stamped
image and stamp the inside with green ink.

Here the rsult of the stamping.

I finished the tree with tiny sticky pearls and gemstones.
On top a little wooden star.

I created the sentiment with part of a Coffeehouse stamp
and part of a Tim Holtz stam. They fit nicely together.

Hope my cards give you a latte inspiration.
Thanks for looking
and have a creative day!


Saturday, October 5, 2019

Simon Says: Lets Get Ready For Christmas

Here my first Christmas card for the Season.

I combined the theme of the 


I have a great sneakpeek for you with a new
stamp by Michael Strong that is coming out soon: 
The Nutcracker and snowflake.

The green background is a piece of scrap paper-
The red part is made with distress oxide ink in
candied apple and the snowflake stamp in the
same color.Tiny pearls are added to match the 
white dots of the design paper. 
The sentiment is a stamps from my stash.

Thank you for looking
and have a creative day!