Showing posts with label post-it. Show all posts

Sunday, August 26, 2018

Back to school again

I just couldn't resist making another notebook
matching the post-it holder like I did the other day.
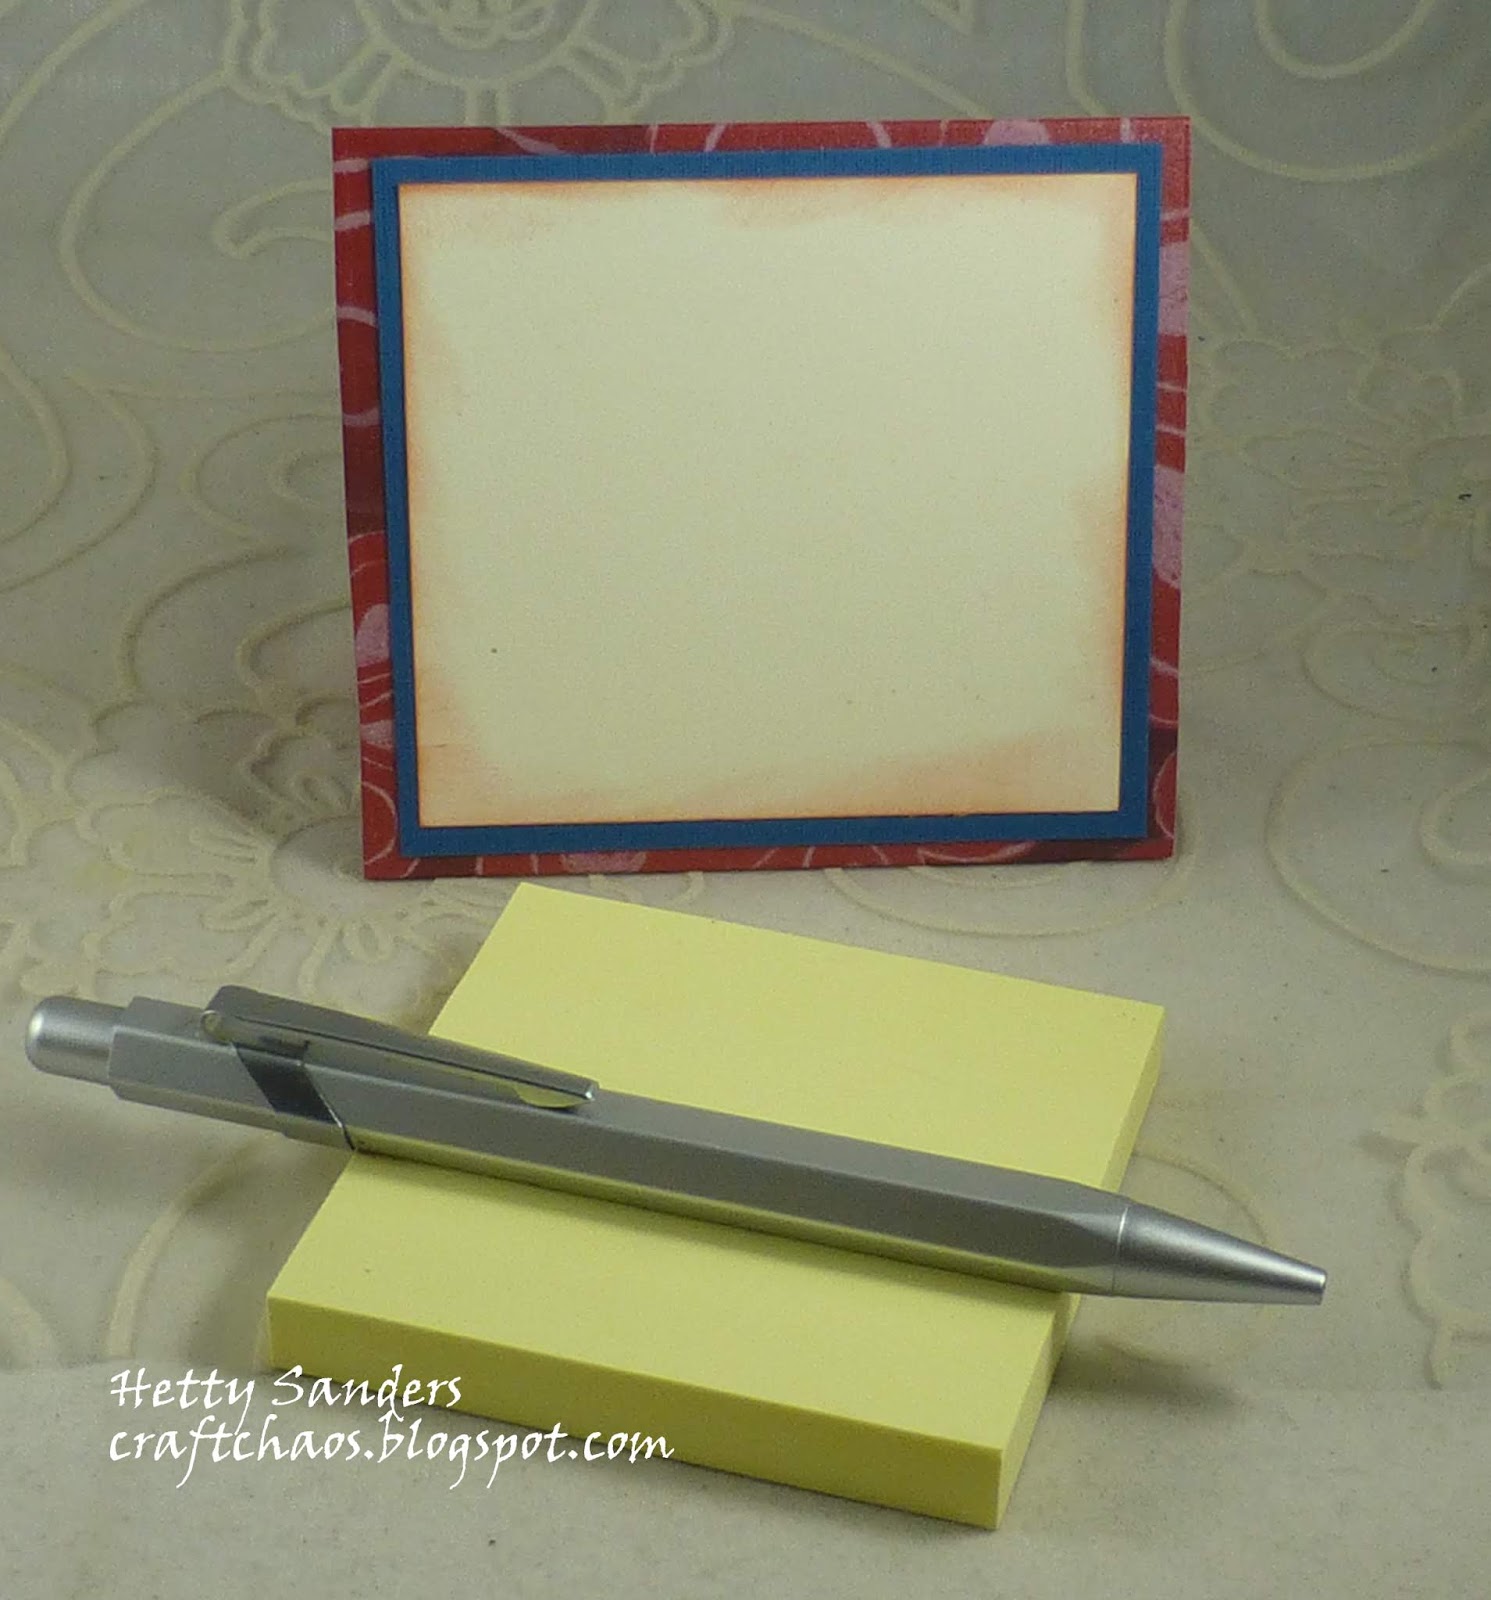
You have seen the post-it note holder and instructions HERE.

All stamps and papers are Stampin'Up!
and I enter this for the
Monday and Wednesday challenge on 
the Simon Says Stamp challenge blogs.
Here a close up of the sentiment and the pens.
These are colored with zig markers and on top
glossy accent to make them look even more
like real pens.
Inside peek.
PS. no special template. Just measured the inside 
notebook and made a cover around it with 0.25"
extra and 0.25" extra as the spine.
Decorate to your own liking!

Back of the notebook.

Thank you for looking
and have a creative day!


Friday, August 24, 2018

Back to School 2

Today I created this back to school set with
Club Scrap papers and Ivy League digital images for:

where there is also a Back to school challenge on the


I made this notebook cover with the library
image and sentiment from the Club Scrap hybrid kit.
The boy and mother is a figure from a bag of
paper dolls by Tim Holtz.

Here a peek inside the notebook.

This is the back of the notebook
with another paper doll and a sentiment
from Club Scrap (Oct 2010 Scholarship).

I colored the image with zig markers 
and a watercolor brush.

Also I made another  post-it holder
and I made one before. You find the instructions HERE.

This is the back of the post it holder.
It is blank to leave a message.

Thank you for looking
and have a creative day!

Saturday, August 18, 2018

Back to School


Here my contribution for the challenge

Not only all the children go back to school,
the teacher come back to with all new ideas
and inspiration on how to make it this
another great school year. 
So I made this little post-it gift set for my
fellow teacher to give them a boost.

You find all the details of the challenge
Back to School here.


I used some Stampin'Up! design paper
and the cup is a rubber stamp also by Stampin'Up!,
but the sentiment is by Stamplorations.

The sentiment end with the word day, but i cut that off
and repleaced it by the word year, that I cut out
with a thinlit die.

On the back of this post-it stand I made some room
to write a wish for my fellow teachers.
I found this great pen with cm and inches to go
with this set.

Here are some measurements for making your own:
You need a piece of cardstock 5.75"x 12"
scoring vertical: 0.5 - 1 - 4.75 - 5.25
scoring horizontal: 2 -2.5 - 6 - 9.5 - 10.5 11.5

Decorations to your own desire.
I found the instructions here.

Thank you for looking
and have a creative year.


Tuesday, March 21, 2017

Distress oxide and tulips

Today I am enjoying Spring inside my craftroom.
Outside it is windy and lots of rain, so these 
tulips from Art Neko make my room look like Spring!

For each card I used just one color of the new
Ranger's distress oxide ink. So first I stamped the tulip
on cardstock and next I stamped it again on a post it
note and cut this image out.

I covered the tulip on the card with the post-it note.

Next I took a oriental text stamp from Art neko
and stampd it on top of the tulip to get a background
of characters.
When the post it note is removed it looks like
you stamp the tulip on top of the text.
Then layering the card on a matching color as the 
ink and a dark green background.
The gemstones on each card are colored with 
a distress marker in the same color as the ink of the inkpad.

These cards are for day 21 of the color challenge on


Thank you for looking
and have a creative day!


Wednesday, October 26, 2016

Club Scrap Blog Hop: Literature

Welcome to the October
We present to you the October kit called
Literature.
Above you see the contents of the Deluxe kit.

We share with you all kinds of different projects,
like scrapbook lay outs, cards, mini books and more
to inspire you to use the papers and stamps.
I hope you arrived here from
seen her inspiring project and left her some love.
You know, one can never start reading early enoug!
The twins already love reading their books.
This page is made with the digital Literature kit.
(btw. my first digital scrap page!)

And now let's see what else I made for you:

This month we were asked for the Artist Team challenge to
share some gift ideas for the December month. I had so many ideas,
that here are some more gift ideas. My idea for everything is
books and coffee a perfect combination!

So my first project is a box of coasters.

I found some plain looking wooden coasters in the $$ store
that needed to be decorate. Six coasters came in this cute
holder. Everything ready for decoration!

I started with giving all the coasters a layer of
white gesso, which makes stamping so much easier

When the gesso was drie (and that is real quick) I colored
all the sides with brown ink.

Next step is stamping. I stamped with the same brown inkpad.
Not wanting to make all the coasters the same but
all there own look. I used the rubber stamps that came
with the kit. You can see all the stamps HERE.

After everything was stamped all in brown,
I used a blending tool to add some color.

Here a few finished coasters.

I really love the finished look
and will for sure use them (or give them as a present).

My other project for today is the one you can not only
use for December, but all kind of occasions. I found this idea
on pinterest and here is my version of it. On one side
there is a pocket for a pen and a post-it block
of 3 x 3 inch. It can also be a great teacher gift.

On the other side there is a pocket, which
can hold a gift card or a little note.
You can also leave out the pocked and add
a calendar on the other side.

Here is the template with the measurements
of this post-it note gift set.
This is how it looks after the cutting and folding.

Here some more views of how to construct this.

I used the red tape for strong construction.

Of course there are many ways to decorate this
fun little gift, so my way is just to inspire you.
On one I use a ribbon and on the other I used
some of the cut apparts. On the right one I added
the clip that came with the kit, that is perfect for a book clip.

I also found some pens, that I could decorate
with matching paper. For this I printed some
of the papers from the digital Literature kit.


And now for even more inspiration
head over to
and see what see has in store for you.
If for some reason you loose your way,
you can alsways go back to the

Thanks you for looking and
have a creative day!