Showing posts with label rubber stamp. Show all posts

Saturday, March 25, 2023

Simon Says: Spring and/or Easter


Another challenge card, this time for the 
The theme is Spring and/or Easter.
This time it is a Spring birthday card.


Outside the bulbs are popping up and the birds sing their song.
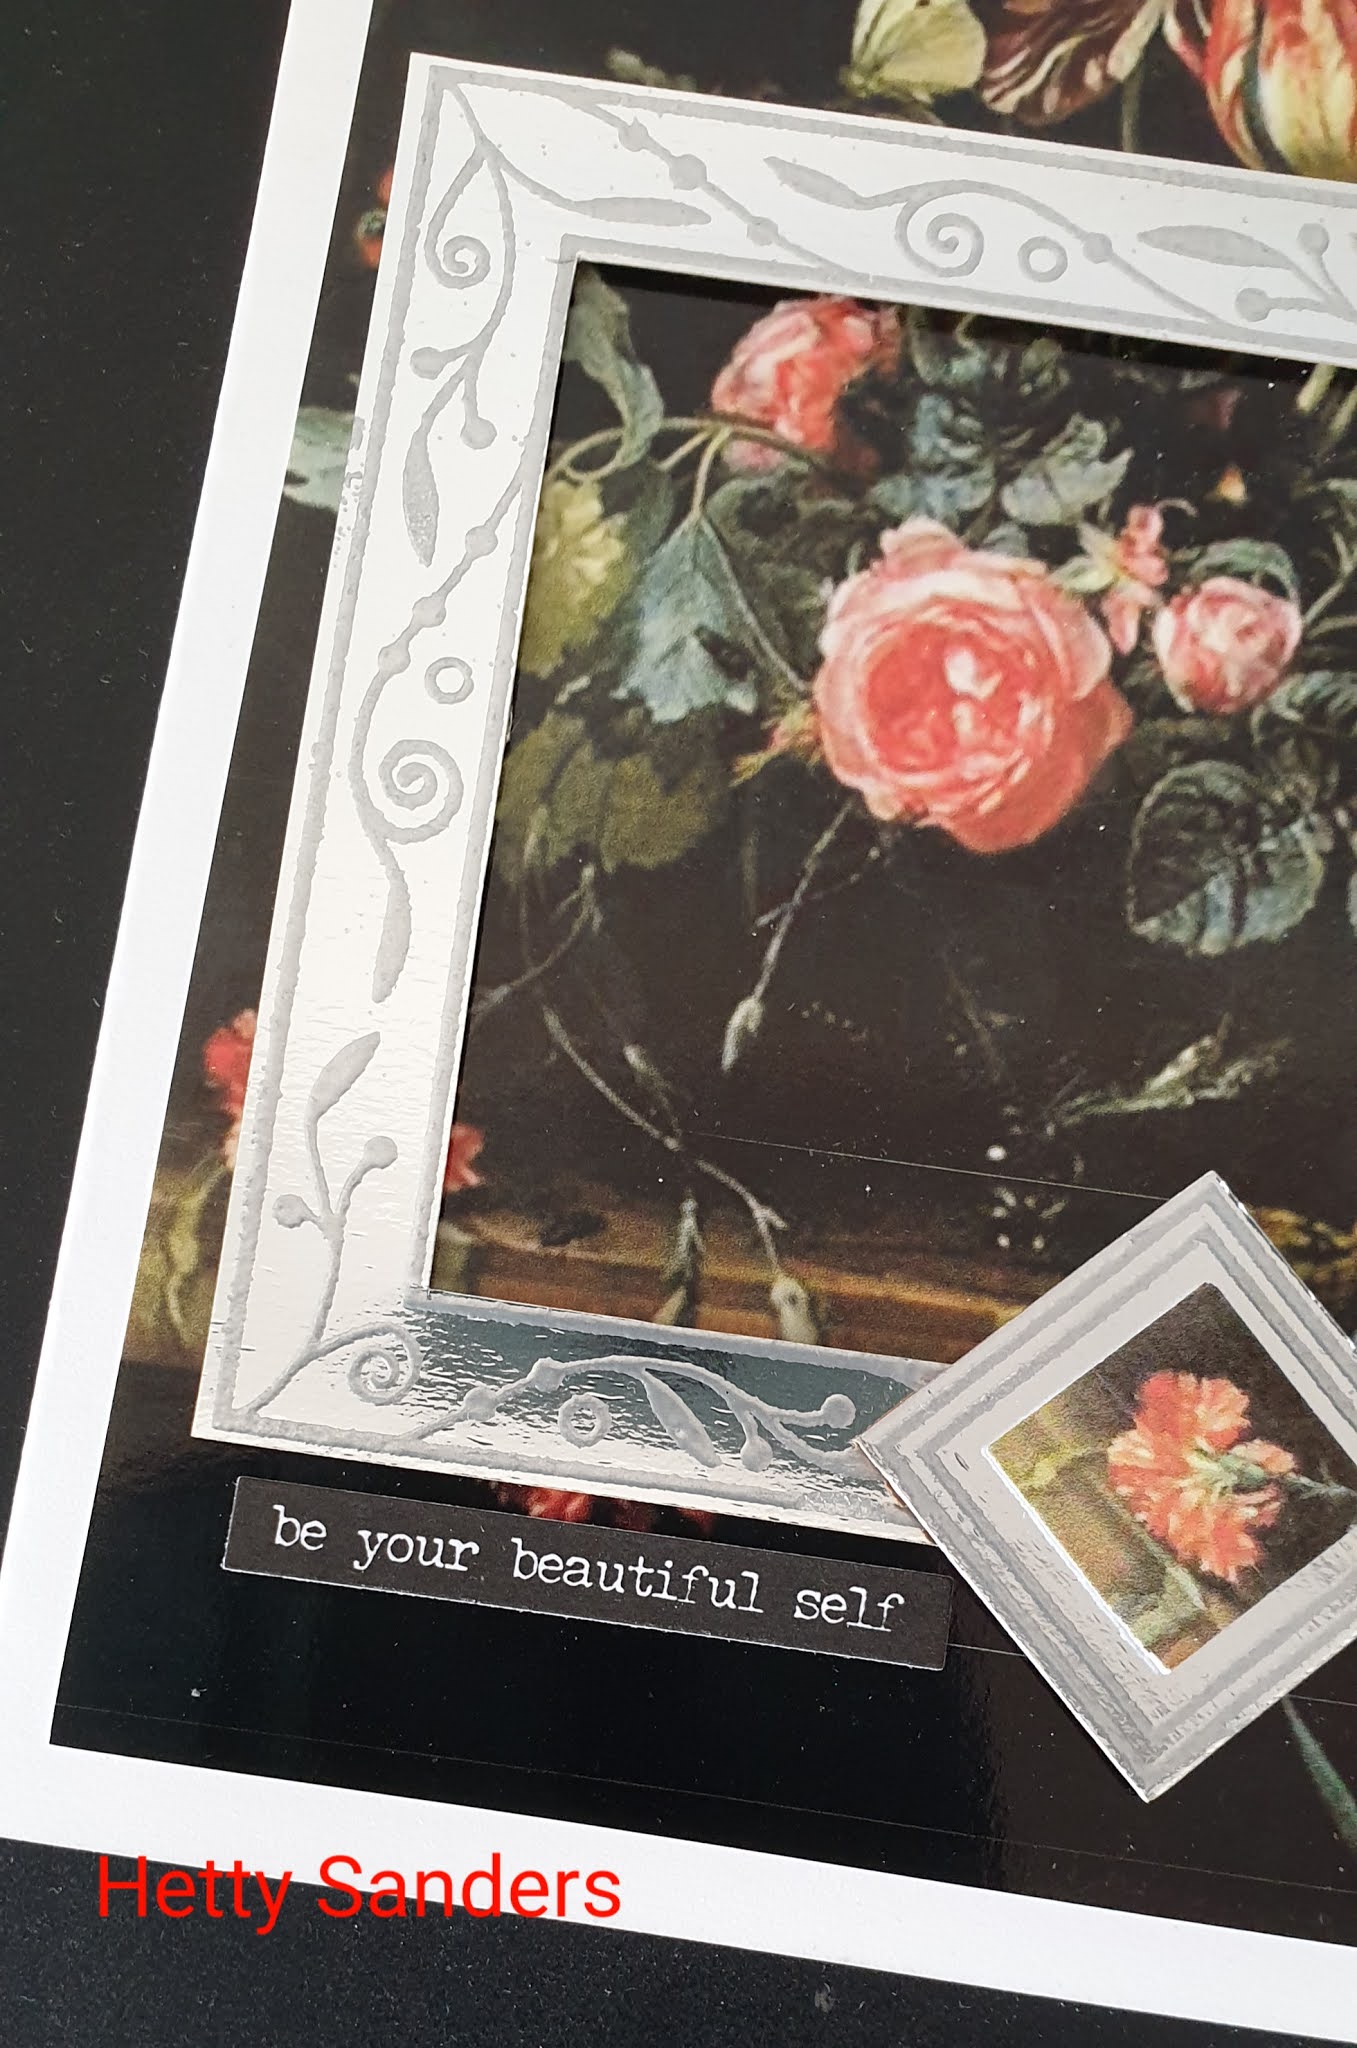
I found some lovely bird design paper in my $$ store and
used it for this card in combination with 
Michael Strong's small hummingbird clingmount stamp.
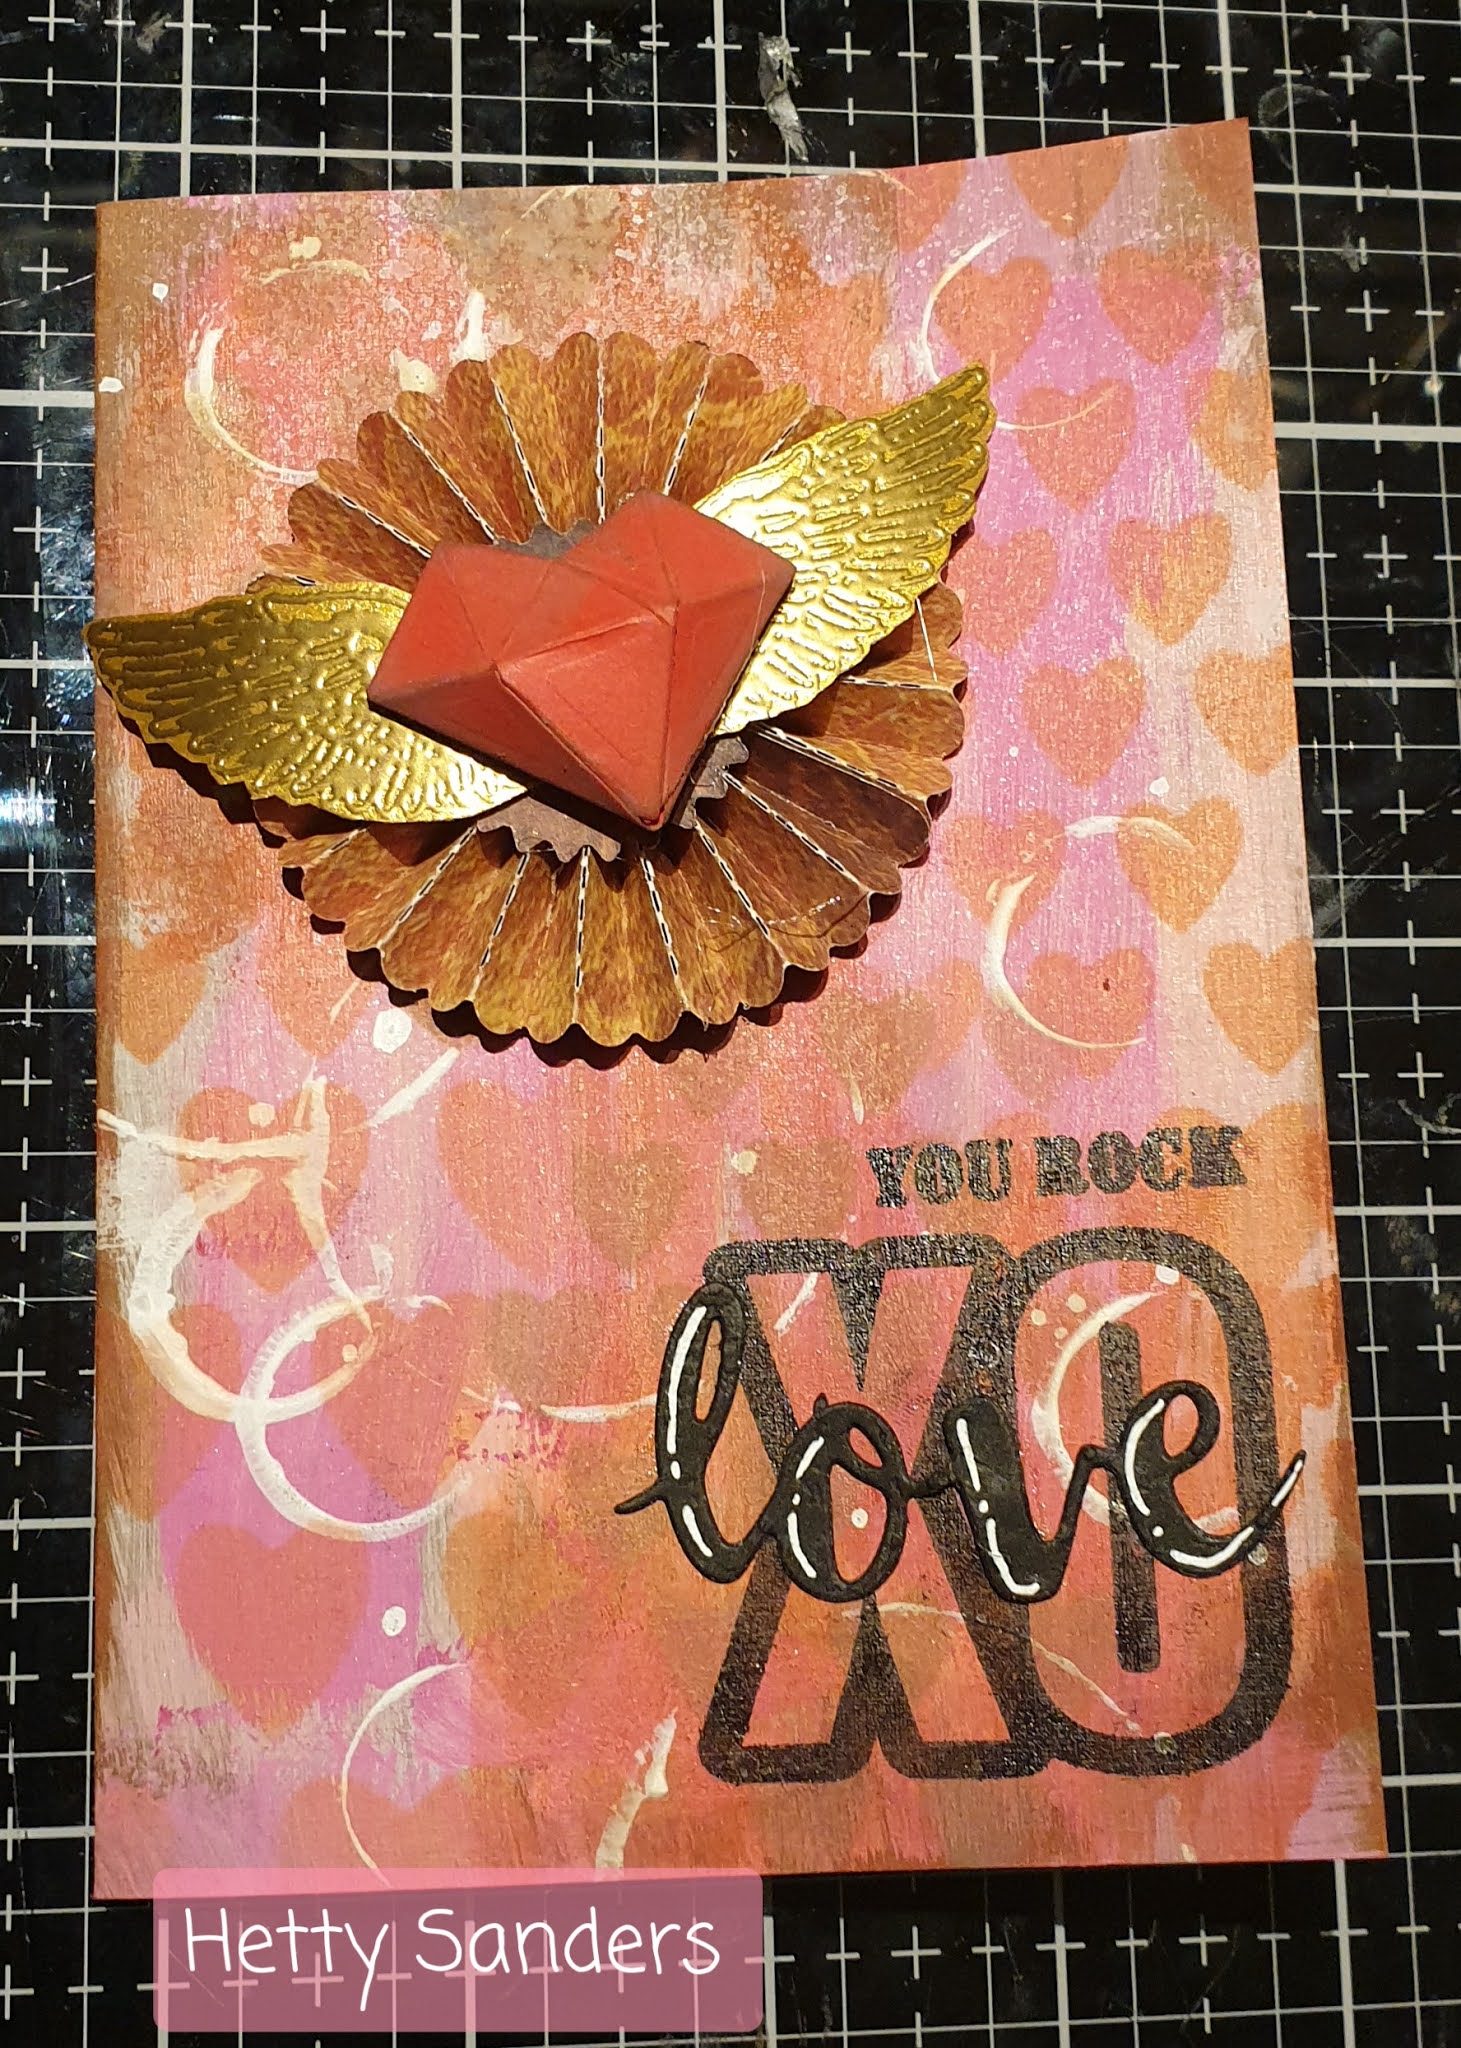
I made this gatefold card. The squares on top of the card
open like a lock. One is fastened on the right side
and the other on the left side of the card.
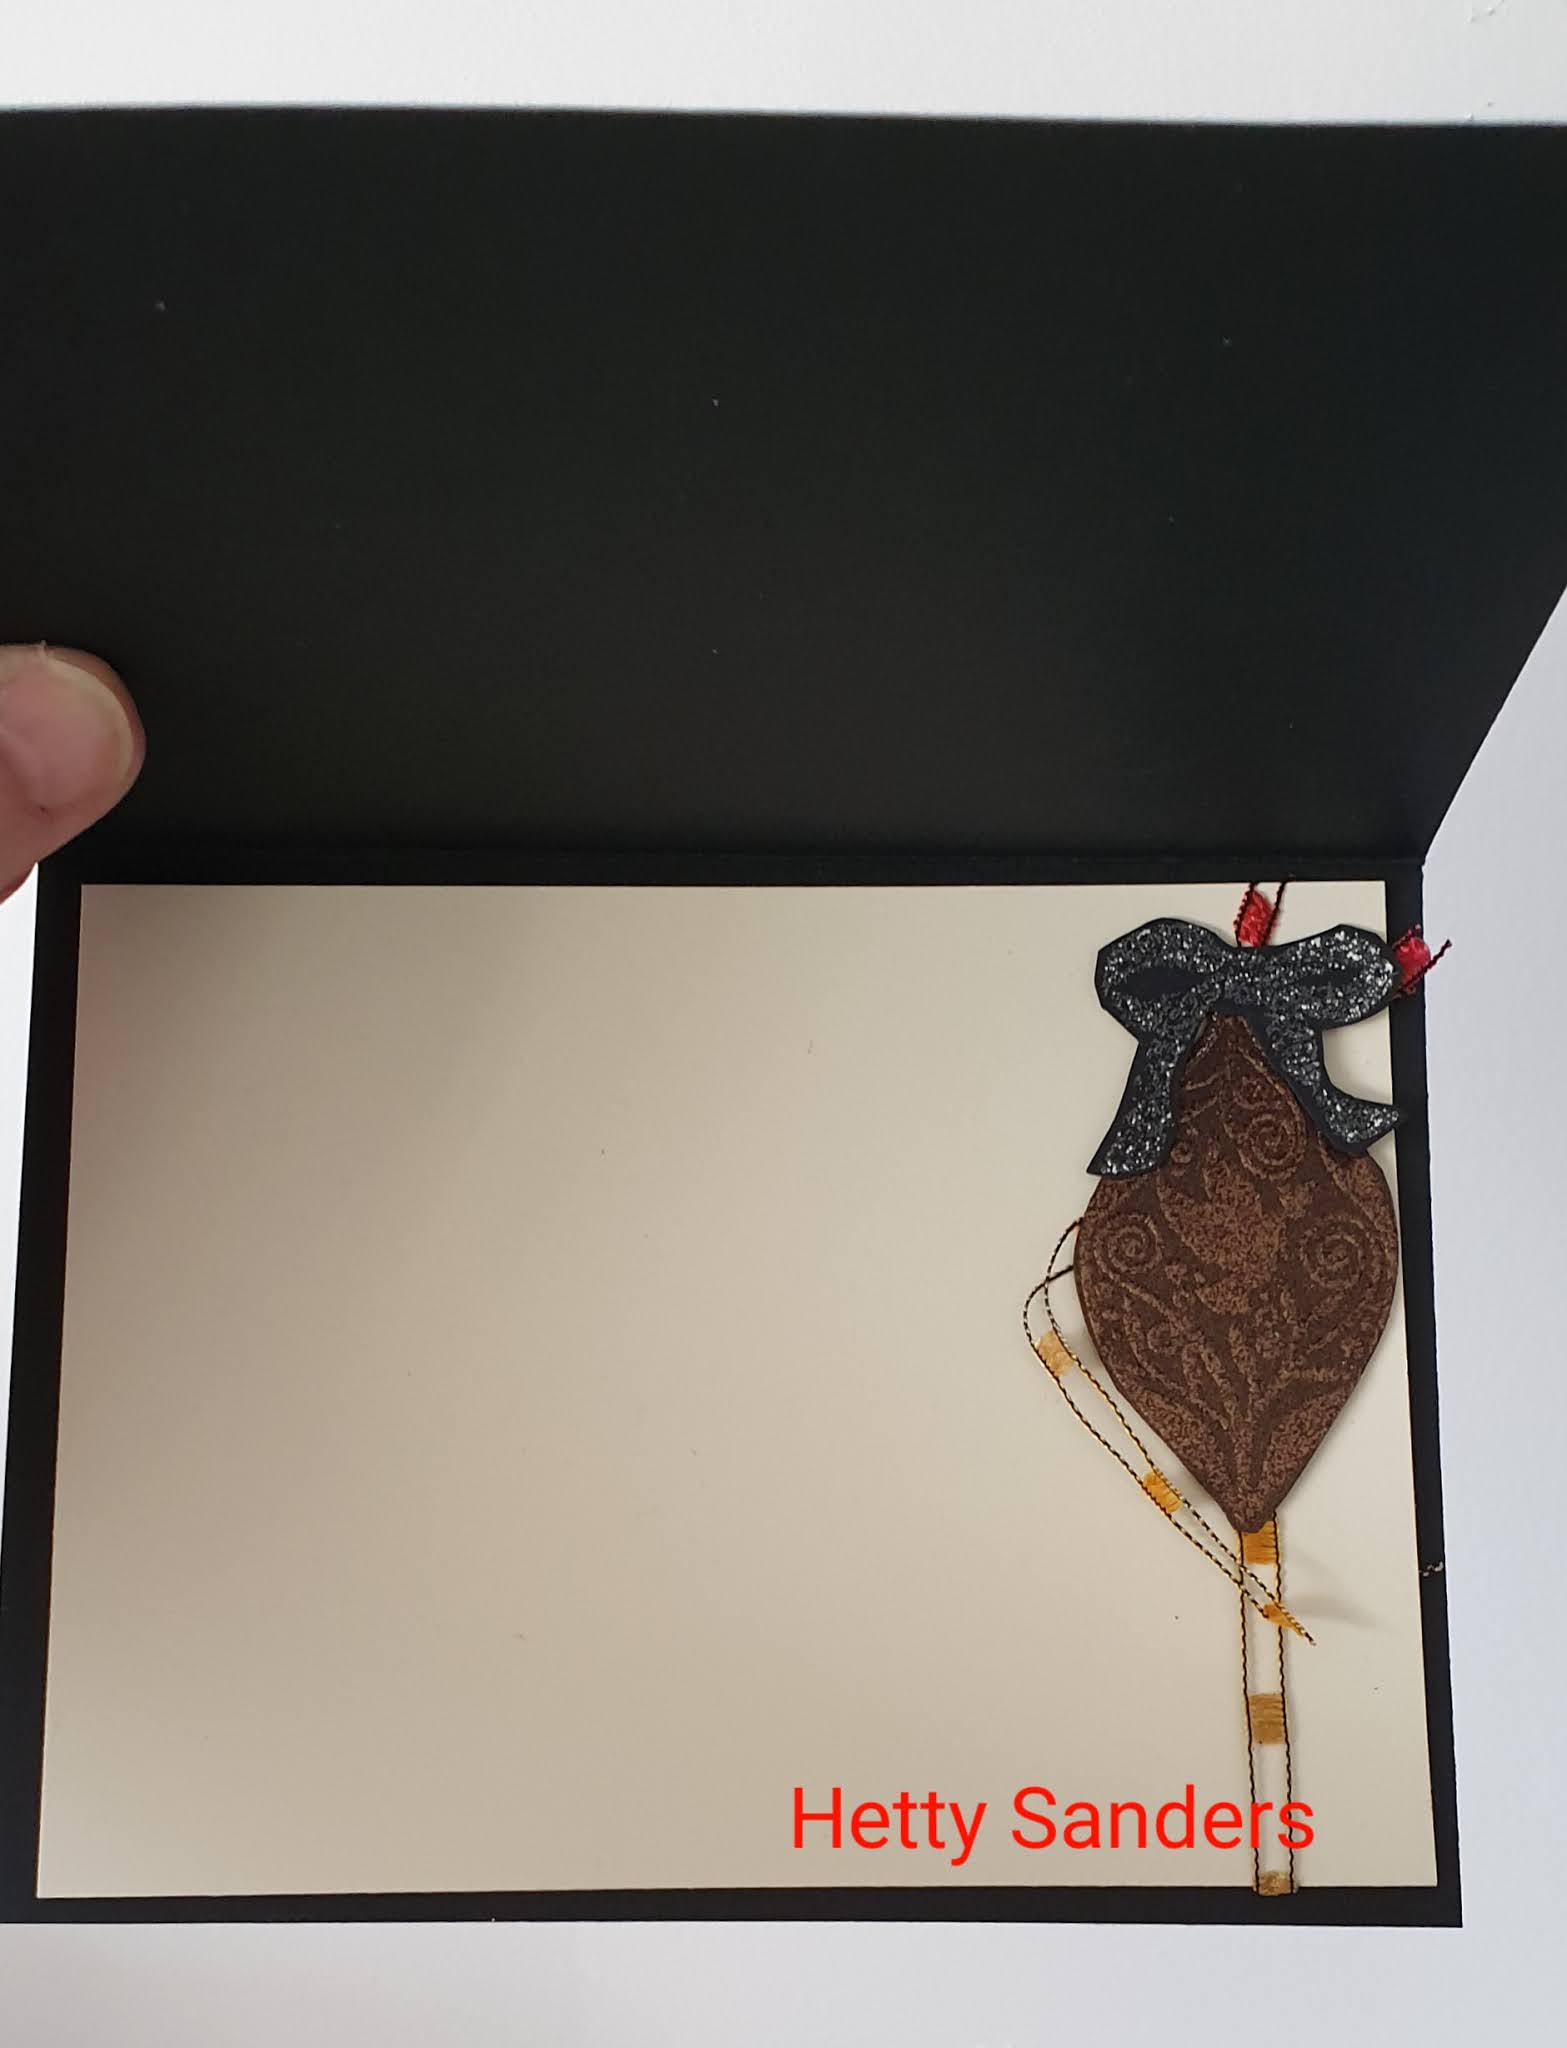
This is the inside and here you see that on both sides there is a square.
The sentiment i used on the front and on the inside is from
Tim Holtz Crazy Talk CMS236.
This is how the cards stands and you can see how the lock works.

The little hummingbirds are embossed in white or gold
and colored with pencil.

Thank you for looking
and I hope you have a caffinated creative day!


Sunday, November 6, 2022

November Christmas coffee card challenge


Happy Sunday caffinated creative friends!

Here I am with my entry for the
This time I used mainly Tim Holtz materials.
The cup is a die by Funky Fossil Design.
The design papers are Tim Holtz as wel as the star stencil
and the holly stencil on top and bottom.
The sentiment is a combination of a Tim Holtz and a Honey Bee stamp.
The robin is from the Snarky Cat Christmas set CMS416.
And this robin is from the Stamptember 2020 Snarky Cat set
as well as the cat, but his hat is from the other Snarky Cat set.
The poinsettia and the holly is from a set from my stash.

Thank you for looking and have a 
wonderful creative Sunday!

Saturday, July 23, 2022

"Mirror Mirror" Zoom class


Hello Crafty Friends,

Tonight I followed a zoom class by Michael Strong. 
For him it was morning, but with the time difference
 it was evening for me.
The theme of the cards was "Mirror Mirror", using mirror paper.

These are all the cards I made, but Mike's cards where a little different.
This is because, I do not get a package with all the parts, but using
my own stash of papers, dies and stamps.

Card 1.
I made this into a 5 1/2 x 4 1/4 size card
and found the moon image on google.
The stars I made with a SU! punch and the dots
with a white signo pen.

Behind the small suns (also a punch) are silver
circles, puched out.

The sentiment is printed with the computer.
 
Inside I used the star punch for decoration.

Card 2.
For this card I used the Bigz Clock die by Tim Holtz.
The clock is matt silver paper and inside shiny silver paper.
The disco balls are found with google.
The stars are made with the punch and also little 
silver sticker stars.

Card 3.
Silver sircles with yellow flowers all punched out.
The flower in the right hand top corner is a 
stamp by Michael Strong.

I stamped the flower twice and embossed the bottom one in 
silver and the top one with clear  embossing powder.
The leaves are hand cut.

Card 4.
Again the Tim Holtz Clock die in silver paper
and behind the clock soft silver glitter paper.
Varius punches used for decoration and sentiment 
made with the computer.

Card 5.
This mirror die, is not the one Mike used, but one I had from
Sizzix (very old one), but looks like a good mirror frame to me.
Flowers are punched out.

For more information about Michael Strong stamps
look HERE.

Thank you so much for looking
and have a lovely creative day!

Monday, June 6, 2022

Masculine caffinated Christmas card


Hello Caffinated Crafty Friends,

Here I am with my card for the
#6 challenge of the
The theme this month is: Masculine.

So for my card I used a Christmas theme filefolder by Tim Holtz
and his Inquisitive stamps. The coffee cup die is a Big die
and the sentiment is by Verve Stamps (not available anymore).

I thought these men needed lots of good cheer in their cups!

The Merry Christmas is a piece of washi tape and of corse a ribbon
is used to decorate the file folder.

Inside the filefolder I made a card for writing your message.

Wishing you all a wonderful
crafty caffinated day!


Sunday, March 28, 2021

Happy Passover

Today is the first day of Passover,
the Jewish Easter. You find more information HERE.

The background is a grid and I have done thes before.
You find the tutorial HERE.
I printed the grid on green paper. 
The design paper looks like the matza we eat.
It is a picture of it that I took from internet and 
then printed and punched out.

The eye catcher is a seder plate,
 a stamp by ZumGaliGali.

Left overs go to the inside of the card!

And i used a leftover square on the back of the card.


Wishing everyone who celebrates:
Chag Sameach, A happy Holiday!

Thank you for looking,
stay safe and
keep crafting!


Sunday, February 14, 2021

Happy Valentine's Day!

 Hello Crafty Friends!

Wishing you all 
a very Happy Valentine's Day!
I hope you are all spoiled and happy.

I have not posted much here lately,
but I did post some on instagram.
Have been doing a lot of crochet.
Today i share my Valentine card with you,
the one Im ade for my husband.
I started with painting gesso on my card.


Next i took these colors of pink:
worn lipstick
picked raspberyy
fired brick
(the new kitch flamingo had not arrived yet)

Next the heart stencil and using the same colors
distress ink and walnut stain.
Next some circles (using lids) with white paint

and splatters with white spray ink.

For the final decoration I used the rosette and the mini heart die
and a combination of Funky Fossil Designs (Guitar Hero)
and Tim Holtz Valentine stamps/

Then........Kitch Flamingo arrived!
The new pink oxide distress ink by Tim Holtz.
I had to play and made a few atc's
(cardsize 2.5x3.5 inch):


And of course I had to make a coffee atc!


Thank you for looking,
stay safe and 
keep crafting!


Friday, November 27, 2020

Bugaboo digital stamps: Friday Freebie


Good morning crafty friends!

Today there is a freebie on the 
It is this cutie and she is adorable for all occasions 
(see the main blog), but I dressed her up for Christmas!

For this card I used all kinds of papers I had lying around.
I found these cute buttons while rearranging my craft room
and there was also this "merry" die cut.
A quick and fun card.

Thank you for looking.
stay safe and
keep crafting!


Sunday, November 22, 2020

Michael Strong November zoom class


We had another great zoom class with 
We have this every month and I am so happy 
to see a lot of my online friends and craft together.
We all are send a package with 5 cards including
all the elements you need to make the card.
So last night (for me, but early morning in
San Diego) I made these cards:


The first card we made, was this grid card.
We did it before and I love doing it.
Mike has the grid for you on his blog.

As we did not get enough little squares, 
we made a different card than originally planned.
As i went ahead making this one, I made my own variation
with some extra colors from my own stash and added
 a stamped sentiment.

 Card number 2 is this beautiful peacock card with
some amazing peacock ribbon and matching sequinces.

Card number 3 is ready for Christmas.
We were given these embossed background strips
and the dove baubles (stamp by Michael Strong here).

I added the bows on top. That is a stamp from the 
set Jars of Love by Stampin'Up!
The sentiment is from the words stampset by Mike himself
(only not available anymore).

This is the inside of the card, where I used the
4th bauble for decoration. The ribbon is a piece from 
one of the other cards.

For card number 4 we used a photo of a 
picture by Rachel Ruysch, a Dutch painter..
We received stamped squares, silver embossed on 
silver paper. This stamp is called 
Cloisoné Nesting Squares.
The sentiment I added is from a sticker booklet
with sentiments by Tim Holtz.
And the final card is an Autumn card. 
The leaves come from the stampset with the pumpkin:
the Pumpkin Harvest set.
Lovely ribbon and a little coloring.


Extra card from the leftover nesting squares.
I used the grid printed on yellow paper and the red
dotted design paper. Stamped the smaller dove bauble
and embossed it with silver embossing powder.
Everything goes perfect together.

One little square was left and I used it for the inside
With a stamped sentiment and a strip of the same
paper as used for the front.

Maybe I see you in the December class?
It is on December 12. Info on Mike's facebook.

Thank you for looking,
stay safe and
keep crafting!