
At Club Scrap it is PSL
(pro scrapbook league) time:
that means a competition
every week with new challenges for
7 weeks. And if you are not
participating, do take a look for there
is a lot of new inspiration every day!
You can find all info HERE.
This week the challenge is:
use your stencils.
Sitting at my desk and looking
around what to do next
I thought about trying something
and it becaume this tutorial.
BTW: it is EASY!!!
This is what you need:
white or cream paper
stencils
versamark inkpad (make sure it is juicy!)
white embossing powder
your favourite colors distressink
water
heat gun (not on photo)

1. Place your paper underneathe your stencil
and tap with your versamark inkpad
dirtect on your paper.

2. Remove stencil and sprinkle
white embossing powder on the paper.

3. Heat the embossing powder.

4. This is how it looks after heating.
(you can click on the picture
to see a larger version).

5. I love working with distress inks,
but you can also use watercolor paint
or ecoline or mediums you like. Give it a try!
I used: Mustered Seed, Wild Honey
and picked raspberry

6. You use the ink direct to the paper.
Start with the lightest color.
Don't worry about the embossed part,
it works as a resist.
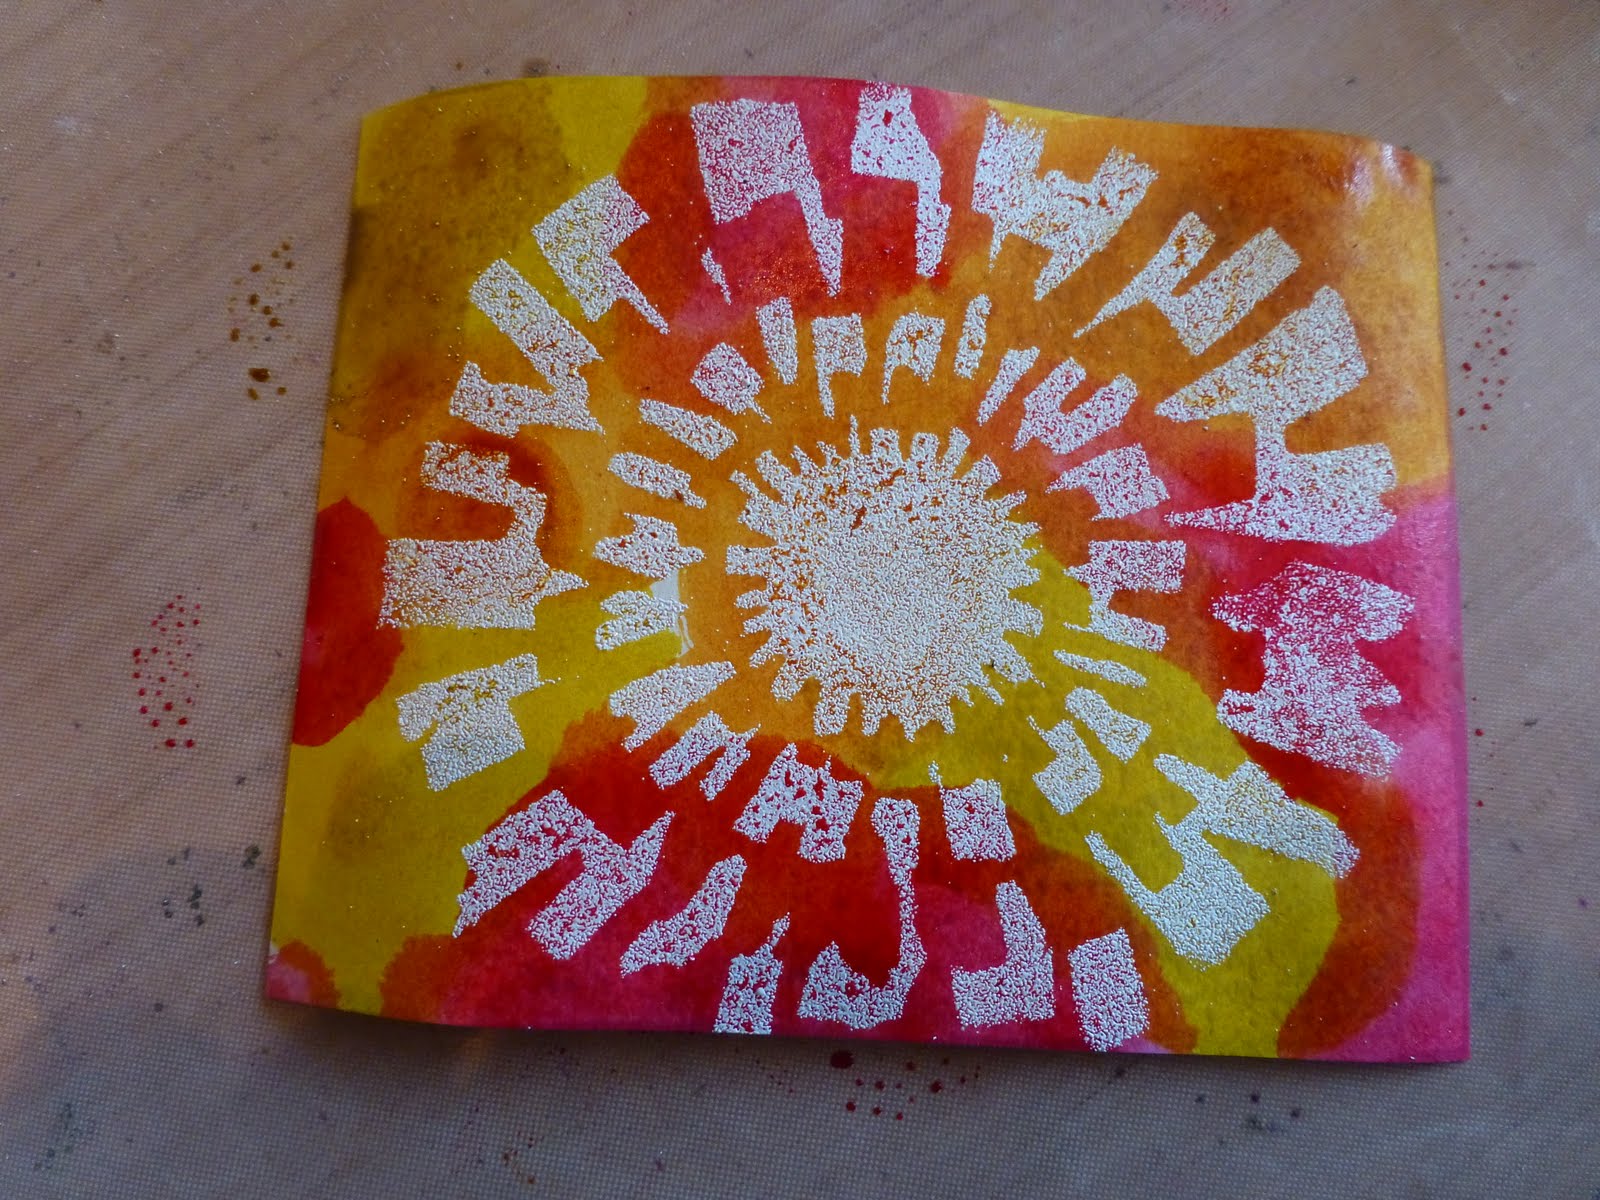
7. After covering all of the paper this is how
it looks. Now you can do anything with it
for your card or scrapbook page.

8. As I follow Tim Holtz's blog,
I learned about this trick.
To add some drops of water to
the ink background. It a splatter through
the ink and I like that effect.

9. Now you can dry your paper
completely.

I easy to clean your stencil
with a baby wipe (not the oily one).


This is the finished card.

Here are some other backgrounds I made
with this stencil technique.
It is a real quick one.

This stencil is from the Concetions kit
that was designed by Michael Strong
in 2010.

The medaillion stamp fits
perfectly with the stencil.
You find Mikes stamps at:
I am looking forward to see your
cards in the Club Scrap Gallery.

Have a creative day!

11 comments:
Hi Hetty, these came out lovely! I really like them, especially the first one! I am going to have to try this now. Thanks for sharing!
Thanks for sharing. Definitely on my "to do" list.
Lovin' it, Hetty! Thanks for posting the photo steps!
Wonderful! I was going to try something like this with a doily die cut......will be interesting. Your card is awesome!
Thanks for sharing this wonderful idea. Excellent instructions, cool!
I really like this idea, Hetty! It certainly allows one to use stencils with bright inks ...without making a huge mess! Thanks.
Love the technique! Will have to try it with my stencils. Thanks for the tutorial!
Striking results! I have been wondering what to do with my distress stains!!! Thanks for sharing these techniques!!!
Awesome results.
I can't wait to try this technique. The panels are beautiful!
Thanks for the link Hetty, a great technique!!
Post a Comment