Showing posts with label distress spray. Show all posts

Saturday, June 20, 2020

Fun with Distress


I keep on making my #stayathome cards
with the sentiments of 21 years of Club Scrap.

I have been watching all of the Tim Holtz
and have been inspired a lot as well
as learning a lot.

Today I started with a few colors of distress 
Oxide spray for the background.

Next comes the texture paste through the holes
of the Fizz stencil (Club Scrap). When the stencil
is off, I sprinkled the paste with the new distress glaze.

Here you see  the background after the paste has dried
 and is heat embossed.

The sentiment is from Rhapsody (3/2007), a vintage
kit from Club Scrap as well as the background stamp.

Decoration with beats and a metal coin (with 
distress glaze). In the old days we got a little
box of beads and findings with the scrap kit.
Still have some left.

Thank you for looking,
stay safe
and keep crafting!


Friday, May 29, 2020

Final Day of the Coffee Loving Cardmakers Blog Hop


Good morning Coffee Lovers,

This is the last day of the 
where you can add your coffee, tea, cocoa cards
and win fantastic prizes.

y cards for today are inspired by the tutorials
on the blog of Tim Holtz.
With a Tim Holtz stencil and distress oxide inks
I made two backgrounds.

The thing is you spay with the in you get a backgrouns
as on the right side, then you put the prayd inked stencil
on another piece of cardstock and you get like you
see on the left side. With these two backgrounds 
I made the cards.
For the cards I used Club Scrap coffee stamps.

Here you also see some empheria by Tim Holtz.

While creating, I of course had my coffee!
Here I used the new distress glaze embossing powder
on the coffee cups.

I also enter my cards for the 
The challenge is: Going around in Circles.
Well. lots of coffee circles here!

Thanks to everyone who commented on my
blog in the past week, It was all so nice to read.

Thanks for looking,
stay safe, enjoy your coffee
and keep crafting.


Saturday, September 7, 2019

Simon Says: Stamp it!

No problem with stamping for the

this week with my new mermaid stamps by
After I printed the sentiment on my card,
I sprayd two colors of distress ink on my
craft sheet and dabbed the card into the ink.
Drying with my heat gun and another layer
until satisfied with the result.

This is how it looked after everything was dry.

I made the sentiment with the computer
and feel free to use it too!
Next I used the green ink to stamp the seaweed. This is a
stamp from the turtle set.

Next the mermaid was colored with these 
oxide distress inks and a watercolor brush.

For the finished card I added a few holografic
sticky dots for some bubble effect.

Don't forget to take a look at my instagram 
mermaid stampset GIVEAWAY, winner is announced tomorrow:
.


You can find the mermaid stamps and more here:


Thanks for looking
and have a creative day!


Thursday, March 14, 2019

Simon Says: Feminine/Girly

Here is my journal page for the challenge on the
The challenge is Feminine/Girly.

Here is how I made the page:
I started this page with 2 Tim Holtz stencils.

I used thick gesso and a credit card on the
scribbels stencil.

Next I sprayed some distress oxide ink on top of
the gesso in the color picked raspberry.

On top of the roses I added red distress crayon.

Now it is time for the hearts and red and pink
oxide distress ink.

I added walnut stain oxide distress ink and 
musical washi tape.

I printed some vintage papers and a sentiment from
and colored this image with aquarel paint.

A little stamping with the butterflies from the
Papillon set by Tim Holtz and the page is finished.

Hope you like the end result.

Thank you for looking
and have a creative day!


Thursday, May 17, 2018

Card Captain day 4: Turtle


Welcome for day 4 of me being the card captain for
the Enjoy Michael Strong Stampgroup.
On Thursday we always share a technique.
This is no special technique, but I want to
show you how I build this background panel.

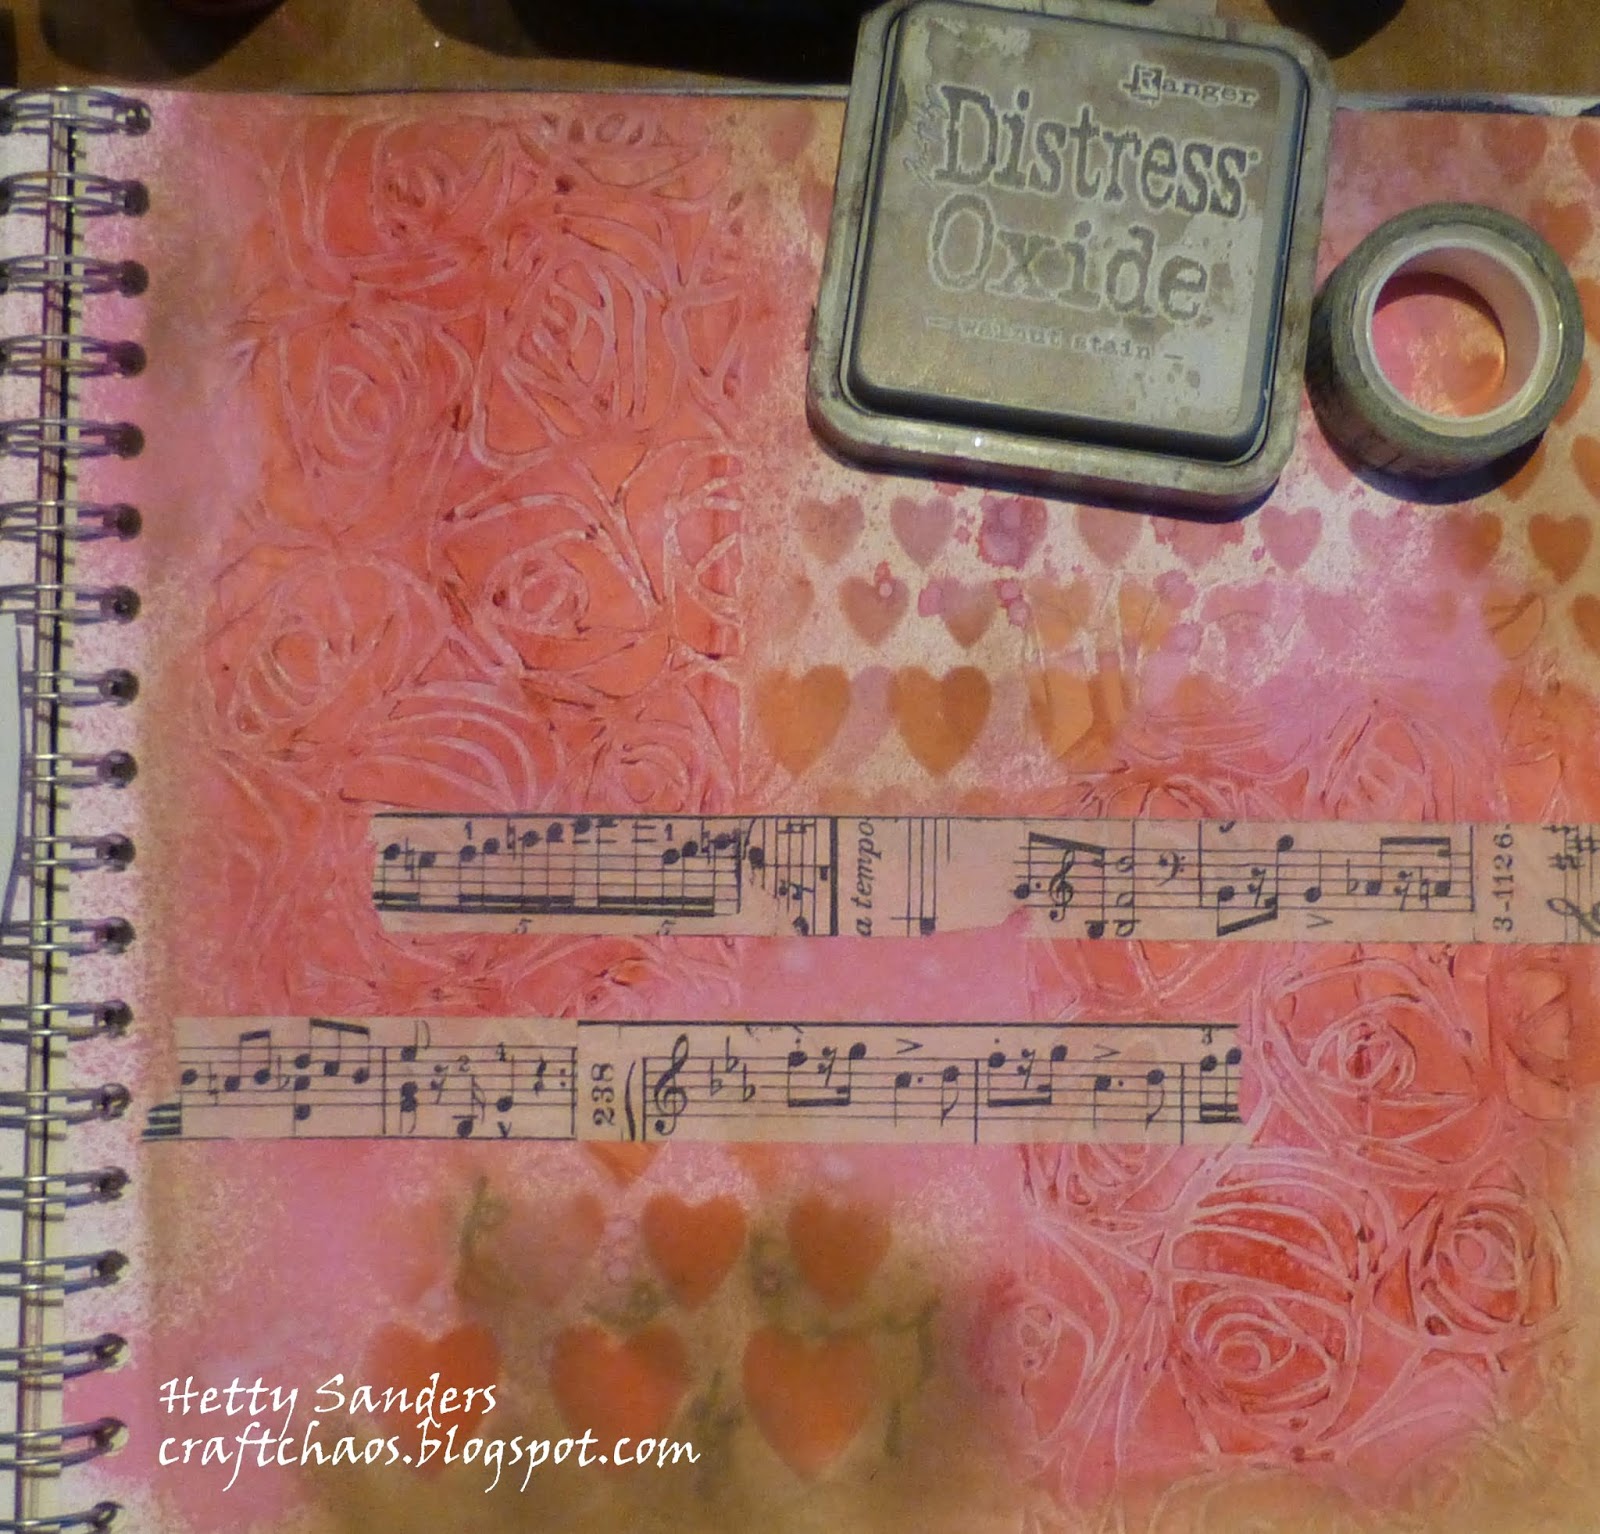
This is what I used:
turtle stamps by Michael Strong
sentiment from stash (not sure of brand)
stencil
various colors distress oxide inks
gesso
acrylic distress paint
distress crayons
distress spray
black versafine stamping pad

First I cut a white piece of cardstock 4x5 inch.
Next I took this sea bubble stencil from my stash 
and randomly added the white gesso with a brush.

After taking the stencil of you see the bubbles here and there.
Now leave this to dry of use heat gun.

Next  adding a few drops of light blue acrylic
(distress) paint and smear it out with your fingers
on a few places.

Then i added 2 colors of distress crayons (but I am sure
watercolor crayons or oil pastel crayons also have a 
great effect). Smear it out with your fingers.
Just a few places not all over the card.

Next spray broken china distress spray on the card
and let it dry.

With a paper towel rub over the dots you made 
with the gesso, this way the show more.

Take the stencil again and a darker blue ink
to make some more bubbles.

See here the result of all the layers.

On top of all these layers you stamp the seaweed
that comes with the turtle stamp with black ink.
Now your back panel is finished.

Stamp the turtle with dark green in (forrest moss)
and also use it for coloring the turtle.

For the shield I also used cracked pistachio ink.
Then i cut the turtle with scissors and added a 
few pieces of foam tape to the back.

The sentiment was stamped on a seperate piece of
paper and colored with the same inks and crayons.
Of course I added a little bubbles with the stencil.

In the end iIadded a little blue glitter glue
to the shield of the turtle, but you do not
see that well enough on the picture.

Thank you for looking
and have a creative day!