Showing posts with label gatefold. Show all posts

Saturday, March 25, 2023

Simon Says: Spring and/or Easter


Another challenge card, this time for the 
The theme is Spring and/or Easter.
This time it is a Spring birthday card.


Outside the bulbs are popping up and the birds sing their song.
I found some lovely bird design paper in my $$ store and
used it for this card in combination with 
Michael Strong's small hummingbird clingmount stamp.
I made this gatefold card. The squares on top of the card
open like a lock. One is fastened on the right side
and the other on the left side of the card.
This is the inside and here you see that on both sides there is a square.
The sentiment i used on the front and on the inside is from
Tim Holtz Crazy Talk CMS236.
This is how the cards stands and you can see how the lock works.

The little hummingbirds are embossed in white or gold
and colored with pencil.

Thank you for looking
and I hope you have a caffinated creative day!


Saturday, September 5, 2015

Saturday card: Wedding Anniversary

The card for today is one for a friends
Wedding Anniversary.
It is a gatefold card,which means it opens 
in the middle.

For this card I used:
Michael Strong's large heart stamp
Michael Strong's number stamps
Stampin'Up! bird builder punch
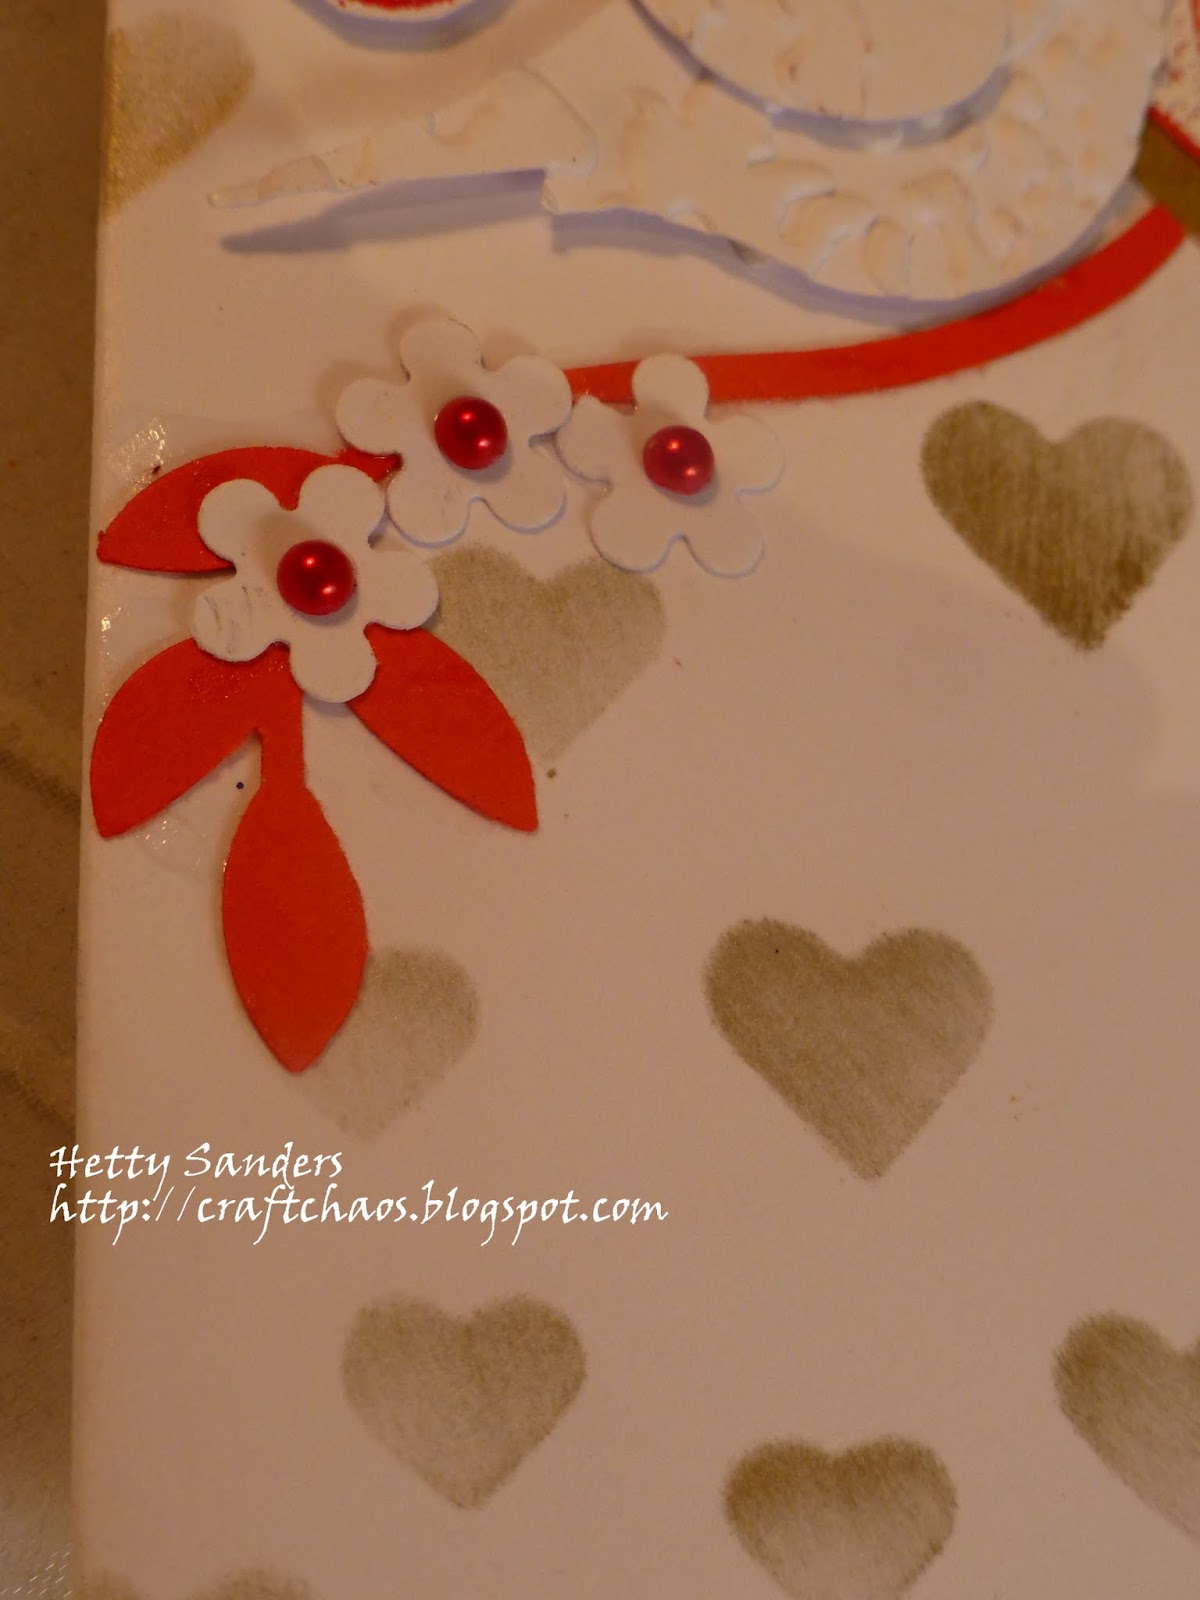
Stampin'Up! heart stencil
small flower punch

Here you see how the card opens up.
The heart and the bird on the right side
keep the card closed.

The heart is embossed in white on red paper,
then gluesd to gold paper andcut with a small border.

The birds are punched out and embossed with
an embossing folder. The eye is a tiny sticky pearl.

On the background I used a heart stencil and gold
encore ink for coloring the hearts.
The leaves and flowers are also punched out of red 
and white paper. In the heart of the flowers you also
see a tiny red sticky pearl.
Inside the card you find a wish.
It is the Dutch word for congratulations.

Thanks very much for looking!

Have a wonderful day!


Wednesday, January 28, 2015

Club Scrap Blog Hop: Constellations


Where has the first month of 2015 gone?!
Here we are with anothe Club Scrap Blog Hop.
This month the name of the kit is:
CONSTELLATIONS

Hope you have arrived here from
Marya's Blog
and seen her wonderful project.
Just a note: if you happen to loose your way,
you find all the participants on the
Here is my project:
It is a gatefold card with a surprise inside
For this card I started with a 8,5 x 11 inch piece of cardstock.
The finished card is 5,5 x 8,5 inch. Yes a large card.
The paper is  folded it outside in like this.
So when you close it, it looks like this.

For the inside of the card I cut two papers
of 5,25 x 8,25 inch
One of the two pieces can be a decorated piece of paper
and the other piece can be plain (black here).
The black paper needs to be scored at
0.25" and 4,25" leaving another 4"left.
Leave this on your table for later on,.
Now we are on to the decoration.
For decoration I used a calendar. Yes in January I alsways
make lots of calendar cards, this way my card is of use
for my friends the whole year round!

I found this free printable calendar here:

The finished panel looks like this.
Behind the calendar I added a piece of
constellation paper colored with ink with a blending tool
and added some shiny dots that came with the kit
to give it some bling.

Now here you see the construction of the inside
of the card:
Yes: inside the card is an easel construction!
So the 0.25" part of the black paper is glued to the 
card and the other part is folded in half.
On the lower part of the black paper you glue
the panel with the calendar.
The othe side looks like this.
But you know an easel card stands up.
For this you make some decoration
underneath the bottom part of the card
and your card looks like this:
I used the "wish"stencil that also came with the kit
and stamped a birthday sentiment from 

To make the card stand up I tied a ribbon on the top
of the wish with a button from my stash.
Now the card can stand behind the button.

Now we are nearly finished.
We just need something to keep the card closed.
I made a beld around the card by using the black paper
again. The strip is 2 x 12 inch.Just fold it around the
card for size and glue ends together. I used this map
on top for decoration,but you could also add a sentiment
on top. Colored with inkpad and blending tool
and some dots for extra bling.

Before sending you off to the next blog, I just  have
to share this card with you:
This card just popped into my head,
remembering the stencil and stamps I have from 
the set "A girls night out" that go perfectly
with the Consellation stamp sentiment for a wonderful
Valentine card. The sparkly stars are made with 
another fun stencil from the Sparkle kit with
a sparkly dot in the middle.
I started out this card with the stenciled girl
in ash and the smaller girlis stamped. I love it
when i can combine some of my older stamps and stencils!!

Ok, this is enough for today.I have a scrap page nearly finished,
bu for that you have to come back another day.
Now you will be in for more inspiration on 

Thank you for looking and I end with
my grandson's favourite quote:

Have a creative day!


Wednesday, June 25, 2014

Club Scrap Picnic Blog Hop


Here I am with the montly Club Scrap
Blog Hop to inspire you to make the most
 of  your stamps and papers.

Thanks for hopping here from Tricia's blog
with her always inventive ideas.

I absolutely love this new kit and truly,
Club Scrap always knows what we need!
Yes, indeed bbq paper was what I needed, because my dh
got a new bbq for Father's Day this month.
These scrapbook pages look like formula 5&6 from
the free ALSB instructions. I had to move it a bit
around to make it work for my photo's.

You find the ALSB instructions HERE.
Fot the bbq glove stamp I used the kissing technique,
for I did not liuke the glove to be just plain.
Not  familiar  with this technique?
Here is how you do it:
Take the glove stamp and a background stamp
and an inkpad.

Wet the glove stamp with ink.

Take the background stamp and gover the glove
with it (a few times) and take it off.

Now stamp the glove on the paper.

This is the result.

If  you don't get the result you want,
or if you don't like it. You can also stamp the glove

and take a background stamp and 
use  a darker color then the background
to stamp over the glove.

Cut the stamp and maybe color it a little
and this is the result. Ready for use.
(see also my post on the Technique Junkies Blog)

My next project is a card.
From the outside it looks quite simple.
Just some design paper and a cut apart.
But here is the inside:

and you see this is a pop up card
with the use of the great embossing folder
that cae with the kit.

Here you see where you can write your message.

Close up of the picnic basket.
How to make it?
This is the start of the picnic basket.
Paper is 3,25" x 3,5" and the fold line is 
0.75"from the top.

Emboss the basket upuntil the fold line vertical

or horizontal, whatever you like best.

And this is one of the finished baskets.

Another way is to stamp and coor the basket
and emboss the handles.

For the card you need two 5,5"x 11" pieces of
paper (decorated for the outside and plain for the inside)
Fold in half. For the plain inside you make two cuts
like you see above on the folded side.
Push the square towards the inside of the card.
This is where you glue the picnic basket.
And here my last card. This is a gatefold card,
with the use of decoated paper stamped with
a piece of melon for extra decoration.

One of the cut apparts is used for the center piece 
and the melon parts are from the digital version
of this kit (and I love using the images here)
On the seeds a drop of glossy accent is added.

Here you see where the ribbons are placed.
Underneath the middle panel and the right one.

The inside is decorated with the melon border from
the Art Nouveau stamps.
I used fuchsia and  leaf to color the stamp.

Thanks for stopping by. 
Hope I have given you some ideas,
but there is more. Visit Kay's Keepsakes 
to see what she has in store for you.

If you loose your way, you can always go to
to see the full list of participants.

Have a creative day!