Showing posts with label bistre. Show all posts

Sunday, December 16, 2018

Inspiration for Christmas with Michael Strong Stamps and GIVEAWAY!


As you all know, I am a big fan of 
Michael Strong rubber stamps.
From all the Christmas baubles, the snowman
is my favourite.

I was wondering which one is your favorite?
Please leave a comment and 
I have some stamps to GIVE AWAY!

Winner will be announced on Wednesday December 19.

More inspiration for Christmas:
The large reindeer bauble.
Each of the bauble sets comes
with 2 stamps: a large and a small one
of the same design.

Here I used the small size dove stamp
in combination with a city scape thinlit
by Stampin'Up!

The last one of the Christmas ornaments is the 
Stockings ornament. Here I used the large one.
It is embossed with white embossing powder 
and next I used a tiny bit of bistre walnut powder
to color the paper in the background.

SO......WHICH of the ornaments
is YOUR favourite?
Don't forget to leave a comment.

Thank you for looking
and have a creative day!


Saturday, November 21, 2015

Saturday card: Art Deco Christmas


This new set of stamps "Art Deco" by  
Michael Strong is perfect for all kinds of occasions.
It just depends on what color you use!

Today I show you how I made the art deco element 
intoa Christmas card.
I started with decorating the background of the card.
I used the set "Cloisonné Medallions".I stamped
the circleswith versamark and embossed  it with
clear embossing powder.  Next I stamped the 
sentiment at the bottomof the card. This is from the set
Cloisonné Words & Phrases. I embossed the sentiment
with gold embossing powder.

For the green element,I used a piece of paper that I  colored
with green bistre powder. When it was drie I stamped the 
large art deco element with versamark and embossed  it
with cold embossing powder. Then I cut it with scissors.
The red circles are the smaller circles from the Cloissoné Medallions
stampset and stamped on red paper with gold embssig powder.
Cut out with a 1inch paper punch. I added some gold thread 
behind the circles with foam tape, to give it more of 
a Christmaus bauble impression.

Thank you for looking and leaving your comments.


Have a creative day!


Saturday, November 14, 2015

Gift Card

This week I received  a *NEW* stamp set
It consists of one large stamp
and 3 little ones in art deco style.

My first project with these stamps is
a gift card idea. I share with you how
I made the card.
You can hardly see the giftcard, 
but you will when I have explained it.
Let's start with the background:
I started with the tringle stamp.
I embossed this on a white paper with white embossing
powder. This will work as a resist.
Here the finished white panel.

Now sprinkle some brown bistre
powder on top of the white panel.

Spritz some water on top of the 
bistre powder and you see the
color run over the paper.
Yake a paper towel to dab the color all
over the panel.

Here you see the finished background panel.

Next i stamped the large stamp on dark yellow paper
and embossed it with copper embossing powder.

I cut out the stamped image and took a 
Starbuck gift card to measure the size.

With some foam tape on the background of 
the large stamped image I created a pocket for the gift card.

Now I stamped the small round stamps and embossed them
in white and punched themout with a 1 inch circle punch.
This way you get the inbside cirle. I added themwith foam
tape to the larger stamp image.

Here you see again the finished card and
where the gift card is situated.

Thank you for looking!

Have a creative day!


Sunday, April 5, 2015

Happy Easter


Happy Easter 
to all my friends!

I made another card using the tin foil
idea from tim Holtz. This time I cut out some eggs.
As I used a spellbinder die, I could not cut bookboard,
so I cut out several eggs

and taped them together. 

With crumpled tin foil cut to size
I coverd the eggs. Leaving the shiny side inside.

Now I took a sizzix embossing folder

and embossed the eggs for a fun effect

before covering them with alcohol ink.
The eggs are finished now and I put them aside.

For the background |I took a white peace of cardstock
and sprinkled a few grains of bistre on it.

Sprayed water on top and this way covered all of the paper.

first on the background and then on yellow cardstock.
I gave the chicks some extra dimention by coloring
them with a yellow pencil.

Cut out the chicks (without the paws - these are already
on the background) and use foam tape to add the
chicks to the background.

I used part of Michael Strong's pot stamp (gold embossed
on green paper) as a bowl for the eggs.


On top of the eggs you see little bows.
The come with the easter bunny die.

The sentiment is from an old Stampin'Up! set.

Thanks for looking. 
Hope you have an amazing day!

Have a creative day!


Wednesday, April 1, 2015

Pesach/Passover inspiration

The Jewish Holiday of Pesach/Passover is around the corner.
it starts on the eve of Friday April 3rd and ends 
on the eve of Saturday April 11th. So I just made thes cards
to share with you.

For both cards I used a Passover digital stamp set fom Create with TLC
and you find the digital stamp HERE for only $  1.95.

The background paper for this card is a matzah image I just
took of internet and printed with the printer on heavy white paper.
The cups are from and old stamp. It is from the artist stamps, Burbank.
I embossed the cups with silver embossing powder
and colored the cups with a brush and pumic stone distress stain.

Now you may wonder why the 4 cups?
You can find out about that question here:

Here is the 2nd card I made today with the other image on
the digital stamp set from Create with TLC.
The little flowers are ounched out and added with double sided
foam tape and the heart is a sticky gemstone.
Also all the dots on the subway art are little gemstones.

This is the background to the subway art. I made it with
green bistre and astar of david stamp from my stash.

Thank you for looking.


Have a creative day!


Tuesday, March 17, 2015

Happy St. Patrick's Day


While I was making cards for the Coffee Spring blog hop,
I looked for some inspiration on the web and found
this fun coffee sentiment and kept it to make a card to wish 
all my friends a Happy St.Patrick's Day.

I used:
Michael Strong's coffee cup
Club Scrap coffee ring stamp
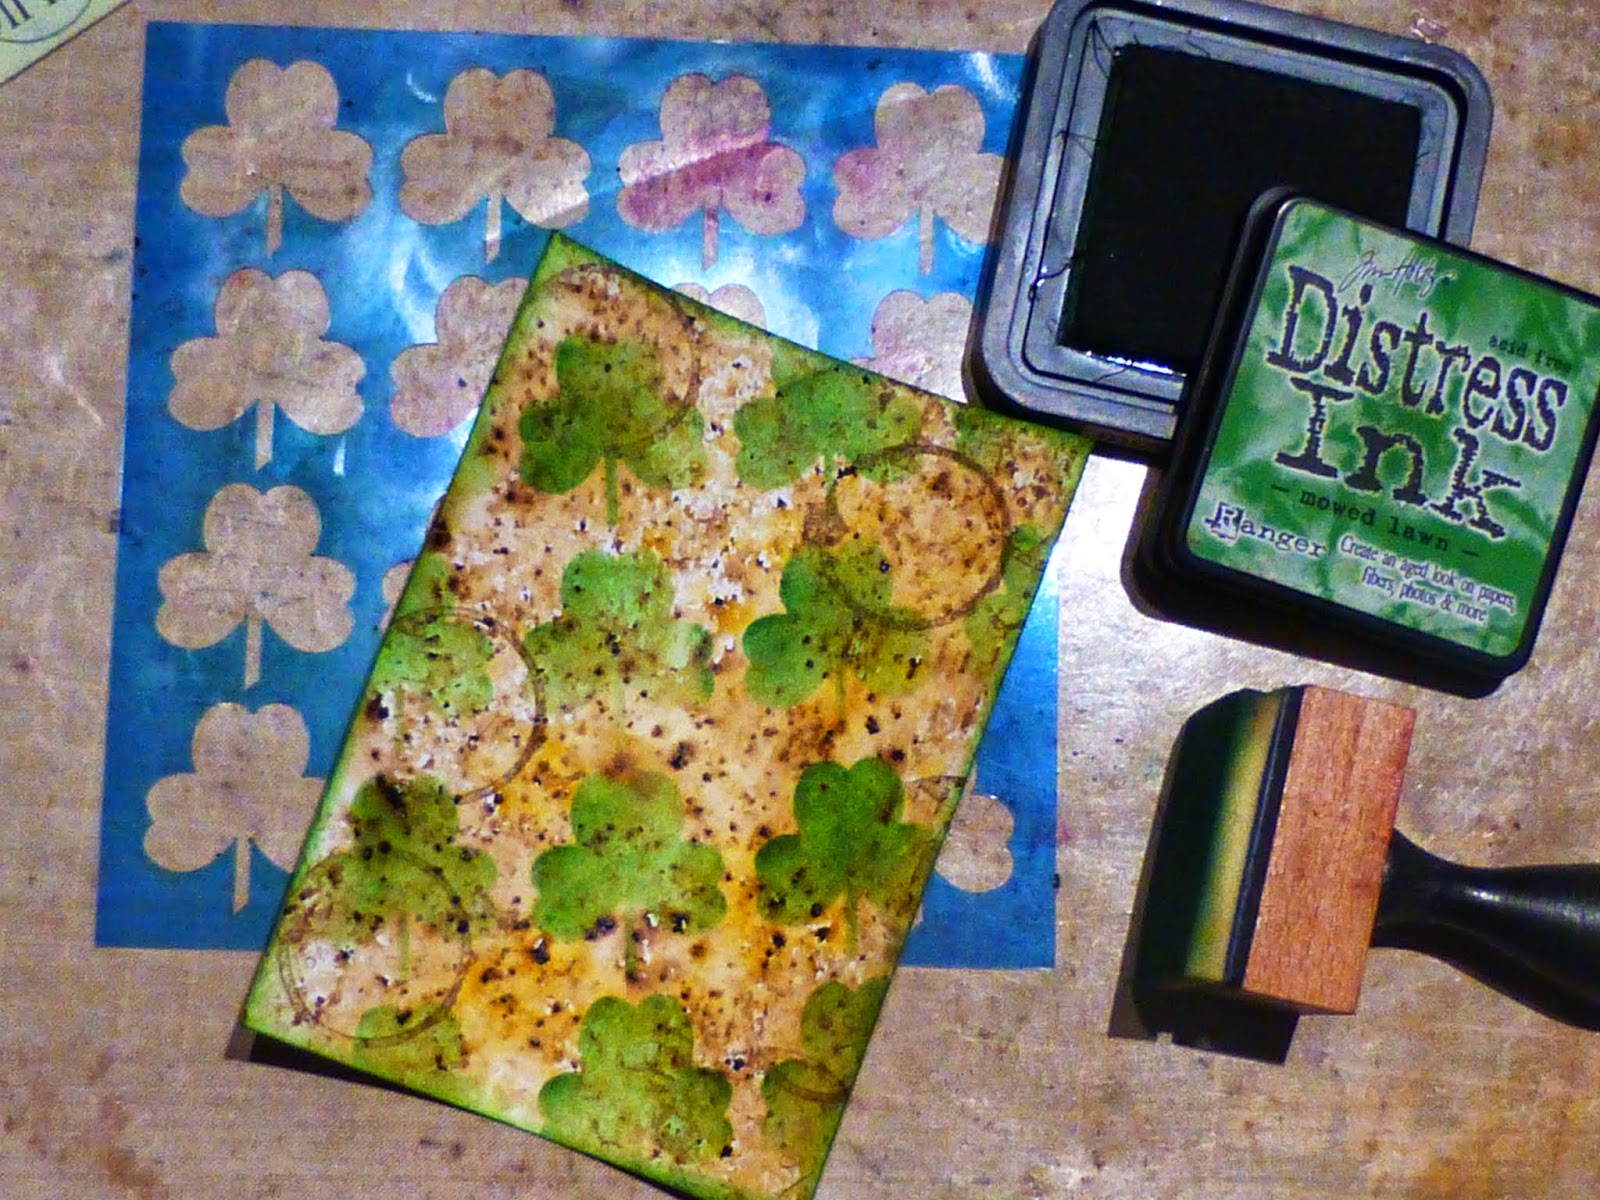
bistre powder
clover stencil by clearscraps.com
vintage imageby Create with TLC

For the background I used first some natural and yellow
bistre powder. When alldry,i stamped the coffee rings
in brown ink and after that I took the clover template
and a green inkpad to add the clover to the background.

Then I stamped the coffee  on brown/golpaper
with gold embossing powder.I noticed the heart
 with the 2 coffee beans. On a separate green piece of paper
I stamped the heart 4 times and also embossed these
with gold embossing powder. I cut the hearts out and formed
 the clover on the cup with a small sticky pearl in the heart of
the flower. I also added a stem from the left over scrap.

The sentiment is printed out with the computer
and cut to size for the card. Made it look like a ticked
by using a corner punch and adding some ink all around.

This is the inside of the card with avintage image
from Create with TLC.

Hope you all have a fun day 
and thanks for stopping by.

Have a creative day!