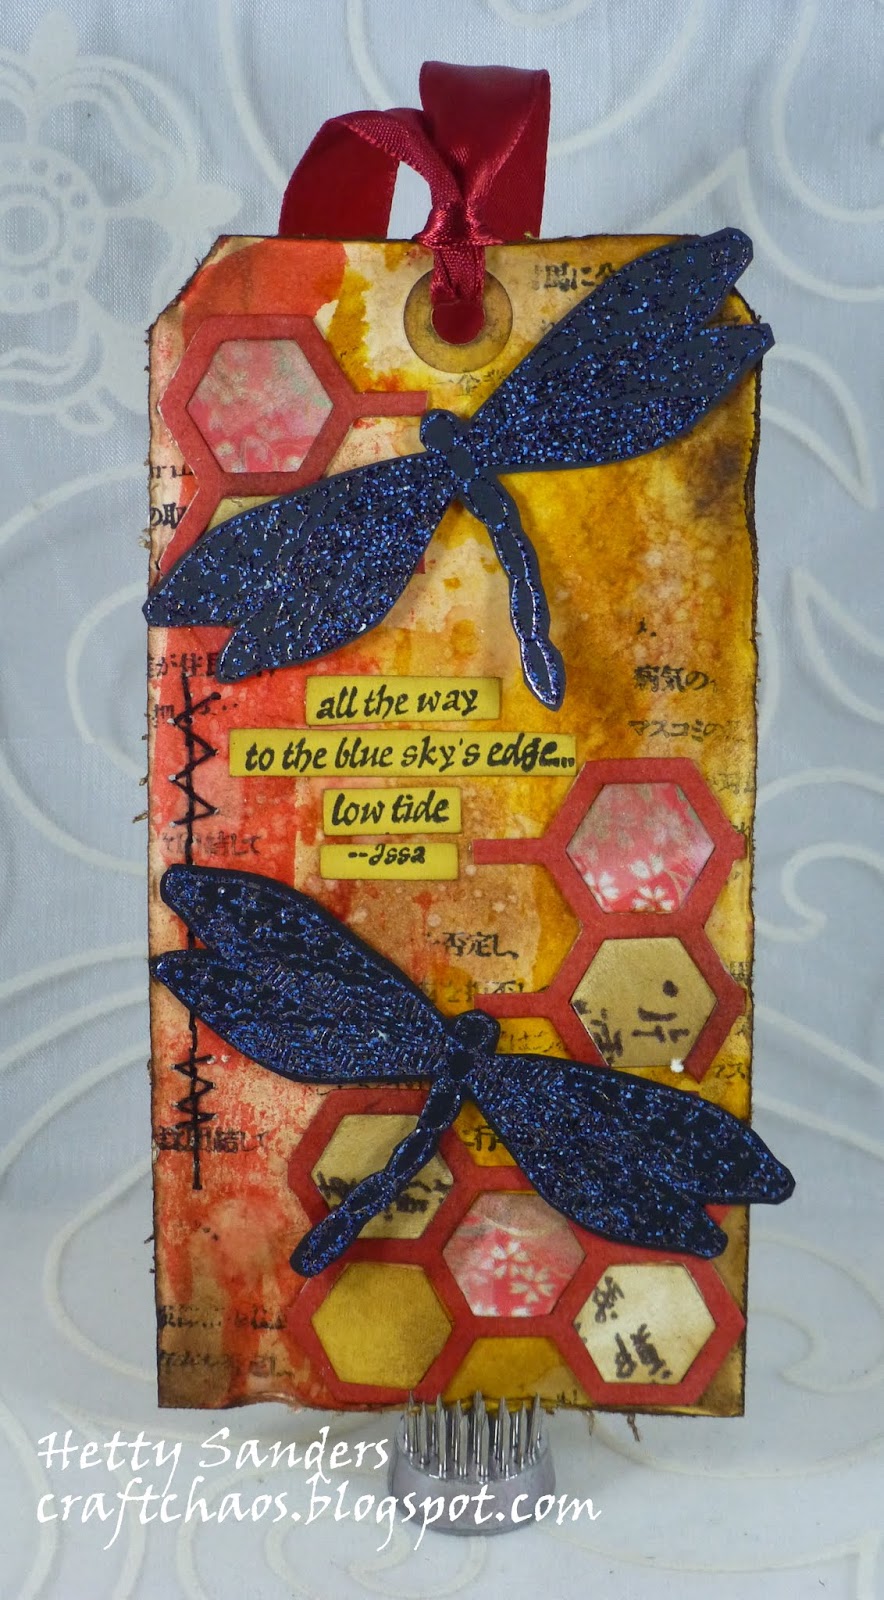
Yesteday I shared with you this booklet and part
of the inside. Today I have 2 more pages and tags.
If you missed it, have a look
HERE.
Have you been to the main blog post of the
There you find all the info on how to
upload your project and might be able to win
one of the fabulous prizes from the Super Sponsers.
The tag in this envelop is my variation on the
so these pages are decorated with the cup
from Tim's die.
IThe cup is cut with the die and I was able to position
it so that I cout use it for this tag. Behind the cup I added
The background is a rubber stamp by Tim Holtz.
On the top of the tag you find a little coffe spoon charm.
The bottom part of the tag in a close up.
The bottle cap has a bean stamp from Club Scrapand a sentiment
The sentiment is a dymo font that I printed with the
computer. You can download this font free
And the other tag is made with the free images
from Verve Stamps and those you find
HERE.
Here is the decoration on the
envelopes. For this I used two different
Tim Holtz stencils and a white inkpad.
And this is the festive tag finished,
but iIhave a little step by step how I did it:
I used these two stencils: the stars and the stripes,
a babywipe and two colors of distress ink.
So add the ink first to the tag. Either with the
direct to paper technique or us ablending tool
to color the paper. Lay the stencil on top
and remove ink with a baby wipe.
This is the result after the stencils
are removed. When you heatit wth the heatgun
the white becomes even more visable.
Print the images and color with distress ink
or distress stain and a paint brush.
Here you see a close up of all the images.
The sentiment is cut out with a punch and
als adding some ink to fit in. The ribbon is colored
with distress stain and the topof the coffee cups
have a little glossy accent to make it look like plastic.
Thanks again for looking and come back for
the last tag in my book tomorrow....
the last day of the Summer Coffee Lovers Blog Hop.