Showing posts with label dabber. Show all posts

Monday, March 31, 2014

More Bold & Bright

Here I am again with 
artwork for the Club Scrap Bootcamp.

This week is the last week and  I want to help
to meet the OWH goal, so you will see
lots more bold and bright artwork.

Today I made 7 cards, that I will show you
here. I started out with making
some quick backgrounds with  the neon
dabbers and a few stencils.

When they were dry I got out my Club Scrap
Serenity and Tahiti papers for making some cards.
The sentiment is from the Big Deal kit.


With all the little scraps I did some
herringbone technique for this card.
And yes,i keep on stamping,
so you will see more of me this week
very bold and bright!

(sentiment not Club Scrap)

Thanks for looking
and have a creative day!


Sunday, March 16, 2014

Club Scrap bootcamp week 6: Framed

Here another week at the Club Scrap Bootcamp
and this time the theme is:
***FRAMED***

I did some looking around the internet
for some fun frame ideas and pinned them to my
CS Bootcamp pinterest board here:

So inspired on one of the ideas,I made
the following cards:
I found the idea on the Ink Stains Blog and 
gave my own interpretation of the technique.

I used:
Club Scrap Graffiti papers and um stamps
Club Scrap Trees umstamps
Club Scrap Neon dabbers

I made cards that are 5,5"x 4,25 when finished,
so the cutting pannels need to be accordenly.
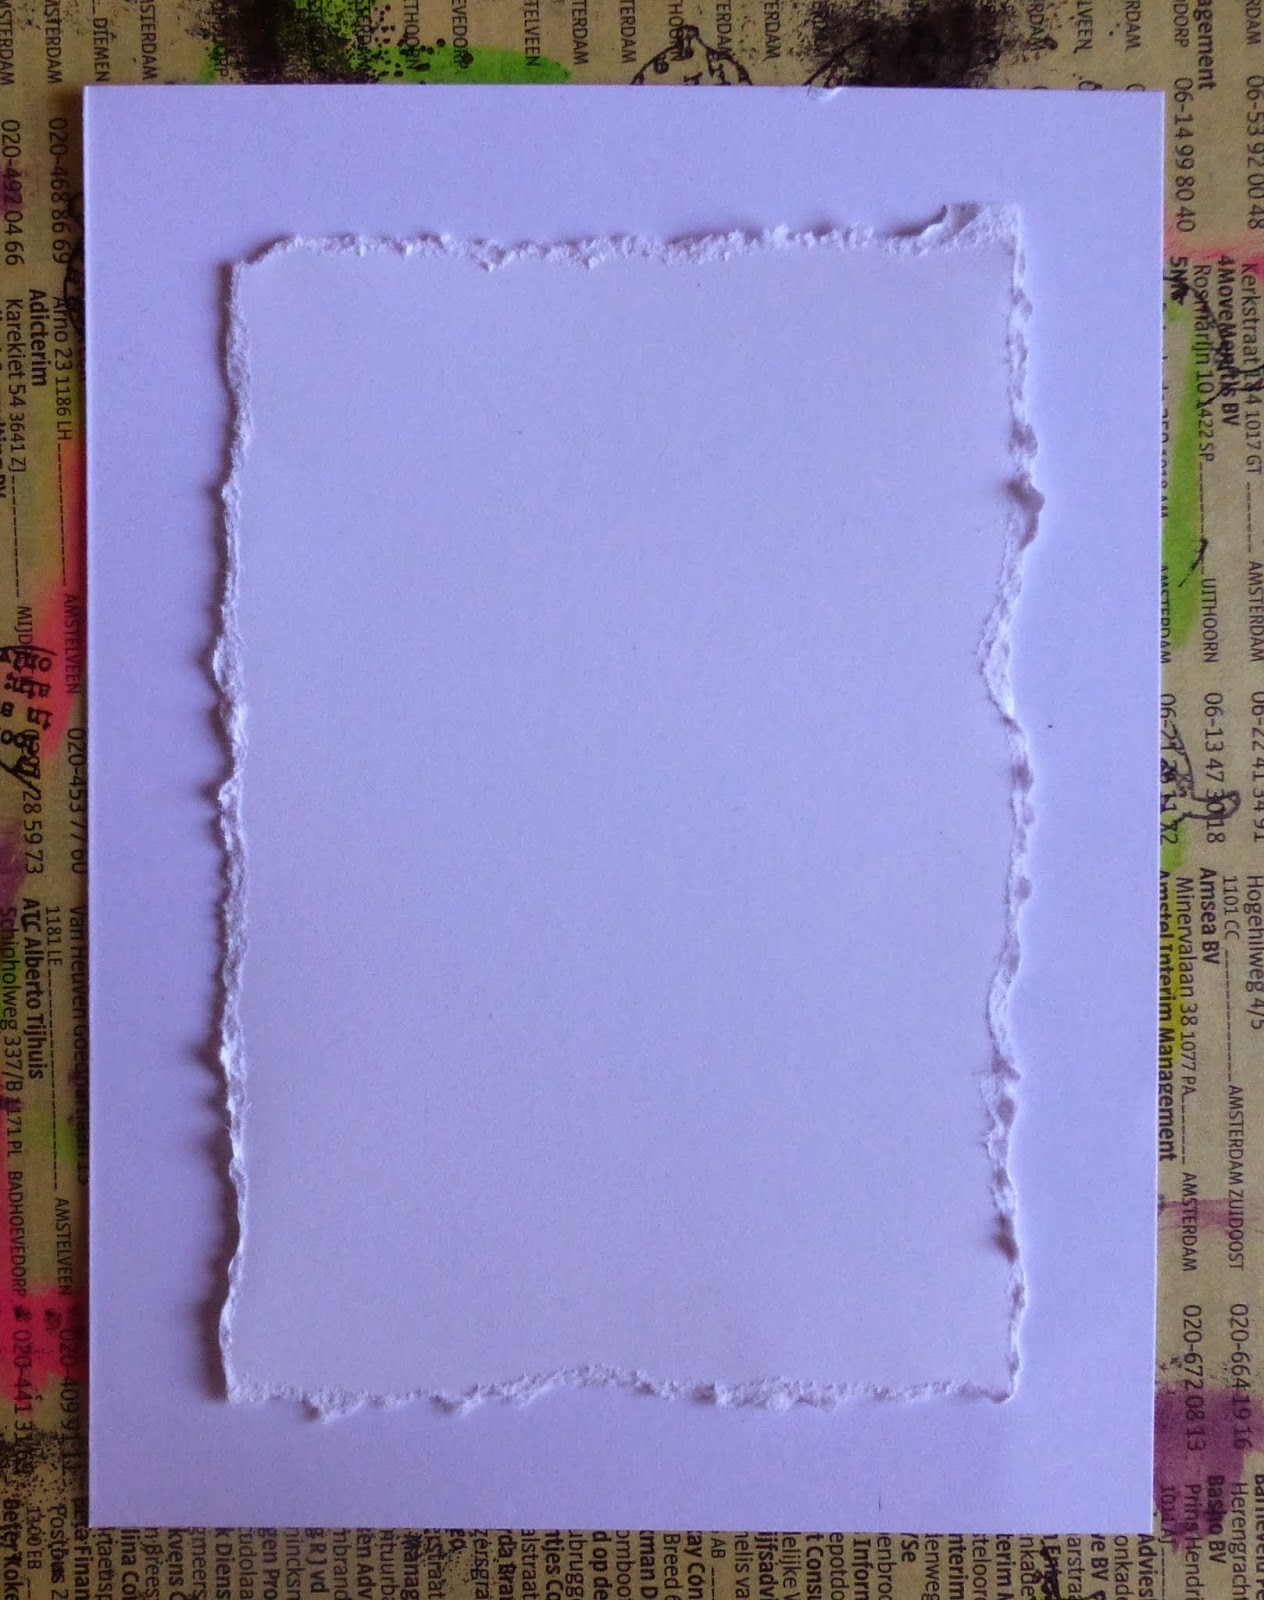
To make the frame I used a large peice dof white cardstock
measuring 5 x 3,75 inch and for the inter
part it depends on how large a frame you want.
I used a pannel of 3 x 4,25 inch.

If you like a more straight line,you can use the 
uncut smaller pannel,but also you can tear around the smaller 
pannel for some fun effect.
Put the smaller pannelin the middle of the
larger pannel.I did not glued it in any way
just hold it there with my hand
while using the dappers to color the frame
for the card. You can use one color,2 or even more. 
When done the frame looks like this and if you take
 away the smaller paper you have a white rectangle.  
You can add another touch to the frame by using 
stampson topof the color. Here I used the leave stamps
from the Trees kit. While stamping you leave the 
middle pannel on the other pannel.
When finished I noticed that even the smaller
pannel came out nice and could be used on a card.
Below you can see all the finished cards
one by one.


Hope you are inspired!

Thanks for looking.

Have a creative day!


Tuesday, November 12, 2013

Club Scrap Retreat Project 1: card box

This card box is one of the projects we made at the
Club Scrap 2013 Retreat.It was Tricia's
project. One day we did the cards with
stamping technique and great new neon dabbers
and the other day we made the box with the help
of a score-pal.
Of course I want to share some Retreat-class pictures with you.
Here you see Tricia explaining to us what to do
and how many cards we are oing to make.

We got stamps,the neon dabbers and neon inkpads
to play with and mainly it was a class where
you could experiment and see what you can do with
all the toys.
You can find all inks and dabbers in the Club Scrap
shop HERE and the stamps are HERE.
So after some instructions we all start to work.
Cut the papers and stamp, stamp, stamp!
It was fun also to see what everyone else was up to.
This way you always get some new ideas.
When you throw your dabber at the paper you get thes great
ink blotches. Wonderful to use for flowers.
So,thanks somuch, Tricia for this great
box full of ideas.
I took mine home unfinished. Had to glue
all the cards together and here is the result:
12 small cards : 2,5 x 2,5 inch

6 large cards: 4 1/4 x 5,5 inch

all tied with a ribbon in a wonderful box

with a beautiful lid to finish it of.

I am going to make more of these boxes for sure!!
Want to see more Club Scrap projects?
Take a look at the Club Scrap Create Blog here:

Have a creative day!