Showing posts with label table decoration. Show all posts

Monday, October 5, 2020

Bugboo Digital Stamps: Anything but a Card

Hello Crafty Friends,

Today I share an idea of what you can do with the
super cute scarecrow image that comes as a freebie
when you subscrabe to the newsletter of the

Here is what I did with Oz Scarecrow: 
After printing this cute image twice, I colored it with 
my Stampin'Blends. When finished I cut out the images.

The circles are punched out and letting and decorating
are all done by hand. With a piece of waxed tread and a needle
I added the circles to the scrarecrow. The middle circle
is attached to the stick with double sided tape and another
circle at the back. The stick s also fastened with a larger circle
and double sided tape behand the head of the scarecrow.

Hope you like this idea.
I was thinking to get some small pumpkins
and add the sticks in the middle and decorate my new home.
Yes, I am going to move house soon, so hopefully I have
time to keep up with all the challenges this month.

For nowm, I added these picks into a vase:

Thanks for looking,
stay safe and
keep crafting.


Sunday, June 25, 2017

Day 3: Coffee in the Garden


Welcome to another card on day 3 of the

So many sponsors, so many prizes to win, so don't forget 
to add your card and have a chance to win some goodies.
And if you have no coffee stamps, there are
 many freebies to grab, like this iced tea set

For today I have something totally different.
I was inspired by pinterest when looking for
Summer ideas. I noticed lots of these signs
and came up with  this for my garden.

I have this cute sidetable in my garden where I usually
put my cup of coffee when reading.
Now I have this neat tray and sign.

I used a regular stone flower pot and painted it 
with gesso first. For the sign I used paint stirring stick
(not sure how you call these in English, but I guess
 you understand what I mean). I broke them into small
pieces before painting.

When the gesso ws dry I colored the flower pot 
and the paint sticks in all kinds of Summer colors.
Acrylic paints were used.

With a background stamp of wood grain I stamped on
all the pieces to make them look a little like driftwood.

Then  - except for the coffee - I used 
2 kinds of alphabet stamp sets to make up
the sentiment.
The sticks were added with wood glue to the main stick
and put into the flower pot that was filled with
small stones.

The sentiment on the flower pot is done with a marker
and after some practise handlettered on the pot.
I am very happy with the overall result and it
looks perfect on my table. I can''t wait to go out in
the garden again and read (or just look at the sign and 
drink coffee!).
Thank you for looking 
and have a latte creative day!


Tuesday, April 11, 2017

Happy Passover 2

More playing with my 
Club Scrap Cherry Blossom digital kit.
You find the kit here.

I used it also for my table decoration.
I created this label in Photoshop
and used it on the paperbags for my
flower decoration on the table.
I printed this matzoh paper and created the paperbags,
like I did here. The labels are added with foam tape.

Not only did I use the labels on the bags, also
I used it on the tray where I had the flowers stand on.
I was so lucky that my real paper kit arrived yesterday 
and I could use one of the beautiful ribbons and the
cute little flower stickers from this kit.

Wishing all of you a wonderful Passover week.

Thank you for looking
and have a creative day!


Friday, April 22, 2016

Passover 2016

And then Passover is here:
The soupis made, the matzoh balls ready,
table  nearly ready.....

So I want to wish my Jewish (stamping) friends
all over the world a very Happy Passover
and a great sederevening celebration
with all your family and friends.

For the background of this card I used a david star
embossing plate as a stencil. Worked perfectly.
Used some post it paper to cover the sides, so no
ink would come in the wrong place.

Here you see the finished background.

And here is how I made the matzot:
used a square punch and a crumbler.

Roll the squares through the crumbler
and add some vintagephoto distress ink.
Don't they look yummy?!

Oh, and I want to share the name cards for
the grandchildren.Of course they do not get a bottle 
of water. 2 jars of fruity baby  snack for the twin
boys and a fruit shoot for big brother.

I had so much fun creating my decorations this year.
The digital sentiment is by Create with TLC
and the seder plate is a rubber stamp by

Thank you for looking.

Have a very Happy Passover!


Wednesday, April 20, 2016

Passover decorations

Now Passover is getting so close,
I need something to decorate the table.
So I started with this potrose
and a very big glass jar.
The rose goes into the pot and now
on to decorting the jar.

I printed  some pieces of 
blue chevron lines landscape on 
lettersize paper.

If you like this too, here is the background I used.
Feel free to save this to your computer.

Then I printed a few sentiments ,that came with
the digi club of Create with TLC.

As I did not like it to be too clean and white,
I used a stencilfrom Club Scrap to make
this flower in the middle as a background.
First a green ribbon around the jar,before adding the 
sentiments. Why green:well,Passover is also a 
Spring Holiday.

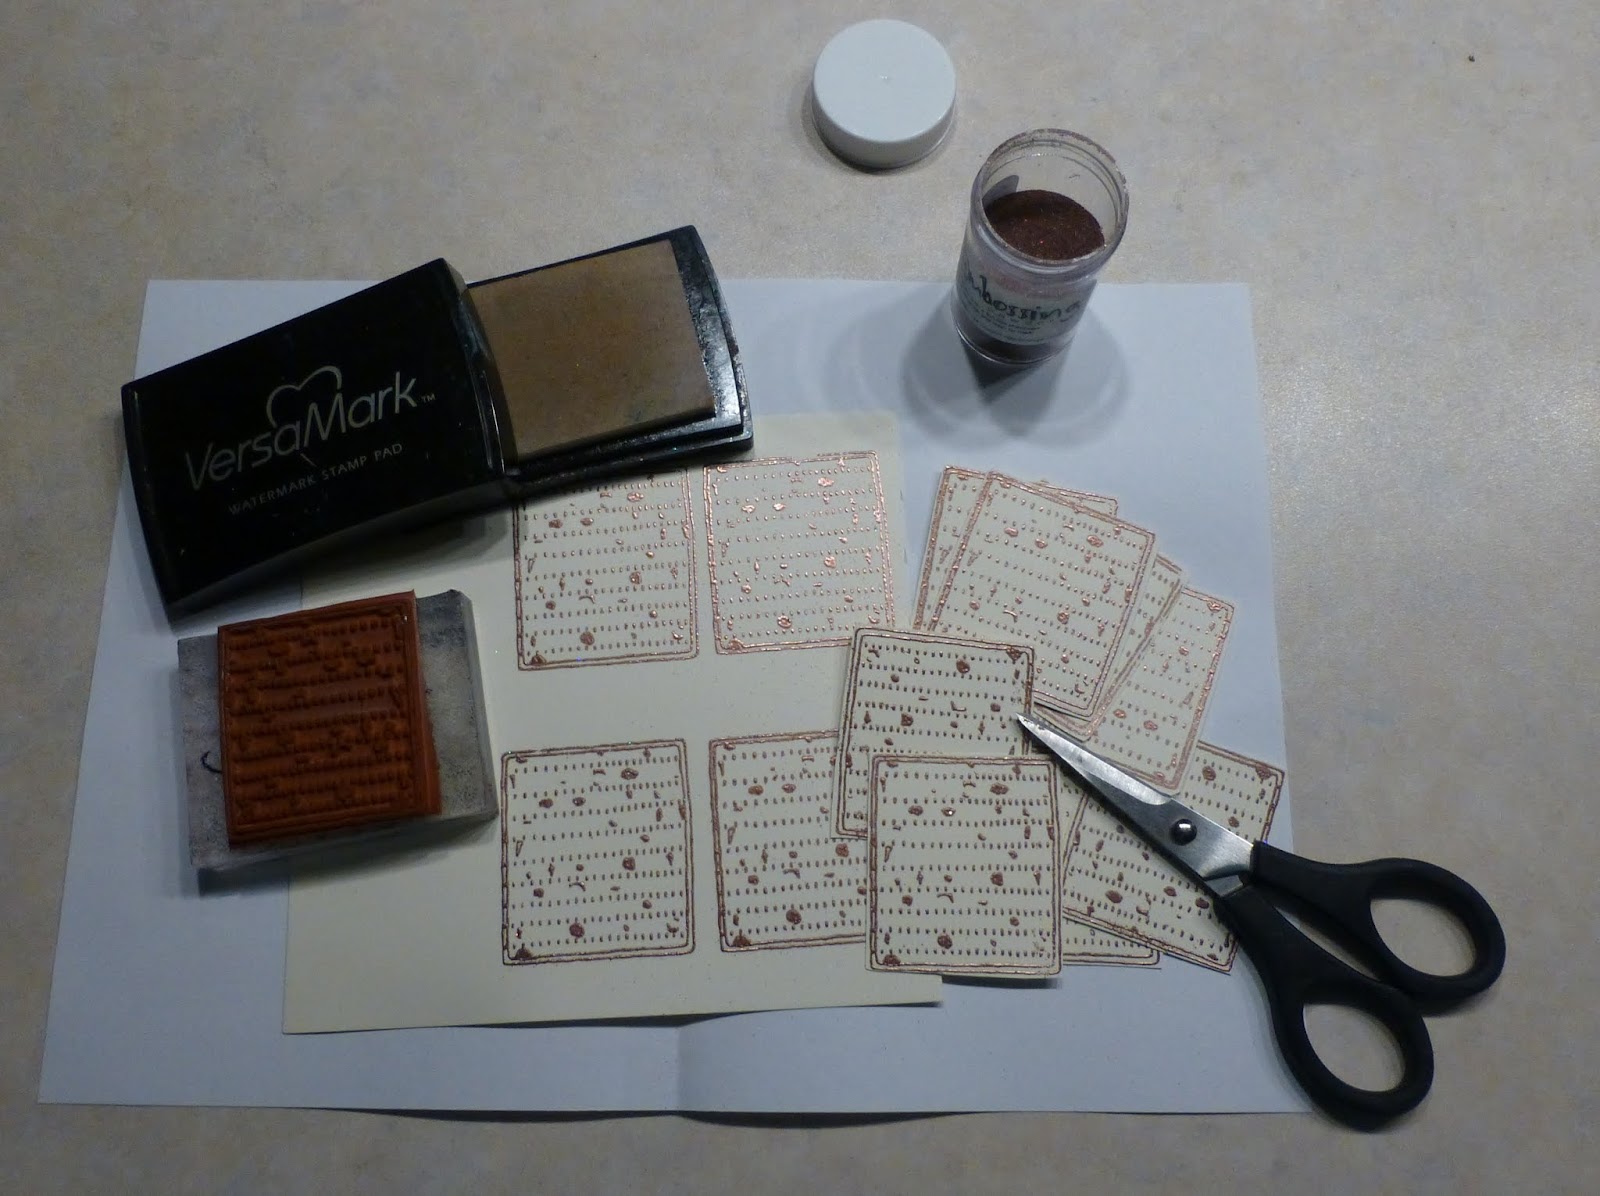
For moredecorations,I stamped and embossed the 
matzah stamp from Ruth's Jewish stamps.
Then I cut them all out.

I created aboy and a girl out of the matzot,because 
I want to use them as name cards for the table. With the
grandchildren around the table I wanted to have something
that would catch their eyes.


So on the center piece it looks like this.

And the name cardsare not really cards.
I had the idea of adding the a water bottle to 
each plate and use these as the name card.

On one side you see the Pesach wish
(digi stamp from Create with TLC)

and on the other side the name of the person
who is sitting at that place at the table.

Depending on the gender on the person, it will 
be a male or female version.

Hope this gives you some inspiration for your 
table. If your (grand)children are a bit older
then mine, you could make these fun decoration 
together with them.
When all is on the table,I will add another picture.

Thank you for looking.
Have a creative day!