Tuesday, September 30, 2014

Technique Junkies Stencil CD Blog Hop

W*E*L*C*O*M*E
Here we are with another fun
Technique Junkies CD
full with tutorials.
This time it is all about stencils:
  SENSATIONAL STENCIL CD

I hope you came here from
Beth's Blog
and her wonderful ideas for inspiring you.

You see so many stencils these days
and there are a lot of fun techniques you
can do with them. A lot of people use the
stencils for art journalpages, but they are
perfect for cards to. This new cd has 40 tutorial
for you,that you can easily print and put on
your working table. With this blog hop we want to
 share some of the techniques for you to inspire you.

Of course you want to have some idea as what to
expect on the CD and HERE is the table of content.


I have chosen to share with you a technique called:
~Gelatos Wipe Technique~

This tchnique makes such beautifulbackgrounds,
you hardly want to cover them.. This stencil is from
The Crafters Workshop and the sentiment is by Create with TLC.

Here another sample of the same technique. The stencil i used here
is by Club Scrap and the image is a freebie by

I did not want to throw away the cut of and 
used it for the inside of the card, also
a sentiment of Create with TLC. The gost image
ismade with the owl punch by Stampin'Up!.

Odering the cd? Click below:

Have you seen all the other CD's that we have?
You may want to add another specialty CD to your order
 of the Sensational Stencil CD. 
Here is a list of the various CDs available from Technique Junkie:
Artistic Effects CD $14.95 USD 
Bodacious Background Stamps CD $9.95 USD 
Designer Paper Perfection $14.95 USD 
Great Gifts CD $14.95 USD
Shimmer Glimmer Sparkle and Shine CD $14.95 USD 

3D and Fun Folds CD $17.95 USD 
Emboss or Die CD $17.95 USD 
Mini Album Mania CD $14.95 USD
Move It Shape It CD Combination $17.95 USD


Hope you want to see more and will hop on to see
what our wonderful Holly designed on her BLOG
for you.


Have a creative day!


Sunday, September 28, 2014

Michael Strong group Anniversary Blog Hop

Welcome to our 
Michael Strong
Aniversary Blog Hop.

Six years ago I decided to start this group
and now we have over 500 members.
If you like the stamps Michael Strong
designs, you are welcome here:

I hope you came over here from Laura's Blog
and her story about how she became a
member of this group.

This my story:
I loved watching TV Weekly
and one day Michael Strong showed a card
using his heart stamp. Here you can see
the video too (click on the arrow of the picture blow,

I ordered the heart stamp right away,for I wanted to use 
it for making the wedding card for my daughter.
I did not want to copy Michael's card, so this
is the card that became her wedding card:

Now I use the heart stamp every year to make
an anniversary card for my DD and her DH:
A mini heart is being added, for they have a little son now.
The background of this card is made with bistre/bister powder.
The large hearts are stamped and embossed with white 
embossing powder. The little heart with red embossing powder.

In April  2008 I met Michael Strong in person at
a stamp show and helped him out at his booth.
As payment I received some of his stamps.
So what to do with all these stamps, besides stamping........
Yes, I decided to start a group and share 
all the fun ideas of these stamps and inspire
others to use the stamps.

At first I made a card every day for over a year,but than
a friend came up with the idea: Card Captain.
One member sharing a card from Monday to Friday.
We have been doing this ever since and Iam
very thankful for all of you who do this. 

This card is made with Michael's pot stamp
in combination with the Workof Art stamp set
by Stampin 'Up! and the bistre/ bister powder.
I share a card with the group every Saturday
and a scrapbookpage every Sunday.
Hope I can go on doing this group,
with your help,for many more years.

Now here is the list of all participants:
2. Shelly
4. Yael
5. Herma
7. Lori
8. Joanna
9. Jill
10. Laura
11. Hetty - you are here!

And now on to the inspiration of
the master himself.
Please hop over to

ps. if you leave a comment to my blog
you might win one of Michael's stamps!

Thanks for looking and
have a creative day!


Saturday, September 27, 2014

Saturday card: seahorse

This week on the Michael Strong stampgroup
we had a card captain (that is one of the members
who shares a card from Monday to Friday)
who showed a card each day with  a theme:
a Michael Strong stamp in combination  with the
Stampin'Up! set Work of Art.

As I have this set too, I decided to follow her
idea and here is my card. The background for this
card is made with bistre/ bister (a fun powder
that is used in combination with water for coloring).

The sentiment is a stamp by JavaJoanne
The seahorse is also colored with bistre.
When the colored powder is on a palet
and you add water,you can use this to color
your image with a brush.

Hope you will come back again tomorrow
when we have a Michael Strong Blog Hop
with 11 blogs participating and stamps to win!!

Thanks for stopping by.
Have a creative day!


Wednesday, September 24, 2014

Club Scrap BLUEPRINT Blog Hop

Welcome to Club Scrap's monthly Blog Hop.
This month the name of the kit is BLUEPRINT.

Hope you have arrived here from Tricia's blog
and if not,you can find all the blogs
that participate on the main

I decided to make some cards this time
I really need. As we have some people
moving house I need a few of those and
some tags for the flowers I am  going to give.

Also I made some matching evelopes with
that wonderful stencil that came with the kit:
The stencil  measures 8 x8 inch and is perfect for
a normal size card. So I lay down the stencil,
took the 4 matching colors of the kit
(Topaz,Leaf, Earth and Saphire) 
and with a blending tool I colored the paper.

Took out my envelope punch board and started making
envelopes according the instructions on the board.

Here the finished envelope with the card.

To make it easy on myself I have made some quick
and fun backgrounds using the gelli plate with
matching acrylpaint colors to the kit.

You wil notice that the text I have used on all my cards
are not on the stamp sheets. I needed some other sentiments
this time,so I downloaded the matching
fonts to this kit and printed my own sentiments.
This mont's fonts are
The houses you see in the background are a 
Tim Holtz die and is perfect for these
kind of cards.

The heart on this tag is a stamp

Here the sentiment is a stamp
from the kit.

Not only do I need some moving cards,
I also need some cards for the 
Jewish New Year
which is starting tomorrow.
For these cards I also made the background
with the gelli plateand matching acrylic paints.
I have cut out a pommegranate from paper 
and added this to the paper to get the shape.
Using some stencils on top for fun effects.

Here are the finished cards. The hebrew text is from my stash and 
is the hebrew for Happy New year.The colors of the kit
were just perfect. The golden paper has the color of honey that we
eat on the apple to wish each other a very sweet year.

Here are two tags I made for the flowers. The pommegranate
is cut out and added with some foam tape to the tag
and little red rhinestones are the pips in this fruit.

Wishing all my Jewish craft friends a very happy,
healthy, crafty New Year and let's hope
for a little more Peace to the world.

Now on to the next blog and see what 
Kay has for great ideas for you

Thanks for looking
and thanks for leaving your comments.


Sunday, September 21, 2014

Altered Playing Cards #3

Here are my altered playing cards for week #3.
You find all the information about this project on 
Claudine's Blog HERE.
These are the backgrounds of my cards.

For the letters I used 
Michael Strong's Alphabet stamps.
They are stamped with versamarkand embossed with
black embossing powder. Then I colored themin 
a few Autumn colors. I covered a third of the
lettersand added the color with a blending tool.
Moving the yellow post it note I added a second color
and then a third.

This is the finished card.
The bird is embossed with clear embossing powder
and the leaves and twig are from the long die
from Tim Holtz called Autumn Gatherings.

For the other card I used the 
Tim Holtz clock stencil.

On the finished card you see a Tim Holtz stamp
and  the Gadget Gear die.  The little clock
is an embellishment from my stash.

Thanks for looking.
Have a creative day!


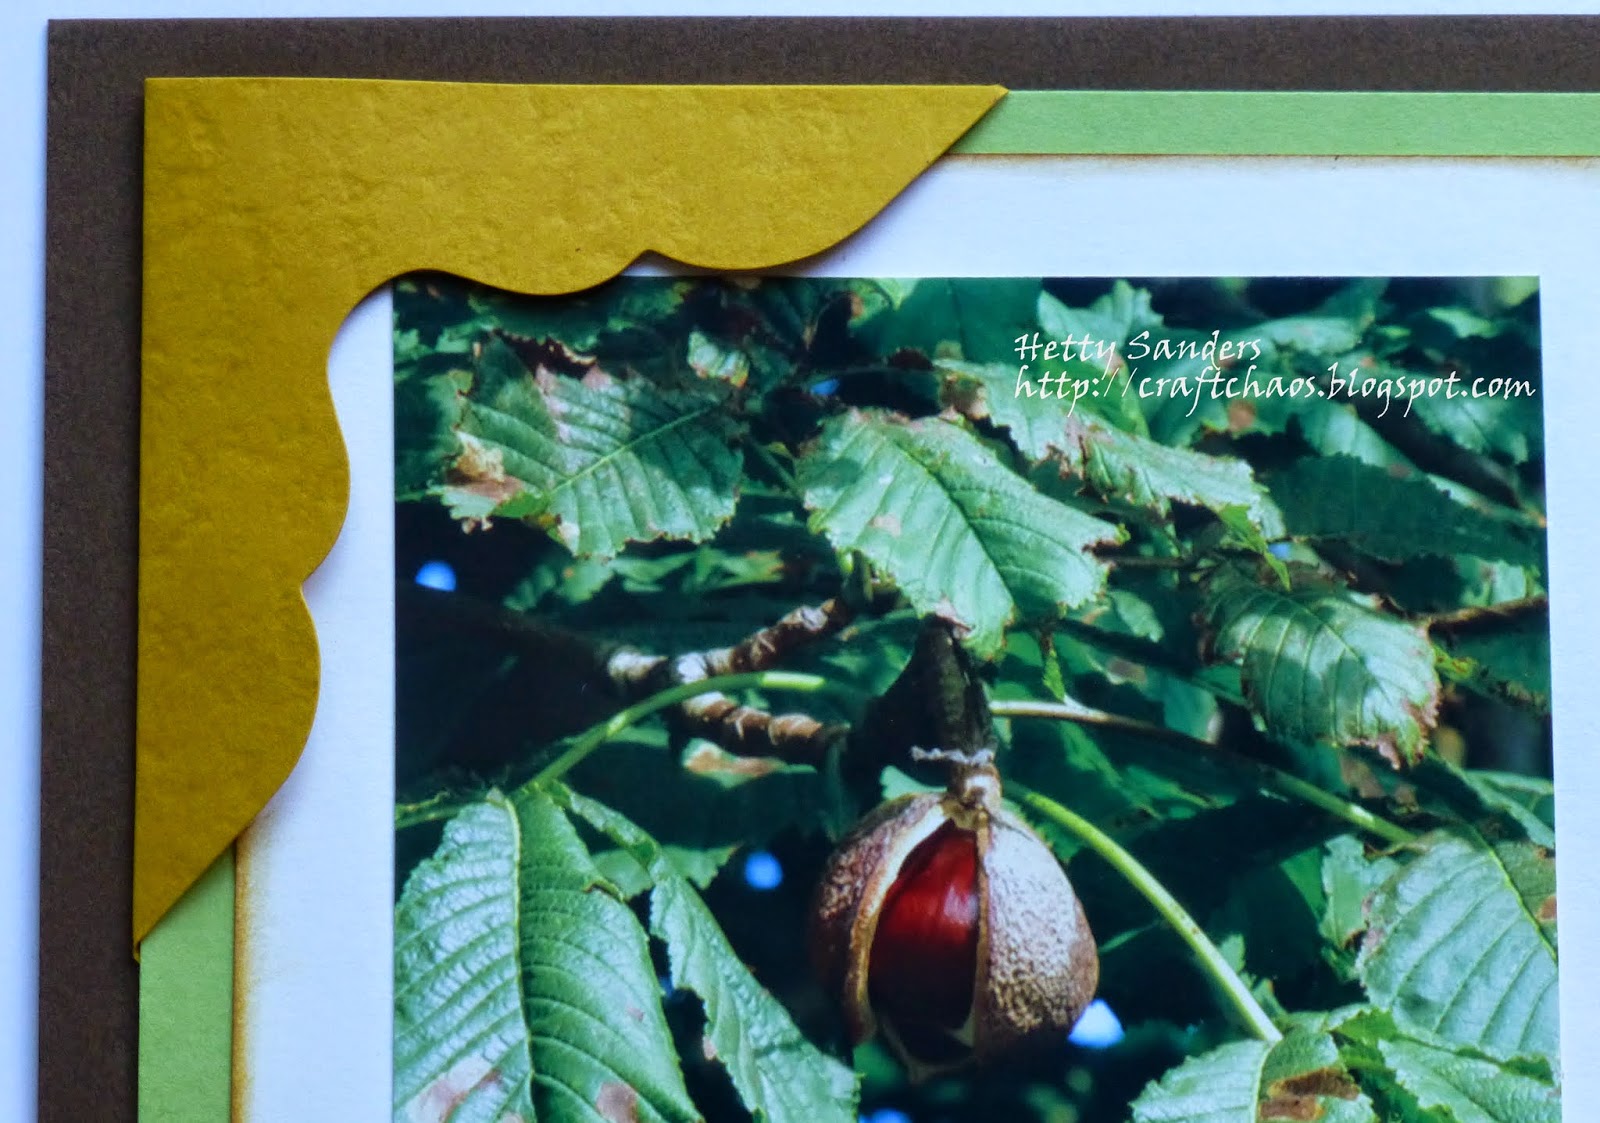
Sunday Scrap page: Fruits of Autumn

At this moment the trees are loaded with 
all their Autumn fruits: rosebuds, chesnuts etc.
The pictures fit beautiful on the new Blueprint
Club Scrap paper.

For the lettering I used Michael Strong's 
cloisonné Alphabet stamps. I stamped them in
different autumn colors and punch them out with 
an ovalpunch. With foam tape i taped them to the fpage.

TheAutumn leave stamp is fromanother of the
Michael Strong's sets.  This one is called
Cloisonné Cameos. I colored the stamped
image with distress inks and water.

The large photo corner comes with the Club Scrap kit 
and is absulete a fun acent on the page.

Thanks for looking and have a great Sunday!


Saturday, September 20, 2014

Saturday Sketch: Tell your story

I belong to a group called:

AlteredTatteredandTimeworn

(formerly knon as All Things Tim)
and this is the sketch for September.

This is the card I made with the inkpot and quil
movers and shapers. The background of the card
is one of the Tim Holtz papers from a 8x8 inch block.
I took some musicalpaper and embossed it with
the script embossing folder. After embossing I added
vintage photo distress ink to the embossed script.

The sentiment is from the set  Simple Sayings.

I had to cut the feathers into smaller ones
to make themfil to the card.

Thanks for looking.
Creative greetings,


Wednesday, September 17, 2014

Jewish New Year cards

I was inspired by a challenge I noticed
to create your own background.

I am to late to enter my cards, but
I do share my vards with you, for
they might inspire you for your
Jewish New Year cards.
This year i did not want to hav the apple
with honey card and so i searched through
my stamps for another idea.

One of the wishes we tell each other is:
May you be inscribed for another good year,
so how about using  quil and inkpot.
I found i had this great stamp from the Chemist
stampset by Tim Holtz as well as some movers
and shapers. I went to work!

I started with making these backgrounds
by using a stencil for this one and the script
embossing folder and some spray inks.

This one is done with the scriptembossing folder and
first adding some distress inks and later on
sprying it with a pearly spray ink.
Hope you ca see the shiny pearly ink, when
you click on the photo to see a larger version.

Now these are the finished cards:
Here i stamped the quiland inkpot
on the yellow paper and colored it with 
distress markers. The picket fence works great on
the yellow paper.

Here I used the movers and shapers.
For the feathers I used some glossy paper
that i stamped with some alcohol ink and 
abackground stamp, before cutting it.

Now you may wonder about the hebrew text
 you see on both cards:

 I printed this text on the inside of the cards.
The new year will start on the eve of September 24
and will be the year 5775. Yes we do have a different way
of counting and different months too. The Jewish Year 
is based on lunar cycles. If you are interrested,
you can read more about it HERE.
Have a creative day!