Sunday, February 15, 2015

Sunday Scrap Page: Valentine

Of course today's pageis about Valentine.
I used the Club Scrap Love Ink papers.
It is so easy to make a page,for the kit comes
with wonderful assembly instructions, so no waste of papers!
I used intstuctions for page 5 from the instruction sheet.

You find the instructions on the Club Scrap website
for free here.

My DH and I went on atrip to Rotterdam for Valentine.
There is an absolutely wonderful new market place that
just opened on Oct 2014 that we wanted to see and thought
it a nice idea to have lunch there.

You can read about this place HERE.
We had a wonderful Labanese lunch.

Of course I got some flowers and for my gift I have to 
wait a little longer.I wanted the Edge of Eternity by Ken Follett
in paperback and not the hard cover that is out now.


Of course I changed the sticker heart for an other heart.
The Michael Strong heart stamp.

This time I stamped it on white shrink plastic
with a red inkpad.
I used the large heart stamp and here you see
the large version when stamped and the shrunk vesrion
when heated. Yes, even the color changed,became a little darker.

It is so much fun to use shrink plastic. I could have easily made
the hearts into earings. For this you just punch a hole in the shrink
plastic before heating it.

Thank you for looking.


Saturday, February 14, 2015

Animal Valentine


Here my last idea for Valentine.
I came across this idea on a blog online HERE
and downloaded the template.
There is also a download for SVG there.

For this card I used the monkey
and the Love Ink papers by Club Scrap.

These papers come with some cut out for cards
and this one matched perfectly.Because of the
monkey i also pulled out some green paper
from the Comics kit.

The monkey is holding a real wrapped chocolate heart.
Ribbon is from my stash.
Here you see all the different animals.
I printed them on some other Club Scrap papers I have.
For the next card I printed the bear on Homestead paper.
I could not find a cut out that I liked to go with this one,
so I turned one of the panels and made a my own background.
First I used the heart and dots stencil
to color the paper and then the heart from
the Club Scrap 2009 Heart to Hearts um stamps.
On the top card there is a real chocolate,
but this is way to heavy for a card,
so for this one I stamped another of the stamps of the
CS 200g Heart to Heart stamps and embossed in white
to replace the chocolate.

The sentiment is also from the same set.
The ribbon is from the Love Ink kit too.

Well this is it for Valentine 2015.
Hope you all have a wonderful and


Club Scrap Valentine Blog Hop


Welcome to the 
Valentine Blog Hop.

I hope you have arrived here 

if not,you will find all the 
participants of this blog hop

When I saw the new Valentinepapers,
I just wanted to have them,for
I had my idea what to make right away.
The kit is called Love Ink and
you can find it here.

With the brown colored paper,
I knew it was going to be a coffee project
for Valentine this year.
I just got these cute little paper coffee cups
and i had seen all kinds of containers
around the internet, sohere is my version of
a mini coffee cup holder.

My love and I start Valentine morning with a lovely cup of coffee
and some Valentine chocolates before we are going out and have
a great day. Hope you have a wonderful Valentine day too.

Want to know how to make one of these holders?
Remember, this is for a mini cup!

To make this box I have a template for you.
Start with a pieceof cardstockof 5 x 11 inch.
Instrucions for cutting and folding are on the template.


To make the handle cut a cardstock strip of
1 7/8 x 12 inch and score  1 1/2-6-10 1/2 inch.
Fold at 6 dubble and the 1 1/2 strips the other way.

On top I punched out a heart shape for Valentine
 but you can also do an oval or a circle.
Use dubble sided tape on the 1 1/2 strips
to fasten the handle to the box.

On top I added one of the ribbons from  the kit
with tiny pink hearts.

Around the box I decorated with the wonderful
collage papers.The strip is 12 x 1 7/8inch.
This is not long enough to go around the box,
but thereis always a solution. By making the text
with the computer and adding this on the empty space,
 you don't notice it at  all and by adding the hearts
it makes it complete.
A template for decorating the cups I made by
cutting up one of them and flatten it for use.

I used the cream colored paper to decorate the cups
and by tutning back to front I made the middle part
and embossed it with the candy hearts adding 
Neon Pink ink with ablending tool.

On the lid I cut apiece of hot pink and embossed
it with coffee beans.

Even the other side of the box has 2 hearts.

Of course a matching card with the cups.
The card that comes with the kit
had a somewhat other text,but with 
typing someting on the computer I made
it fitting my coffee theme.

The brown background is embossed with  the coffee beans.
The coffee cups are from the 2012 Brewed Awekenings stamps.

Now it is time for more inspiration
on the blog of
who has her
wonderful project for you.

Thank you for looking,


Friday, February 13, 2015

Tim Holtz Febuary tag: Valentine


Here is my Valentine tag for 

This time it is made with my new 
Yeh,they finally arrived
and there was such a cute note inside
of everyone at Club Scrap,I just have to share with
you how sweet and thoughtful they are:
\
Thank you all!

An now for my tag:
I made the collaged acground,like you see on 
Tim's tag and because i do not have all the right
ites to add I made my own version. 
I did have to add something Tim and because I
did not have the 14 bingo number, I made my own
with Tim's 14 stamp stamped in red on shrink plastic. Before heating
it I cut the shrink plastic with a circle die.

The heart is felt, but stiched by hand.
I liked the xxx markings for kisses.

The poem is a stamp from Club Scrap 2009 
Heart to Heart UM stamps. The little siver heart came
with this years Love Ink box. No stamps this time.

Now quickly back to my craftroom to finish
my project for tomorrow. Sure hope you come
back to see what we all have in store for you
at the:

Have a creative day!


Thursday, February 12, 2015

Valentine Fizz


This is such a fun technique from the
It is called: 
Modern Grid
and you find it in a very old newslettrer
in Apr/May 2007.

It woks like this:
You start stamping the images and
color them.Next you take a ruler
and make the grid with a black marker.
Now you can also color the background squares
and add alittle doodling in the squares.

In the middle i added a little circle made
with shrink plastic.

Papers and stampsare from
the Club Scrap
Fizz kit 2007.

Just 2 more days until Valentine,
are you ready?

Don't forget the blog hop:

Have a creative day!


Wednesday, February 11, 2015

Valentine pop-up

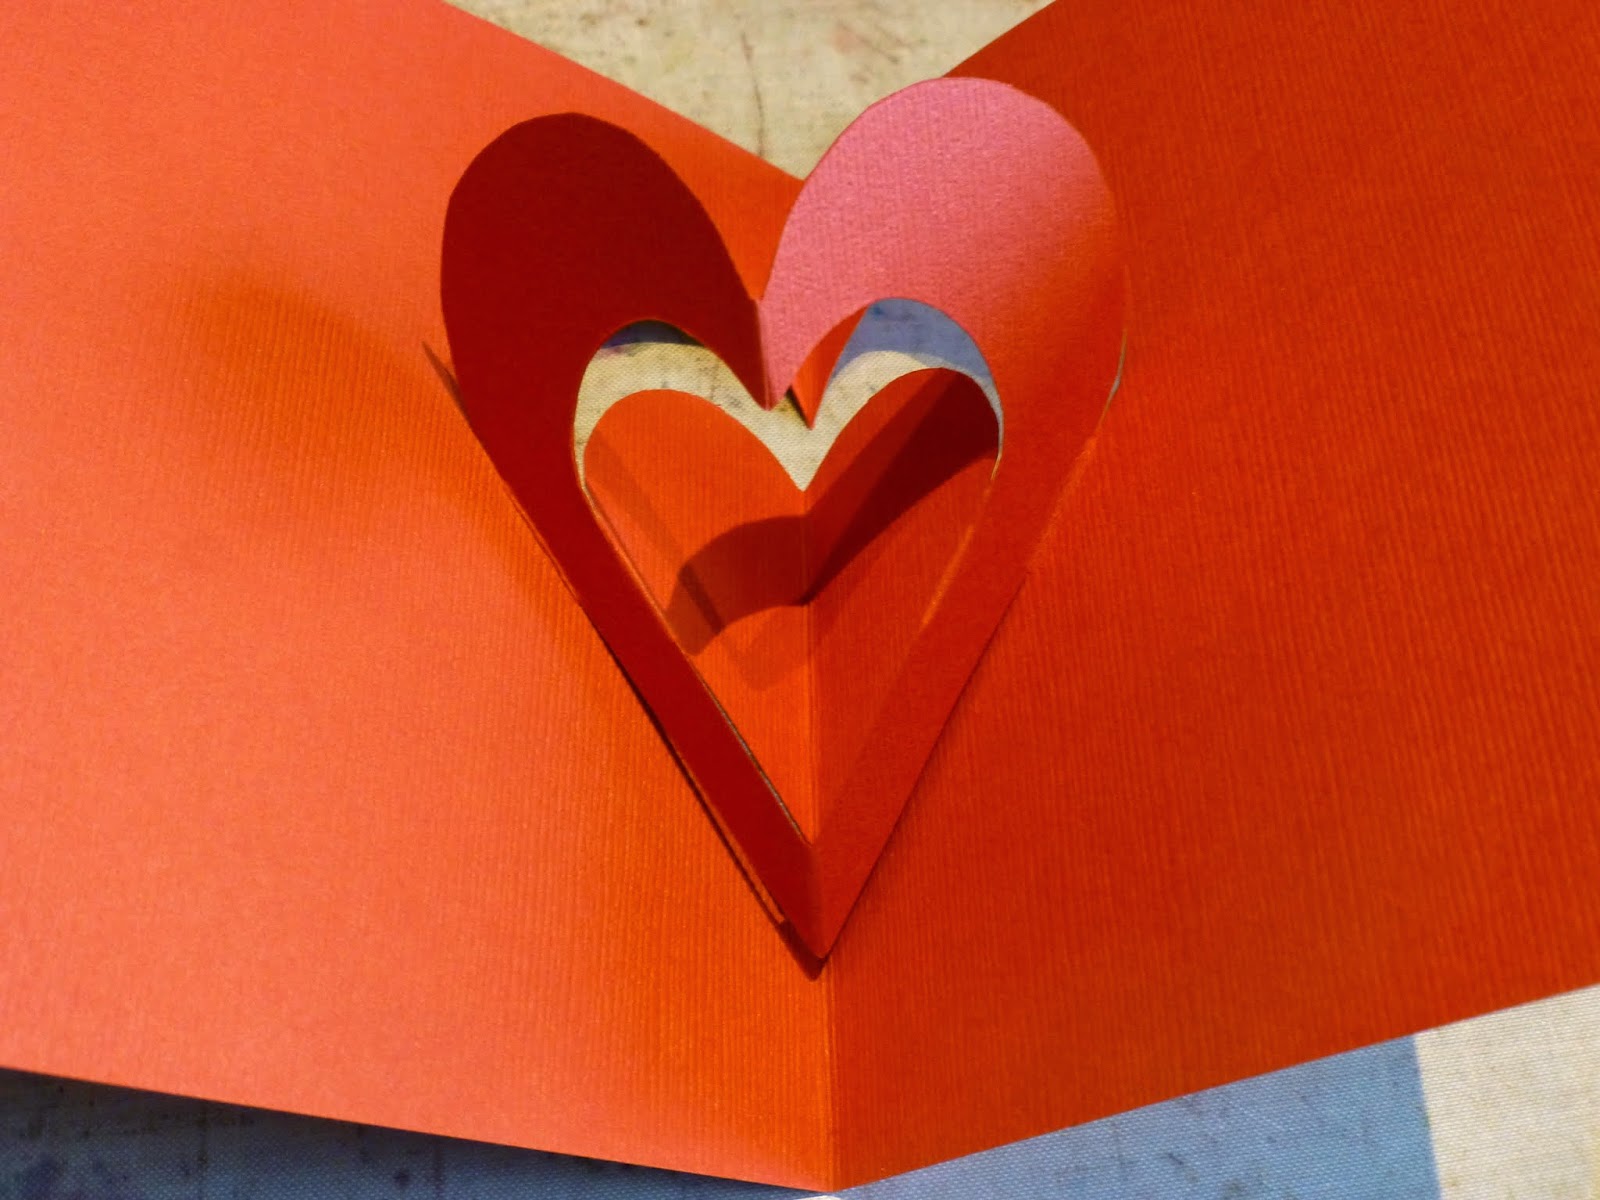
Today I have this pop up card for you.
I used Club Scrap's papers from Homestead and Blueprint
Club Scrap stencils
carnation and fuchsiahybrid inkpad from Club Scrap
and my favourite Valentine stamps from 
2008 Valentine's .

This is the inside of the card.

I show you how I made this card:
You need two peiees of cardstock of 8,5 x 5,5 inch,
which makes a 4,25 x 5,5  inch card.
First I explain the outside of the card.
I stamped my images with versamark and
embossed them with white embossing powder.
(enlarge the picture by clicking on it and
 you see the white images on the card).

Next i took a blending tool and the carnation ink pad.
With the blending tool I colored the card.

Then I took a soft cloth and rubbed over the white
embossed parts and made themcome out more.
Ths look is nice,but I wanted to make it alittle more
exciting.

I took two different Club Scrap stencils.and the darker 
red fuchsia inkpad and colored on top of the images.
Half of the card has the honeycomb
and the other half a more dotty pattern.

The two hearts are colored extra with a marker and 
for extra effect I added glossy accent on top of the hearts.
Now leave this to dry.

For the inside you fold the second piece of cardstock
and on the fold line you draw two hearts. I used my spelbinders, 
but if you don't have these, you can draw them by hand.
Or you can use this drawing by saving it to your computer.
As you can see clearly on this drawing is the points that
stay fastened to the card and these are also the places
where you fold the hearts.
After folding one up and one down, it
looks like this.

I added a white embossed sentiment and 
drew a line  with a white ink pen.

Here another look on the card standing up.
Thanks for looking and don't forget:


Have a creative day!