Here we are with another team challenge
This time we were given two rubber stamp sets
and some bling gemstones to create cards,
lay outs or a project with.
I hope you arrived here from
and seen her wonderful artwork.
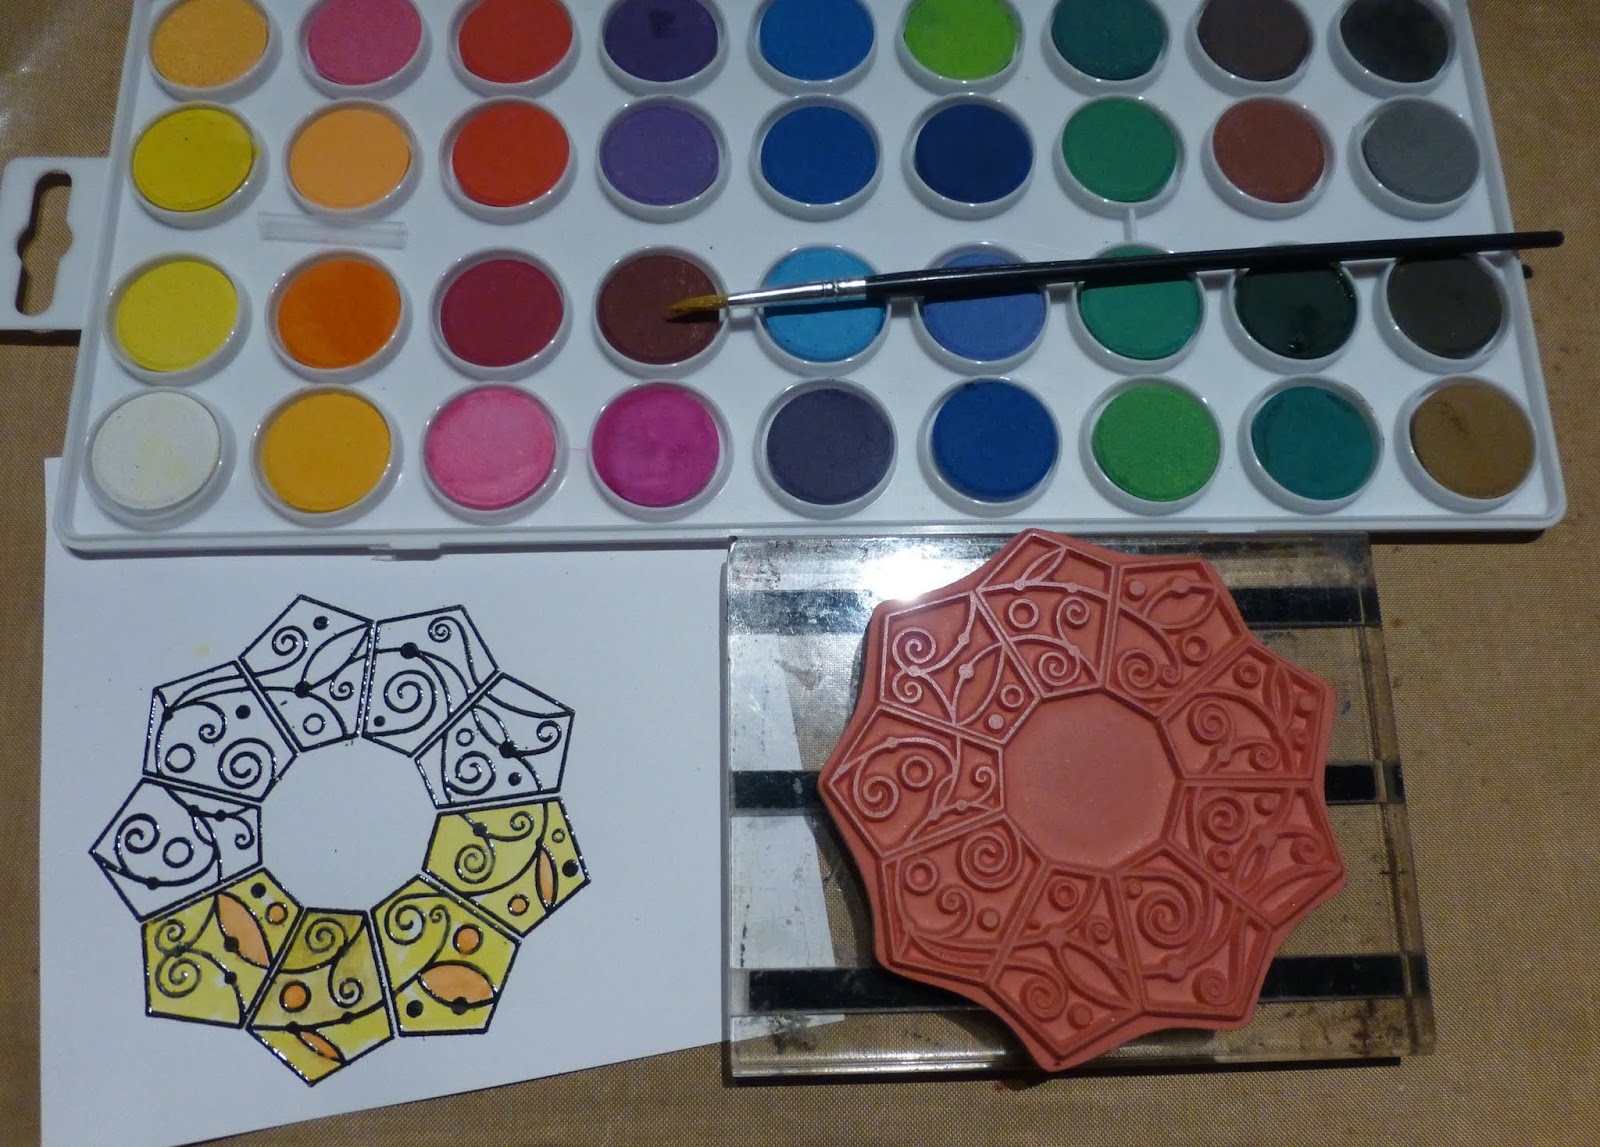
First I show you the stamps:
This is the Girlfriends set and you find it
HERE.
and the other set:
Enchanted Forest, which is
HERE.
We were also given some wonderful
sticky gemstones.
Only the stamps took a VERY LONG time to
arrive here to play with , so Club Scrap send me
and I started to play with the quick layout.
This was a learning experience for me, for I had no idea how
to add the picture. Luckily I found a patient colleague at
work, who explained to me how to do this and it worked!
The page is with a picture with my DD and GS, when we
were visiting Fairyland in April. You see Red Riding Hood
and Sleeping Beauty. Perfect for this page.
Then suddenly my pizzabox arrived (when you read this
it is Friday and I got my box on Thursday). So quickly
I cut the stamps an made 3 cards to share with you.
For the two outside cards I used this month
technique challenge: stamping with an acrylic block.
I can tell you, it is a perfect technique for quick cards.
Take an acrylic block, some stamp pads, cardstock
and a spray bottle with water.
Add the ink of the pads direct to the acrylic block
and spray it lightly
Now you stamp the block to the cardstock
and this is the result.
On top of the colors I stamped thes flowers from the
Girlfriends set.
Here is the first finished card.
I added the sentiment and colored it
with pencil in the same colors as the ink/
The card is finished of with some of the
gemstones in the hearts of the flowers,
For the 2nd card I colored the flowers
a little more with pencils. The are aquarel pencils
so after coloring I added a little water to it.
And here is the finished card. Love the flowers,
they are great for note cards.
The last card is made with the Enchanted Forrest
stamps and the sentiment is from Gnome for The Holidays
from 2013. Here I share how I made the background:
In the middle you see the finished background.
I used copy paper and circle dies to make thes masks.
I started with the paper with the smallest circle and
yellow ink. Then covered the small circle and used the
larger circle template to color with orange ink. The largest
circle covers the yellow and the orange and now with blue
ink I cover all of the background. The spots are made
with drops of water. The background is ready for stamping.
Now this was it for today,
but this month we have many more inspiration for you.
On Saturday Nov 26 we have a Christmas inspiration
Blog Hop for you.
On November 30 ther is the monthly kit Blog Hop.
Now for more stamping inspiration go to
If you happen to loose your way, you can always go back
Thank you very much for looking
and have a creative day!