Saturday, May 1, 2021

More Furry Friends

Hello my Craftie Friends,

I am into doggies today!
Playing with the latest of  
designed by Donna Gray.

For my first card I used this window die and used 2 kinds of
stencils to create the background: 
and 

The dog is stamped on a seperate piece of paper 
and colored with Stampin'Blends  (markers by 
Stampin'Up!). Afterwards cut out by hand.

It is so fun to use one of the stamps on the back of my card.

So I had some left overs from the first card and could not 
resist using them for a second card.

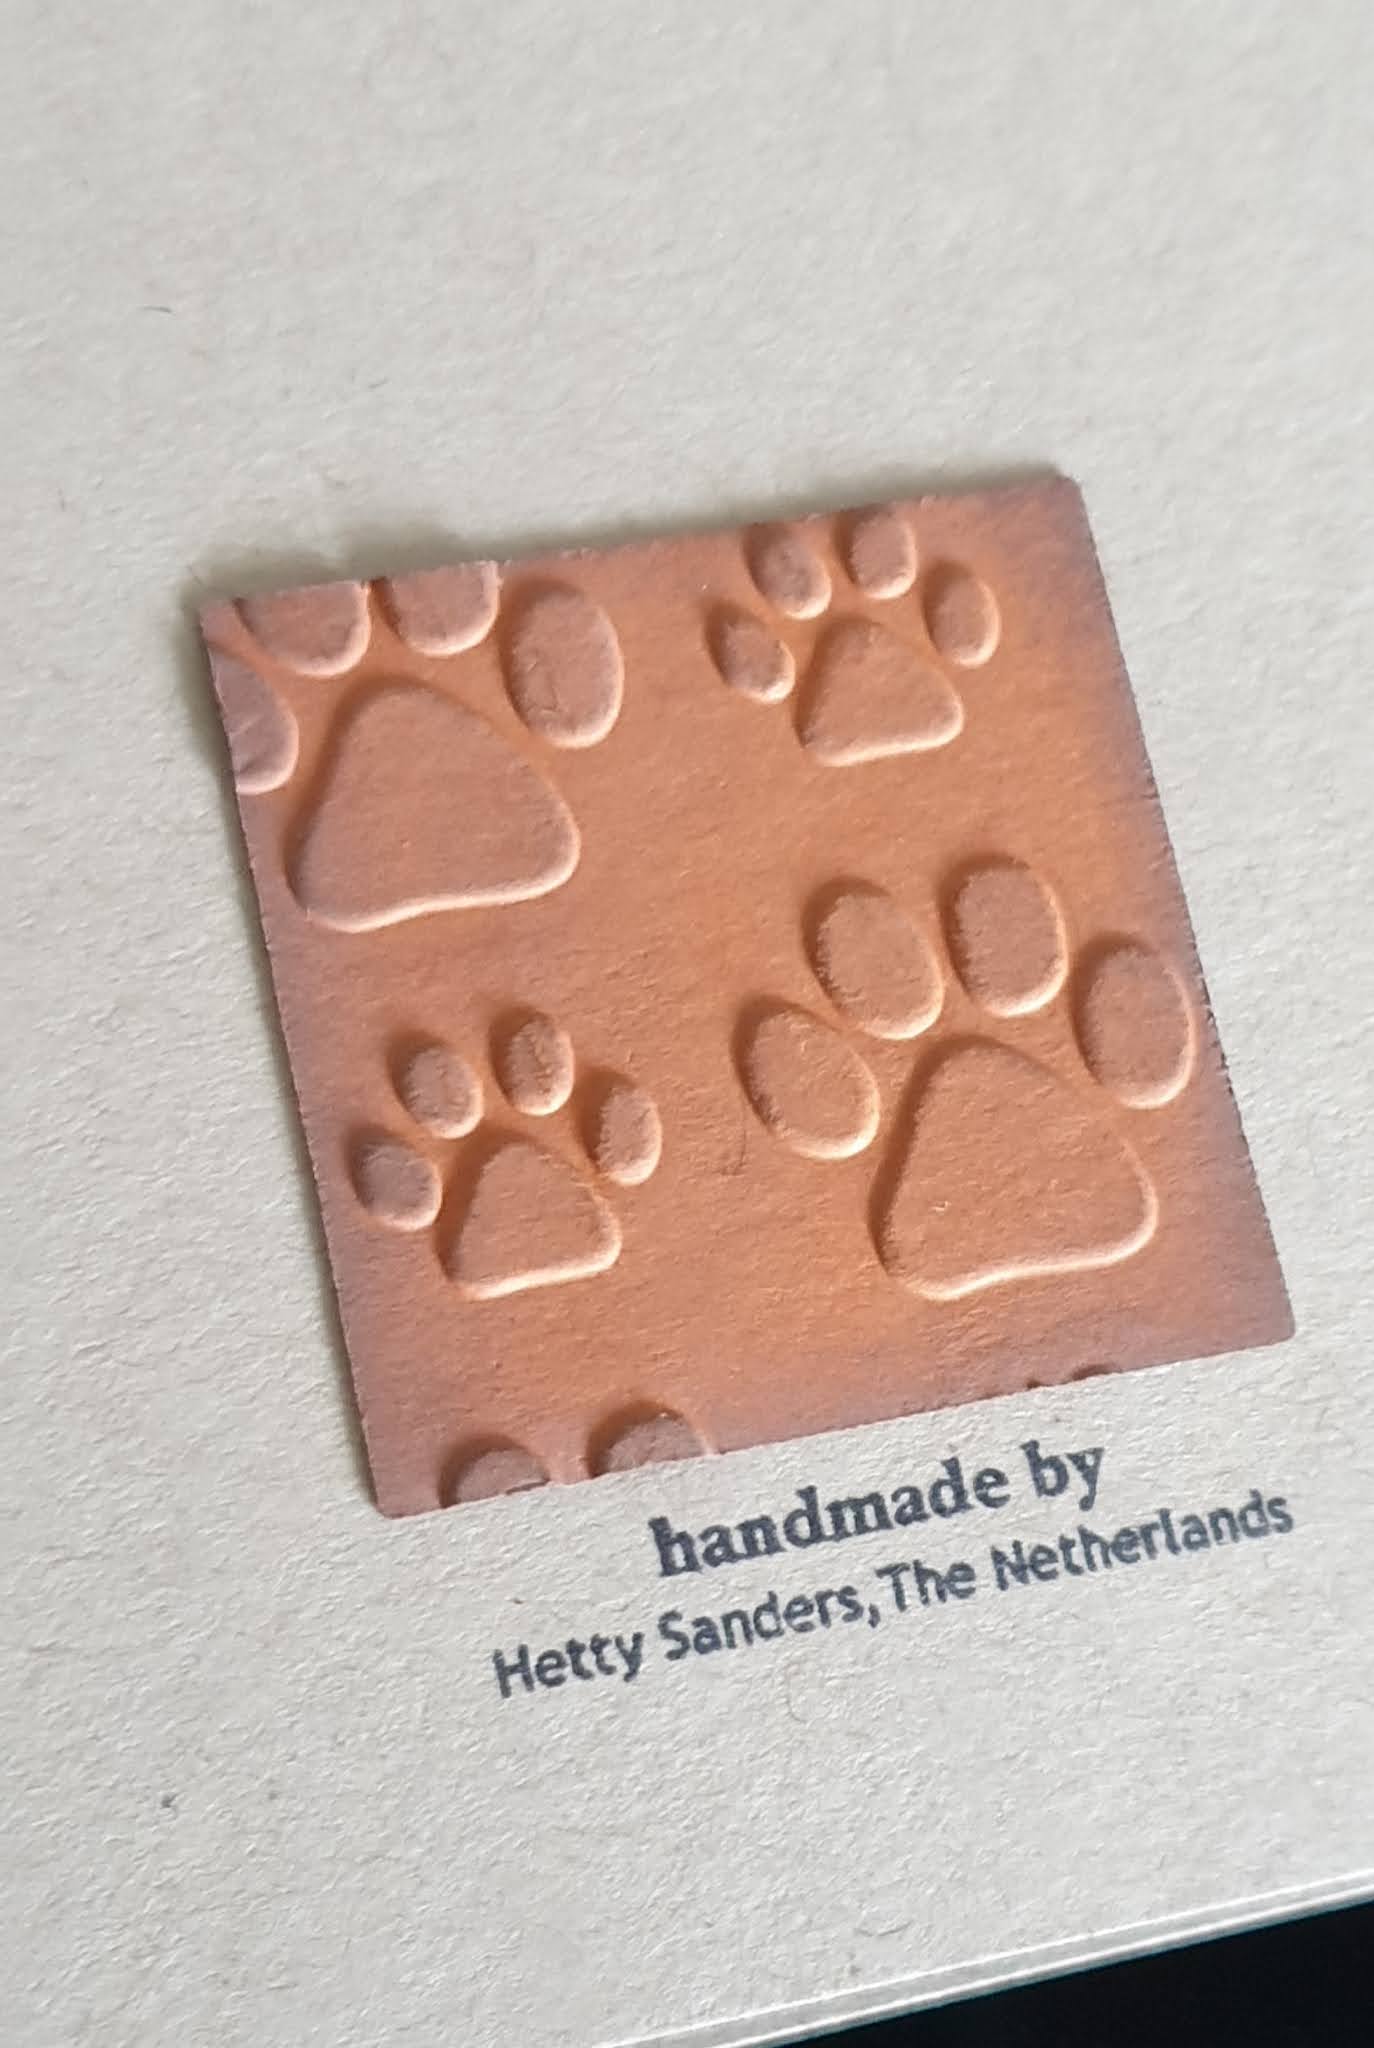
I embossed the squares with a paw embossing folder.
And  the yellow paper is covered with bones by using the 
dog bone stencil again. 
The sentiment is from the Small Print 2 set.

As there were 4 windows, I used the last one on the back!

Thank you for looking,
stay safe and keep crafting!


Thursday, April 29, 2021

Furry Friend

Hello Crafty Friends,

Today I did a little stamping after being to the hairdresser.
Needed a long overdue cut after the hospital and all.
I even had it colored, feels so much better.


Ok, back to stamping.
I used the clear stampset More Furry Friends designed by
Donna Grey and available at Funky Fossil Designs. 

I also used the stencil Party Balloons and
Small Print2 for the sentiment.

Yhe dog and bones are colored with Stampin´Blends.

If you like some inspiration, Funky Fossil Designs has some

Thank you for looking,
stay safe and keep crafting!


Wednesday, April 28, 2021

Crochet

Hekko Crafty Friends,

In my previous post I told you I have been
doing some crochet. I have been making some
baby blankets for two of the girls who are working
in the home of my mom. Both are pregnant with boys.


I actually bought a package with a pattern, but then when 
I started to make it, I did not like it at all. It was only the 
off white and the yellow. So I bought some more cotton
and just made up my own pattern.

You see the stitches are the same as in a granny square.
Then when i noticed the combination of color, it looked
like the beach, so i found these appliqe patterns for
the boat and the fishes on pinterest.

Fish:
Boat:


The arigumi duch template can be found here:

duck:


II wrapped it all together and gave it 
to the first one who is due soon.

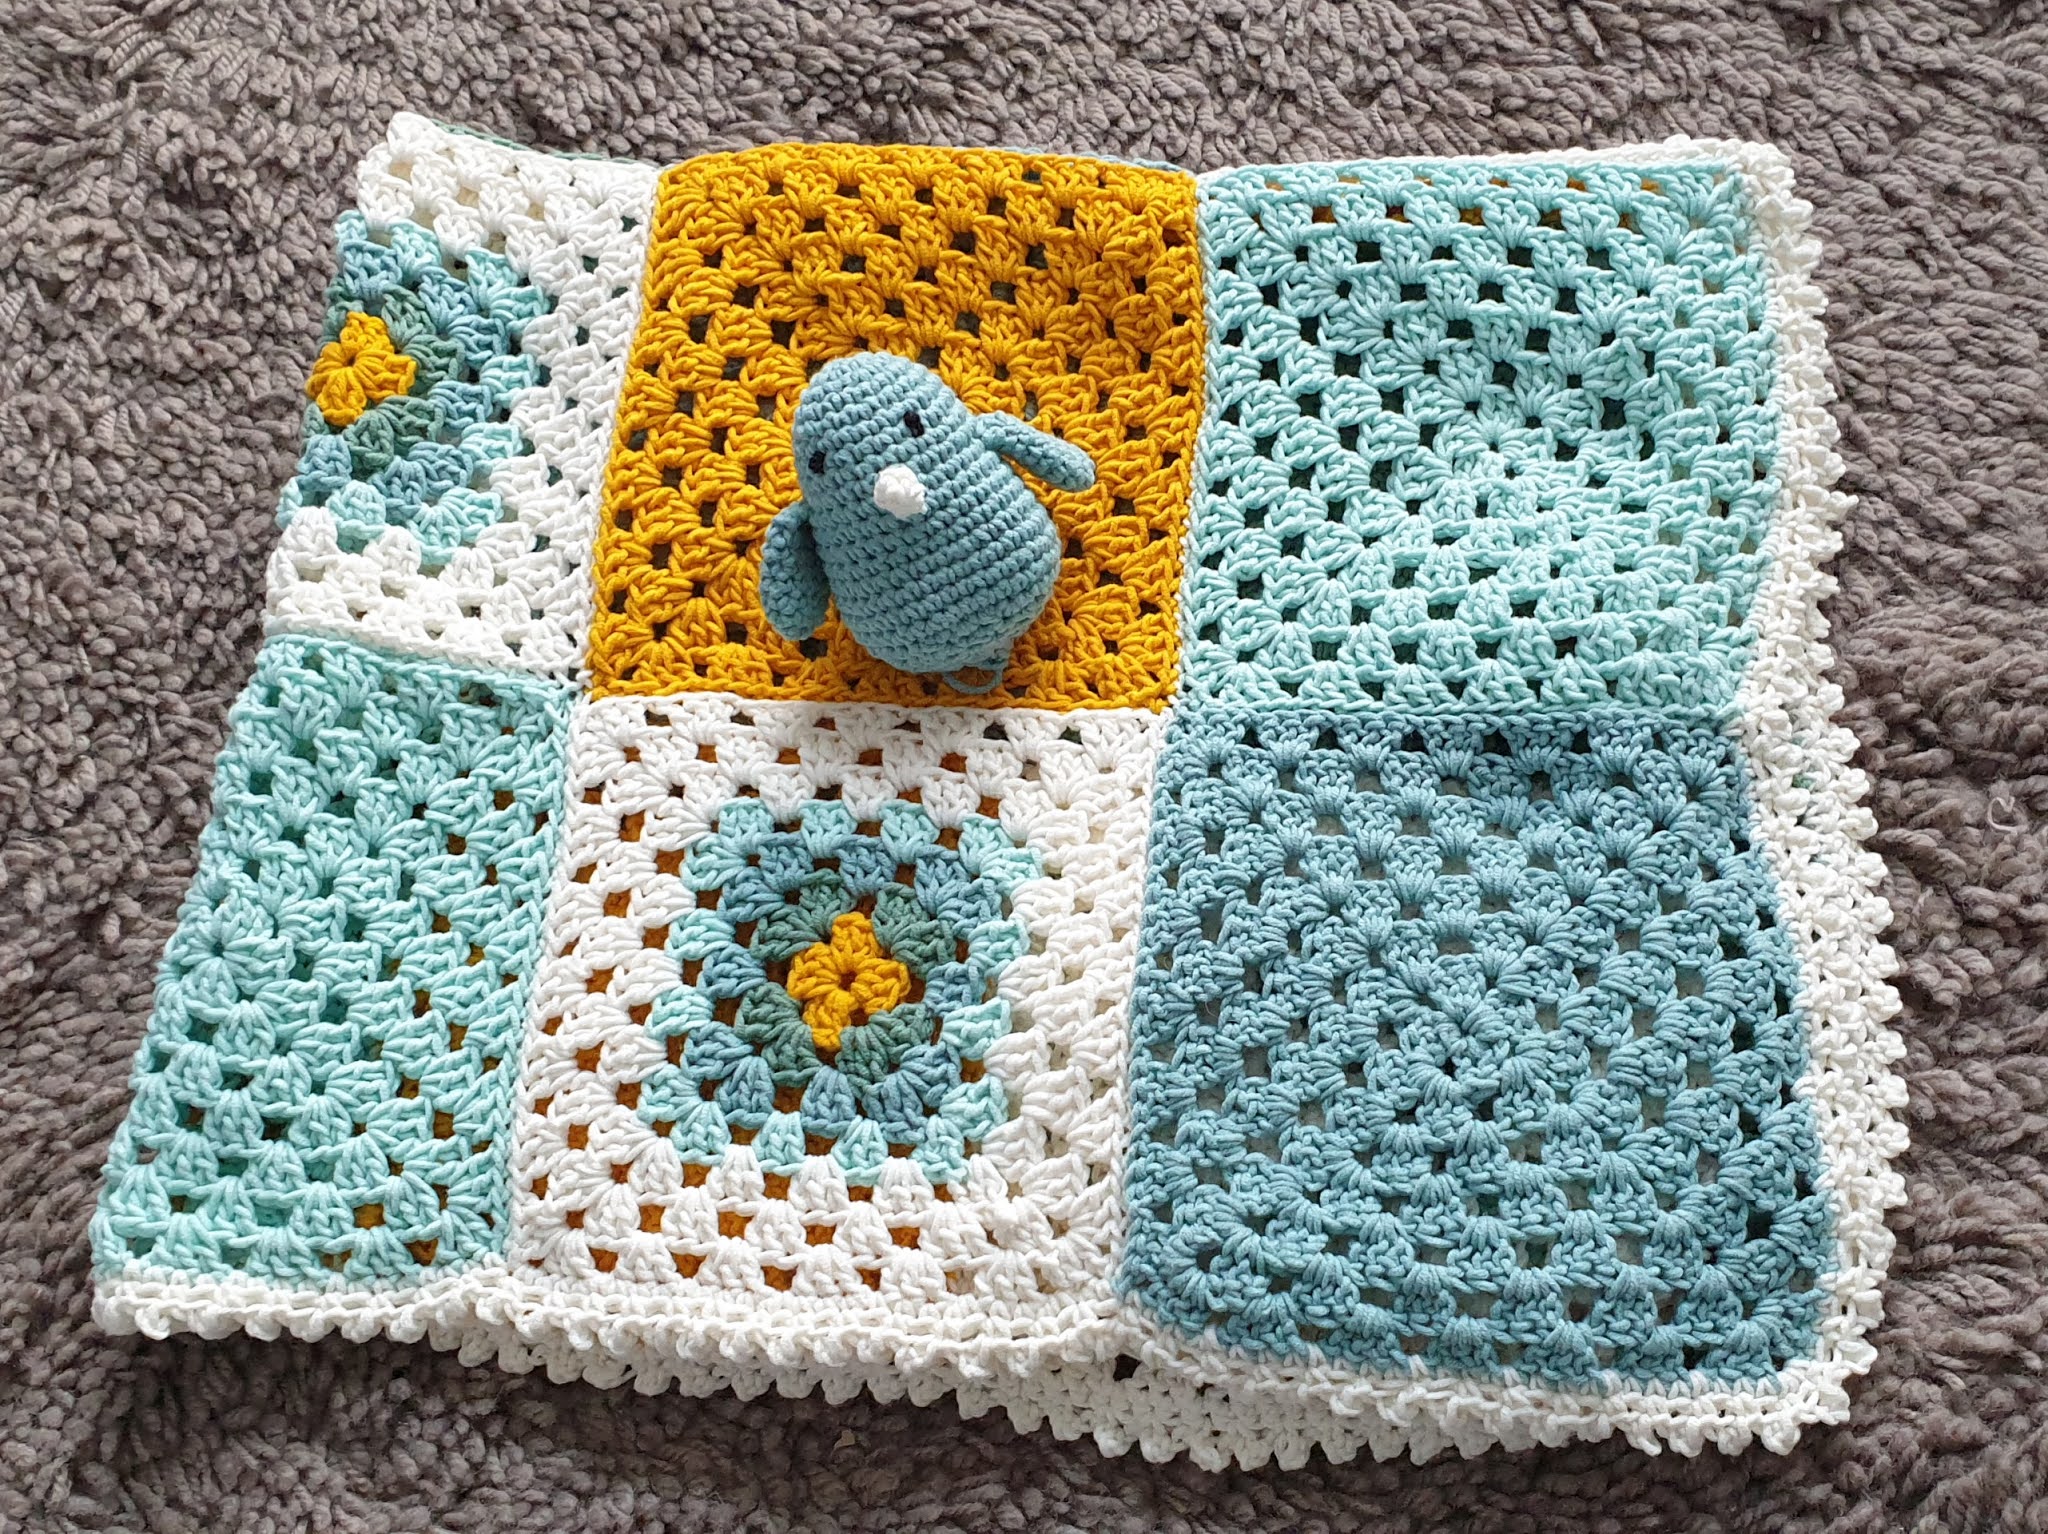
So I had lots of cotton left and started to make some
granny squares for a new blanket. i just love the combo 
of colors.


Of course I had to add a rattle to this blanket too.

I found the pattern of this cute penguin:

It is the pattern of a teether, but I did not like the
wooden ring, so I only made the penguin to play with.

And this is the start of a new project. It is going to be a 
large blanket of 64 squares in these colors. It will be one for
my own couch!. I have already 9 squares, So the beginning
is there.

Thank you for looking,
stay safe and keep crafting!


Monday, April 26, 2021

Back again!

 Hello my Crafty Friends,


You must have noticed I haven´t been blogging 

much these past few weeks.

Well, I had an operation and I am healing now, 

stamping was just to much.

Instead I have done some crochet 

and did some watercoloring.

I love my Funky Fossil Design stamps and

 one of the designers also gives

online classes: Ann Corbiere Scott. 

So by watching and playing along, I opened a new art journal and

this is my first page:

The background circles are painted with watercolor
and inspired by Wasilly Kandinsky.

The sentiment is printed with the computer,
but the brush and the paint tubes are clear stamps
designed by Ann Corbiere Scott: Artsy stamp set.

And here is a birthday card I did with 
a printable flower sheet by Ann.
It was supposed to be a tag, but I used
it for a 5 x 7 inch card.

Here the inside of the card with a
strip left over from the background paper 
of the front of the card.

Here a close up of the flowers and the sentiment.
All is colored with watercolor paint.

I will try blogging a little more,
but I am still recovering, so it won't be every day.

Thank you for looking today,
stay safe and keep crafting.


Monday, April 5, 2021

Egg Hunt


Hello Crafty Friends!

Have you had a lovely Easter Sunday?
Hunting for eggs? Or for bargains??

I share with you another card made with
which are on sale for 20% until
midnight of April 5th.

For this card I used:
stamp set: Let's Party.

To make the eggs in the jar, I made my own stencil with this egg
paper punch trough a post it note and used the cutouts to cover
eggs if needed.

For the grass border I used the scenic border stencil.
With the inside of the mason jar I covered the pot
as not to get any grass on it.

The bunny from the Let's Party stamp set is stamped
and embossed with black embossing powder and colored
with stamping blend's markers. The punched out eggs
are from some left over Spring Geometric design paper.

Thank you for looking,
stay safe, keep crafting
and enjoy the eggs!


Sunday, April 4, 2021

Happy Easter


With stamps by Michael Strong,
I with you all a very happy and blessed Easter!


Thank you for looking,
stay safe, keep crafting
and enjoy your eggs!


Saturday, April 3, 2021

Stencil Sale at Funky Fossil Designs

Hello Crafty Friends!

One can never have too many stencils and now they
are on SALE at Funky Fossil Designs
this weekend. You get a discount of 20%
use STENCIL20 before midnight April 5!

Here I have made you some samples
and show you how great they are for backgrounds.
For the first card I used
and stemp set hogs and kisses.

For the background I colored the images with two
colors of distress oxide ink. 
The piggy is stamped on pink paper and embossed with
black embossing ink.

For this card I used
stencil honey bees
and stamp set bees knees.

This background is used with one volor of distress
oxide ink and another color )fossilized amber' around
the border. The sentiment I typed and printed with the computer.

Both cards are absolutely don in no time.
So if you need some quick cards, stencils
are what yoy need!

Thank you for looking,
stay safe and keep craftig!


Sunday, March 28, 2021

Happy Passover

Today is the first day of Passover,
the Jewish Easter. You find more information HERE.

The background is a grid and I have done thes before.
You find the tutorial HERE.
I printed the grid on green paper. 
The design paper looks like the matza we eat.
It is a picture of it that I took from internet and 
then printed and punched out.

The eye catcher is a seder plate,
 a stamp by ZumGaliGali.

Left overs go to the inside of the card!

And i used a leftover square on the back of the card.


Wishing everyone who celebrates:
Chag Sameach, A happy Holiday!

Thank you for looking,
stay safe and
keep crafting!


Saturday, March 27, 2021

Love, Peace and coffee


Hello crafty friends,

Even though the Coffee Lovers Blog Hop is over,
I had to finish and post this last coffee card.
My little sloth called Zinny ( made by Donna Gray) was
on my desk already colored  and the cup too.
I did not want to trow these away.


So I got my Funky Fossil Designs stencils out and created the 
background for my card.


The  cup stamp is also by Funky Fossil Designs
and colored with pencil. I tried to make it look like
Delft Blue style.

Thank you for looking
And tomorrow something totally different.

Keep safe, keep crafting
and enjoy your coffee.


Friday, March 26, 2021

Coffee lovers Blog Hop - Day 8


Hello coffee loving crafty friends!
 
Here we are on the last day of the 
This time I have a project:
a Coffee Clutch:
Inside this clutch there is a surprise!

It happened that I found this in my stash:
So it is a Club Scrap project.
hen i saw this, I had no idea what it was going to be,
so I searched my computer and the Club Scrap website
but could not find instructions. Together with Julie Heyer
from Club Scrap, we foud it was a project from 
Brewed Awakenings and there is even a video tutorial:
I hope this way you can see it too or go HERE. 
Anyway I had a lot of fun making this.
All materials and stamps I used are by Club Scrap.
Another look at the clutch: decorated with 
a stencil and some cut aparts from my stash too.
The charm on the handle is a few beads, a spoon and a
cup from my stash. The flap of the pouch 
(see also detail below) is done with a coffee bean
embossing folder.

Here a close up of the charm on the handle.

The clutch is closed with magnets that came with the kit.

Voila! here is the inside: many pockets and places for decoration.
This is absolutely a very easy project to make:
a little folding, hardly any glueing and a little sewing
to hold this all together.
Inside each pocket there is a card with a little tab
(that came with the kit) and decoration.
I added some pictures, but you could also add
coffee recipes or quotes.

Tab 2 is a picture of me, that I use very often for
a profile picture. it is from a few years back.
Now my hair is corona long!

This tab is decorated with one of my 
Club Scrap coffee stencils. Maybe I will do 
something on the back too. There is still room to
add more.


In the last openening (the fold of the clutch)
I added a picture of my mom. One of the last times
we had coffee in her own home. She is now in a care home
and the hous is sold. She has dementia.

Thank you for looking and I hope you had as
much fun with all the coffee cards/projects as
I did here on my blog and on the
Thank you Amy Tsuruta, team and sponsors for
making this possible.

Stay safe, keep crafting
and enjoy your coffee.


I