Sunday, March 8, 2020

Somthing Fishy

I love playing the progressive challenge with

This is my card for the Challenge.

For the background I started with adding some
inkt to my craft sheet± 2 colors of blue and one green.
I sprayed some water in the ink.

The I swiped a piece of paper to the craft sheet
and this is the result.

The next step is a stencil (funkyfossildesign.co.uk),
ink and an applicator.

The result of using the stencil.


After coloring the fish image with stampin'blends,
I added a wobble spring behind the fish and the result 
you see the result.

Thanks for looking
and have a creative day!


Saturday, March 7, 2020

Easter Card

Happy Saturday!
My card today is for the 
Weekly Challenge on the

where the theme is:
Anything goes

and for
where the challenge is  these colors:
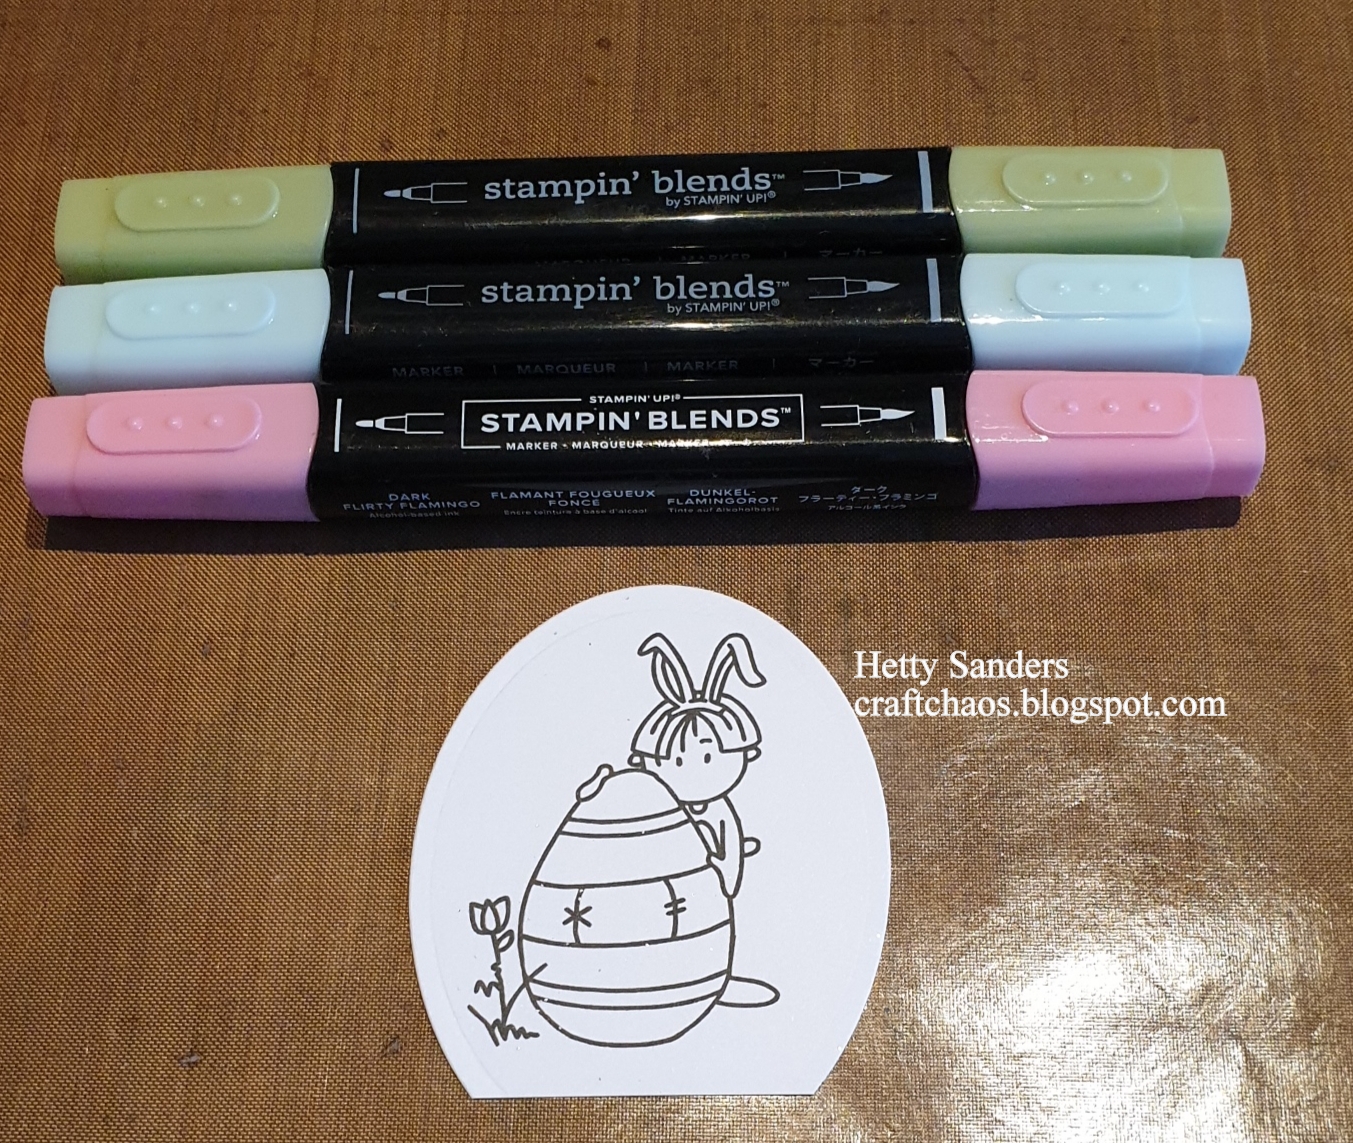
mint, Pale Blue and Pink.


First  made the background with a technique
called Bingo Blast. I thought it was a fun background
for coloring Easter eggs. I used these distress stains
directly to the paper and this way you get these fun
splashes. It helps when you use a watercolor paper.

Then I colored the image with my Stampin'Blends.
The Image is from Bugaboo Digital Stamps and is 
called: WOE Easter Egg (now for only $ 1.00).

Here you see the finished image, cut out with an 
oval die and its matching scallop die by Sizzix.

The sentiment is from the
 Crazy Talk sentiments by Tim Holtz.

Thank you for looking
and have a creative day!


Tuesday, March 3, 2020

Bugaboo Digital Stamp New Release


Good Morning to you all!
Here is Bugaboo Digital Stamps with a new release:
Here is my card with the new image. I printed it quite large.
I colored the flower and the butterfly with Stampin'Blends.

The background is colored with distress ink. I used some post-it
notes to cover the parts that I did not want to color.
 With an applicator I added the colors to the background.
I cut the butterfly loose from the picture and 
is now 3d. I found it hard to make a good picture.

The sentiment is from a cardkit by Stampin'Up!
and the leaves are punched out. I tried to match
them to the leaves of the Blossom Word Block
with the hand drawn lines.

I dotted design paper background and a green 
ribbon to finish the card.

Dont"t forget to hop over to the 
the inspiration by the Bugaboo Design Team.

Thank you for looking and
have a creative day!


Sunday, March 1, 2020

Cup of Kindness

Yesterday, I made also a card like this 
and it was so much fun I made another one.
You find the instruction in a video tutorial that
I shared yesterday HERE.
For the main focus on this card I used the
Bugaboo digital image called: teacup flowers 2.
I colored the flowers with stampin'blends
and the sentiment is an old wooden stamp from my
stash by morningstar.com.

The little spoon was stamped on shrink foil
with grey ink and came out exactly right when shrunk
with the heat gun.
The cups left and right are made with a set
of clear stamps with matching dies by Studio
Light Stamps. Here I used the dies only
and decorated the cup with a punched out flower
with a gemstone in the heart of the flower.

And do you see the tiny spoon in the top cup?

On the left side I used the stamps and
also a punch on the bottom cup to make it match
the right side.

This is the part where you can write a message.
These stamps I was given by a friend, who found them on
Aliexpress (so cute!). In the corner you see a velcro
circle. This is to keep the card standing up better.

This is how the card looks all flat (8x8 inch).
The design paper is by Stampin'Up!.
I also stamped on the envelop.

Now to fold the card and

insert it into the envelop for sending.

Thank you for looking
and have a lovely Sunday!


Saturday, February 29, 2020

Catch the Bug Challenge: Funky Fold

There is a new challenge over at the 
Funky Folds. And here is my card:
For my card I used the Bugaboo Cat image
and a sentiment from my stash.

I found this great video about a Funky Triangle
Pop Up Folding card:


I folowed the instructions from this tutorial. Only I did not add
so many layers of paper, just one layer of design paper. Otherwise
the card is way to heavy for sending.
For the card you need a piece of 8 x 8  inch cardstock
and some designers papers that match your main focus point.

The bottom of the card also holds a square to
write your message on. Later I added a tiny
velcro circle to both bottom parts of the card.
This way they card keep standing up better (I think).

I decorated the card with some hearts )dies by Sizzix'
and used this wonderful paw paper punch and a "meow"
sentiment by Stampin'Up! (old set called Meow Meow).

I colored the sweet Bugaboo Cat with 
Stampin'Blends.

The hearts are in contrasting colors using the
black cardstock and the pink paw print paper.

This is how you fold the card for senfing.
Fold the bottom parts upwards and

then vertically outwards. Now you can enter
the card in a square 5 x 5 inch envelope.

Totally folded and ready for sending in an envelope
to a friend who needs a bit of cheering up!

you can see mor ideas and add your own card
in the linky party and you might win some great
Bugaboo Digital Stamps to play with for other
challenges. If you have no Bugaboo Stamps, you 
can grab the Friday Freebie to play with.

I liked this way of making a card a lot
 and there is another one tomorrow!

Thank you for looking
and have a creative day!


Tuesday, February 25, 2020

Bugaboo digital stamp: New Release

It is new realease day on the
Come and see all the wonderful cards 
by the design team here.
The new image is this cute little baby mouse.

I made a z-fold card.

Behing the panel of the mouse I added a panel
where you can write and congratulate
the new parents.

I used some cute colored design paper.

The mouse is colored with Stampin'Up! 
Stampin'Blend markers.


Thanks for looking
and have a creative day!

Monday, February 24, 2020

Anything but a card for Bugaboo digital stamps


As my SIL had a knee operation, I made her
a goodie bag and of course a tag on the bag.
Great for Anything but a Card Monday on
where you find even more ideas.

I love that teapot that comes with my guest designer
bage, so I had to go and get it. It is perfect for get well cards
and tags. You find the Flower Teapot HERE.
I colored the teapot with Stampin'Blends.

The sentiment is in Dutch and means: Get well.

Thank you for looking
and have a creative day!